Lod #
1. Operational Rails #
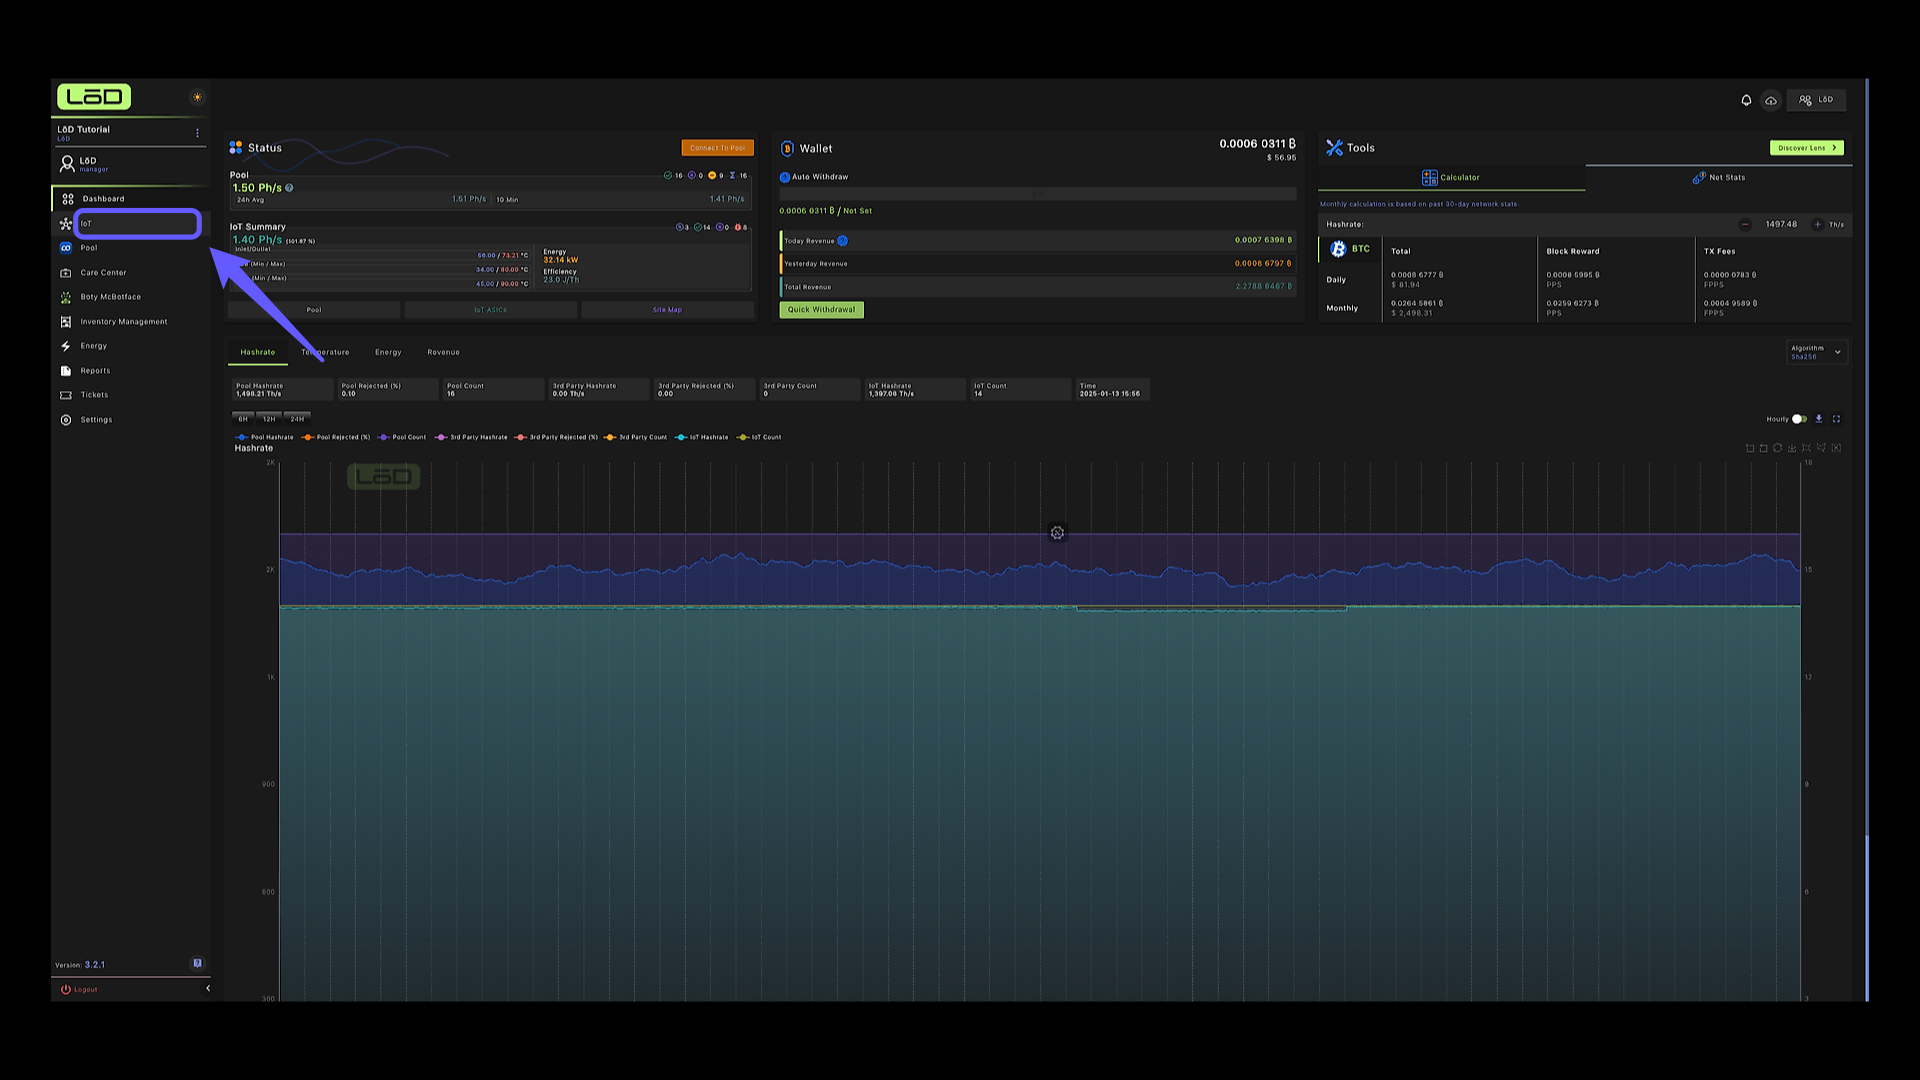
In this tutorial, we’ll go through the RAILS automation process, what they are and how you can set them on your devices. Start by clicking on IoT
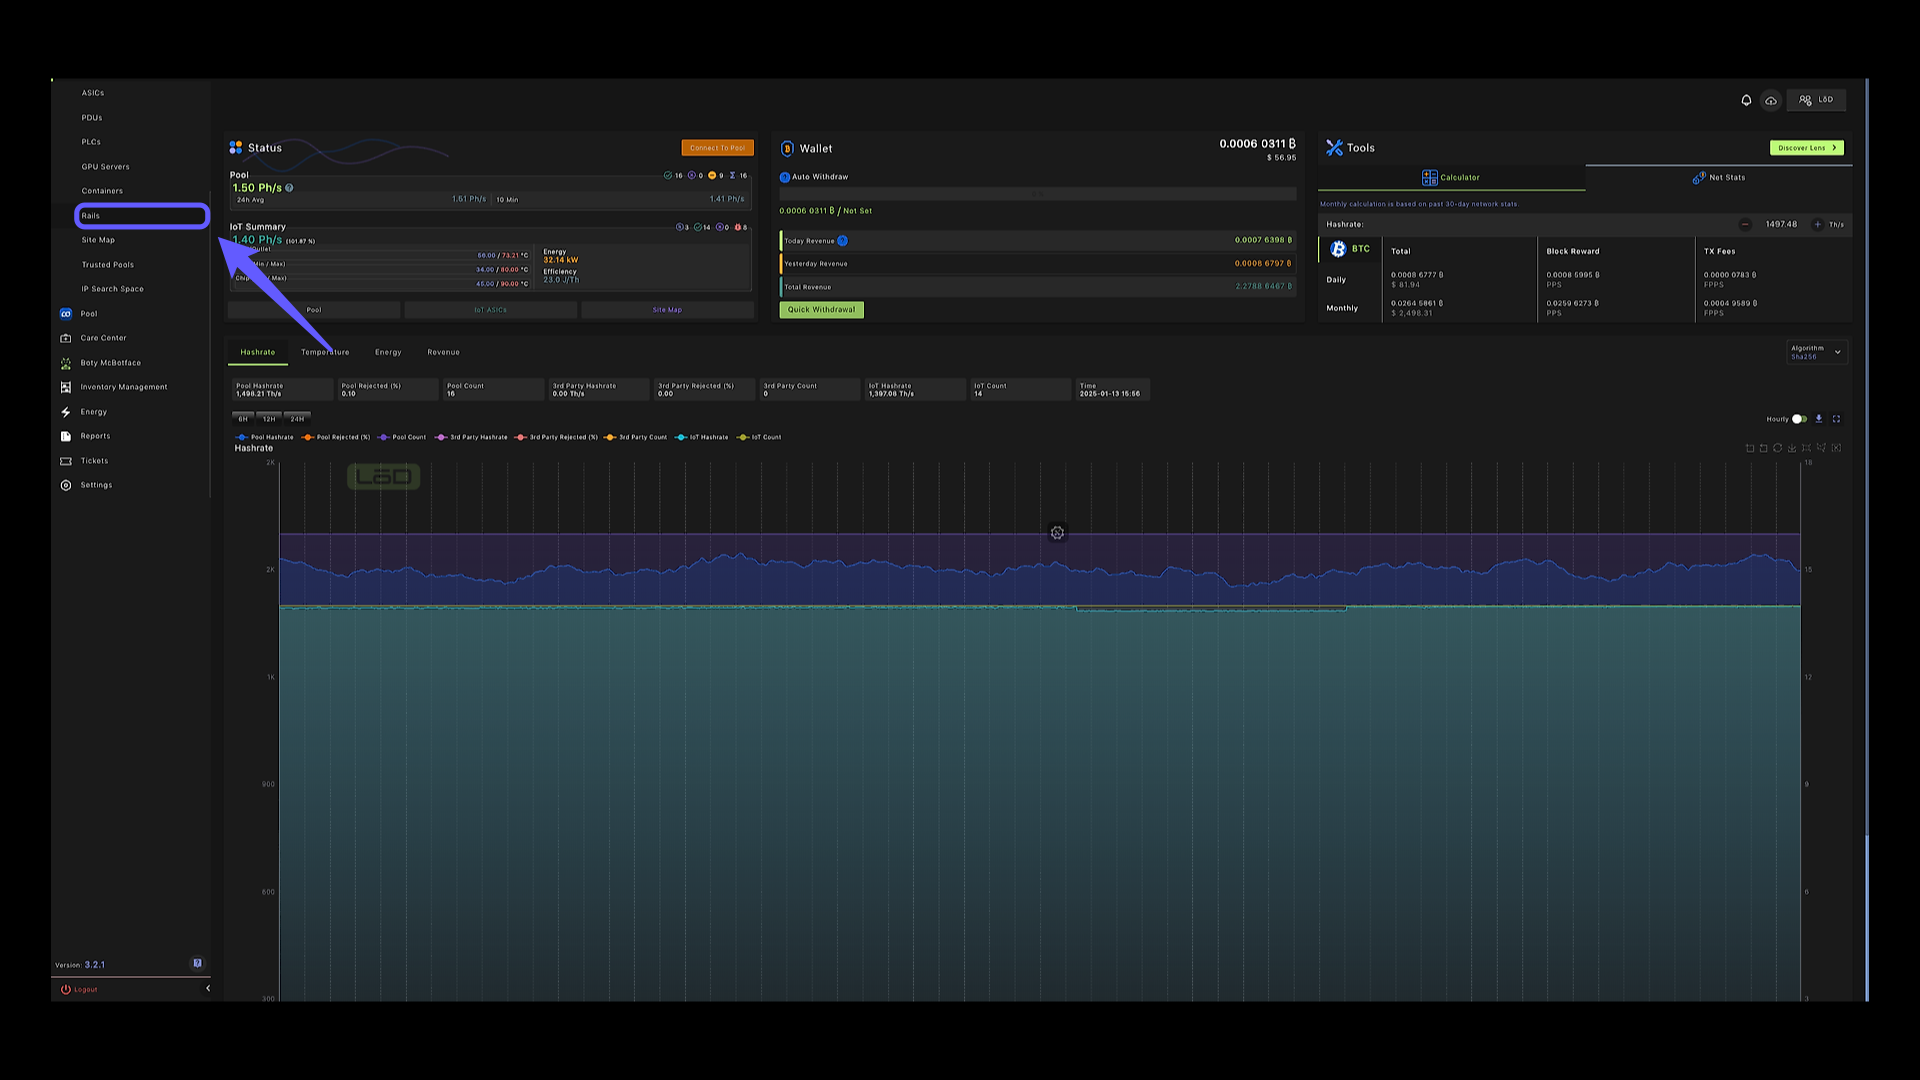
2. Navigate to Rails #
Select the ‘Rails’ option from the menu.
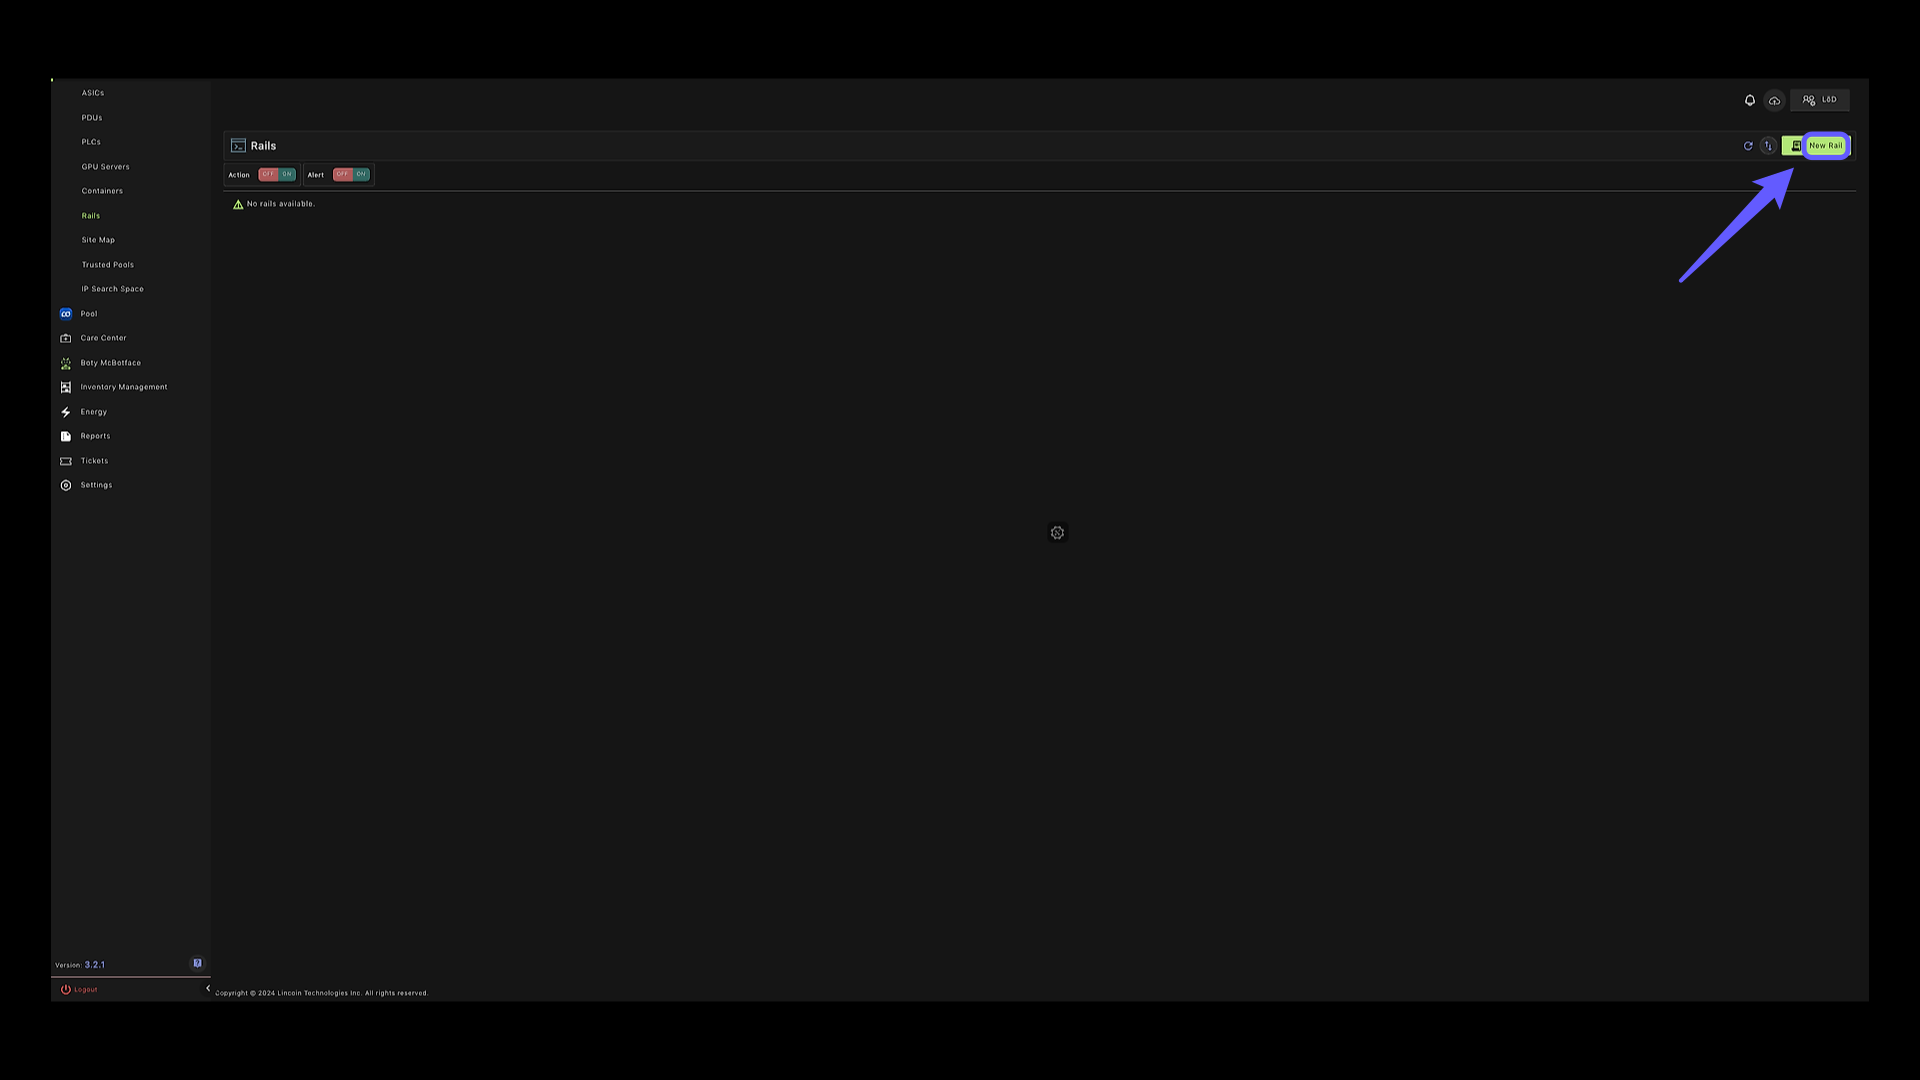
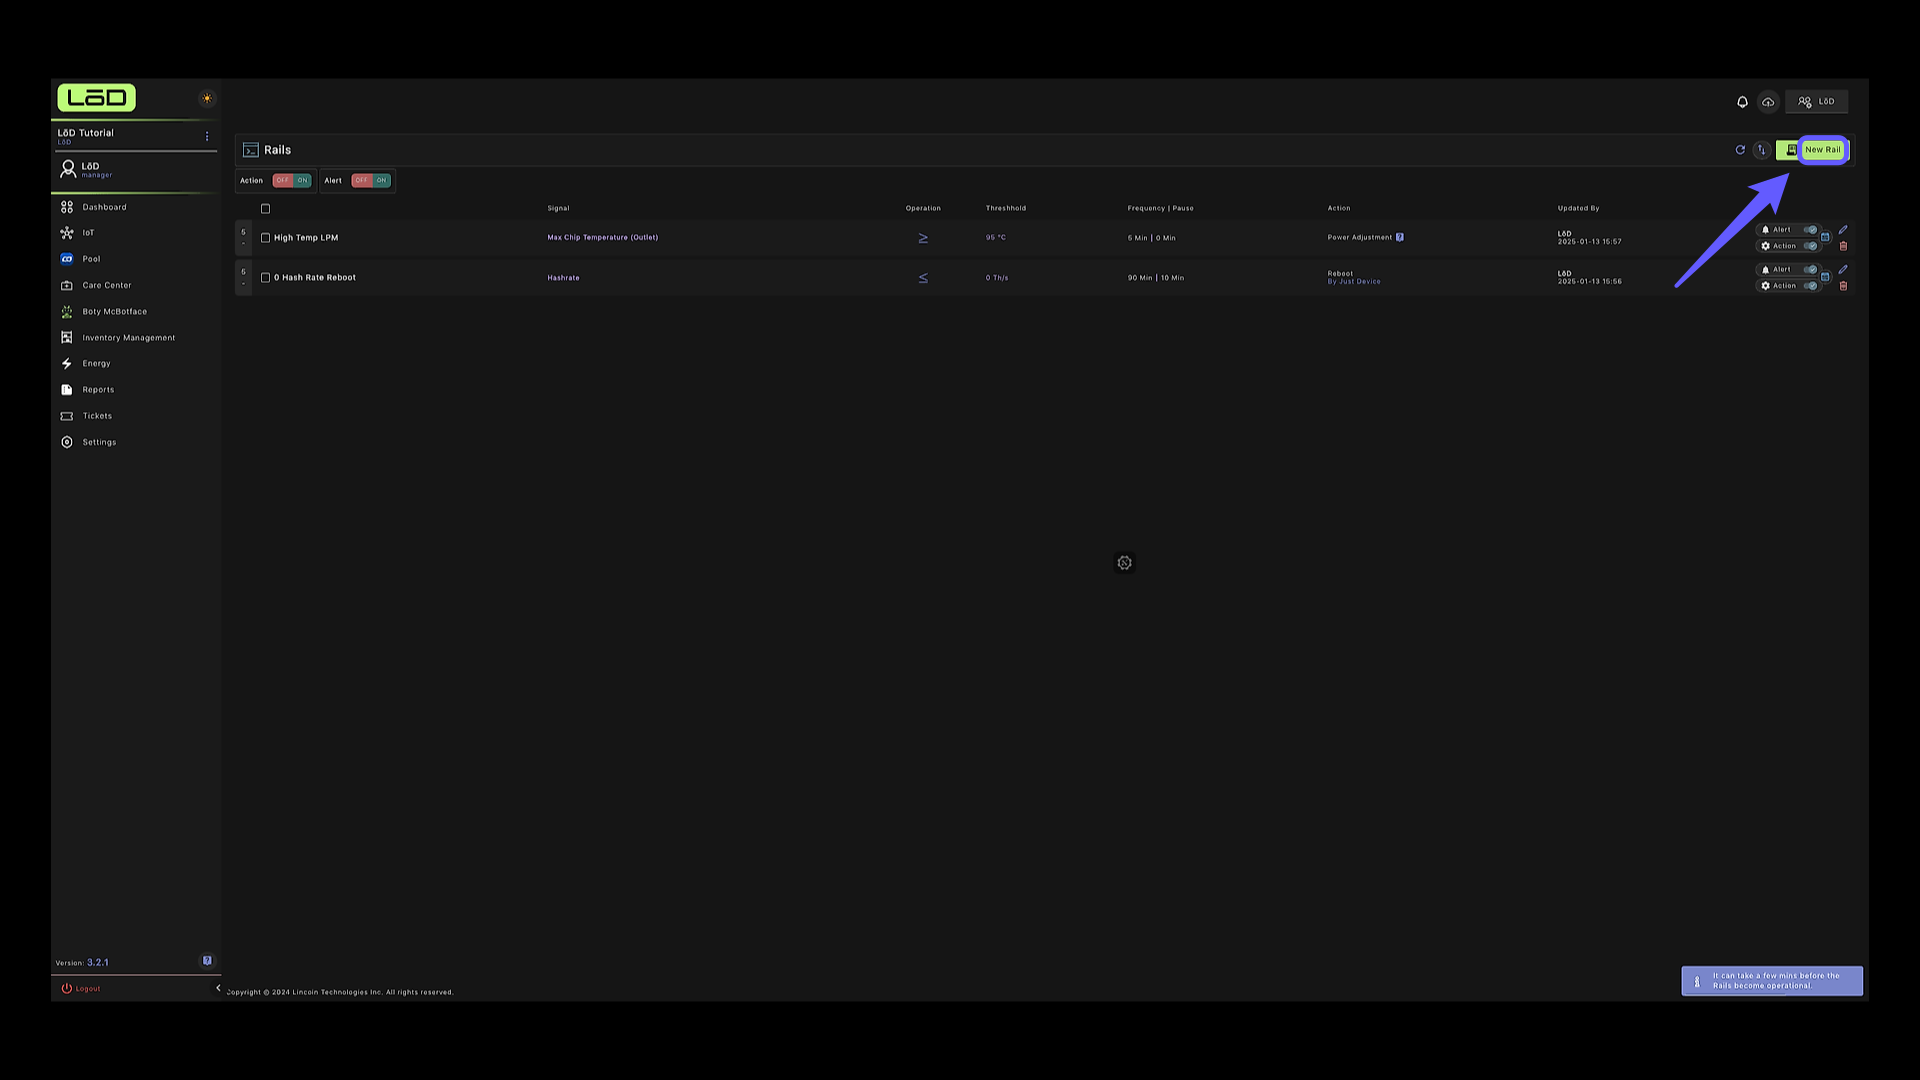
3. Create New Rail #
Click on create new rail to create our first RAIL.
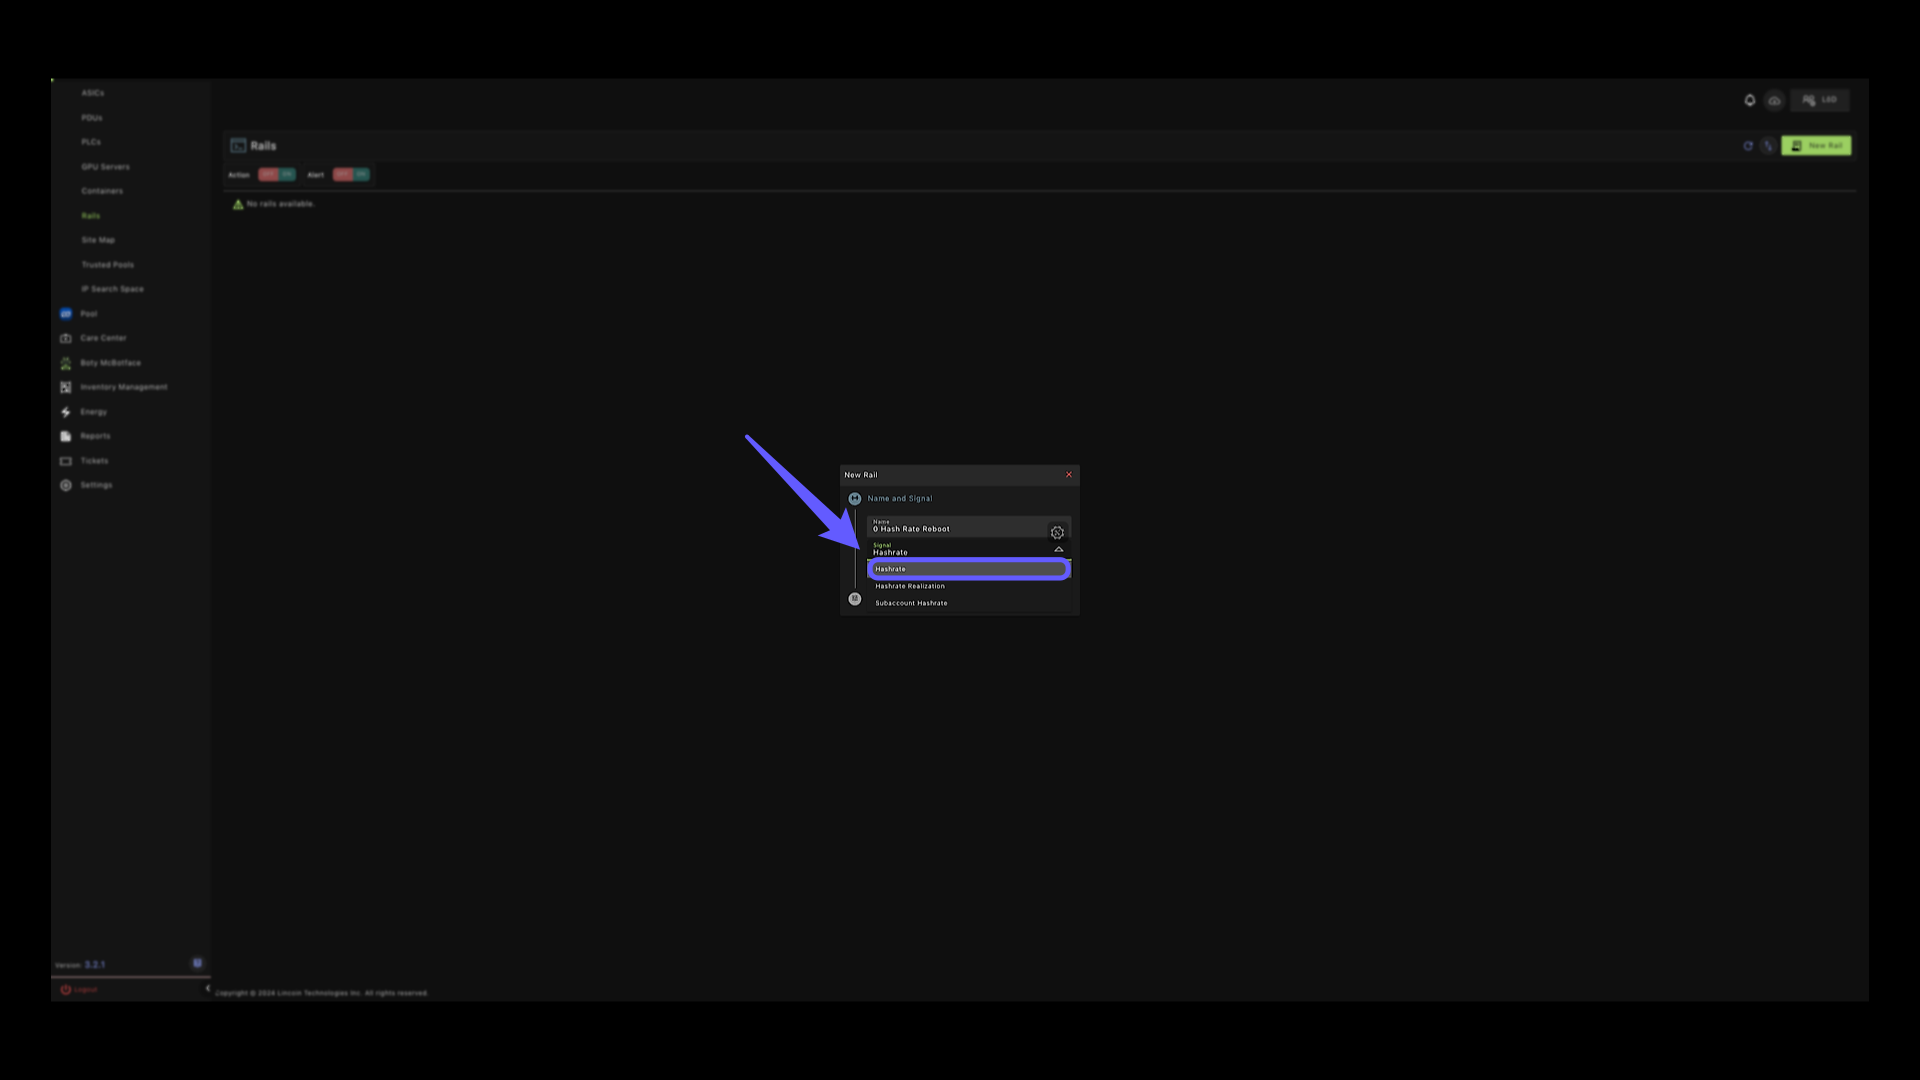
4. Hashrate Reboot Rail #
We’ll start off by creating a hashrate reboot RAIL so that anytime a device is not hashing it gets rebooted.
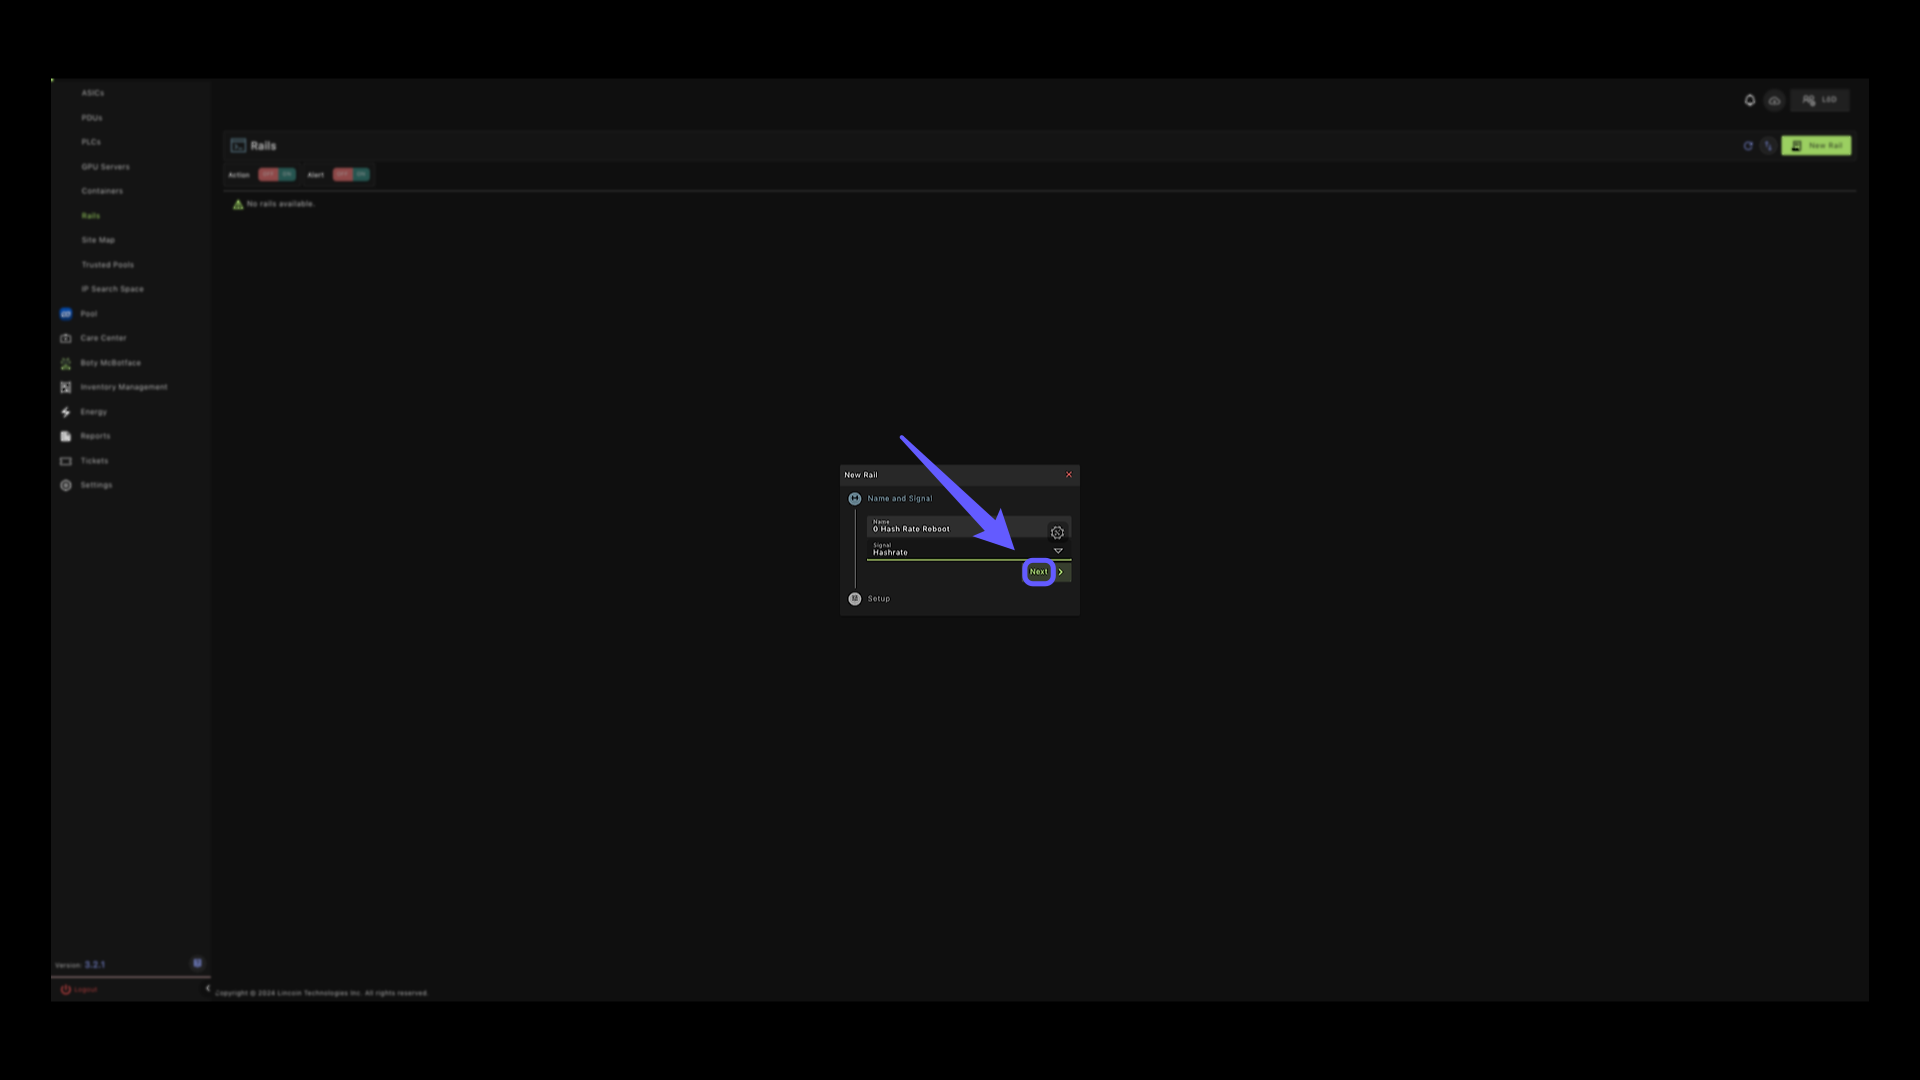
5. Proceed to Next Step #
Click the ‘Next’ button to continue with the process.
6. Select Operation #
Click on the greater than symbol to change to less than. Next we’ll set the hashrate to zero. So anytime hashrate is at zero, a reboot command will be sent to the device.
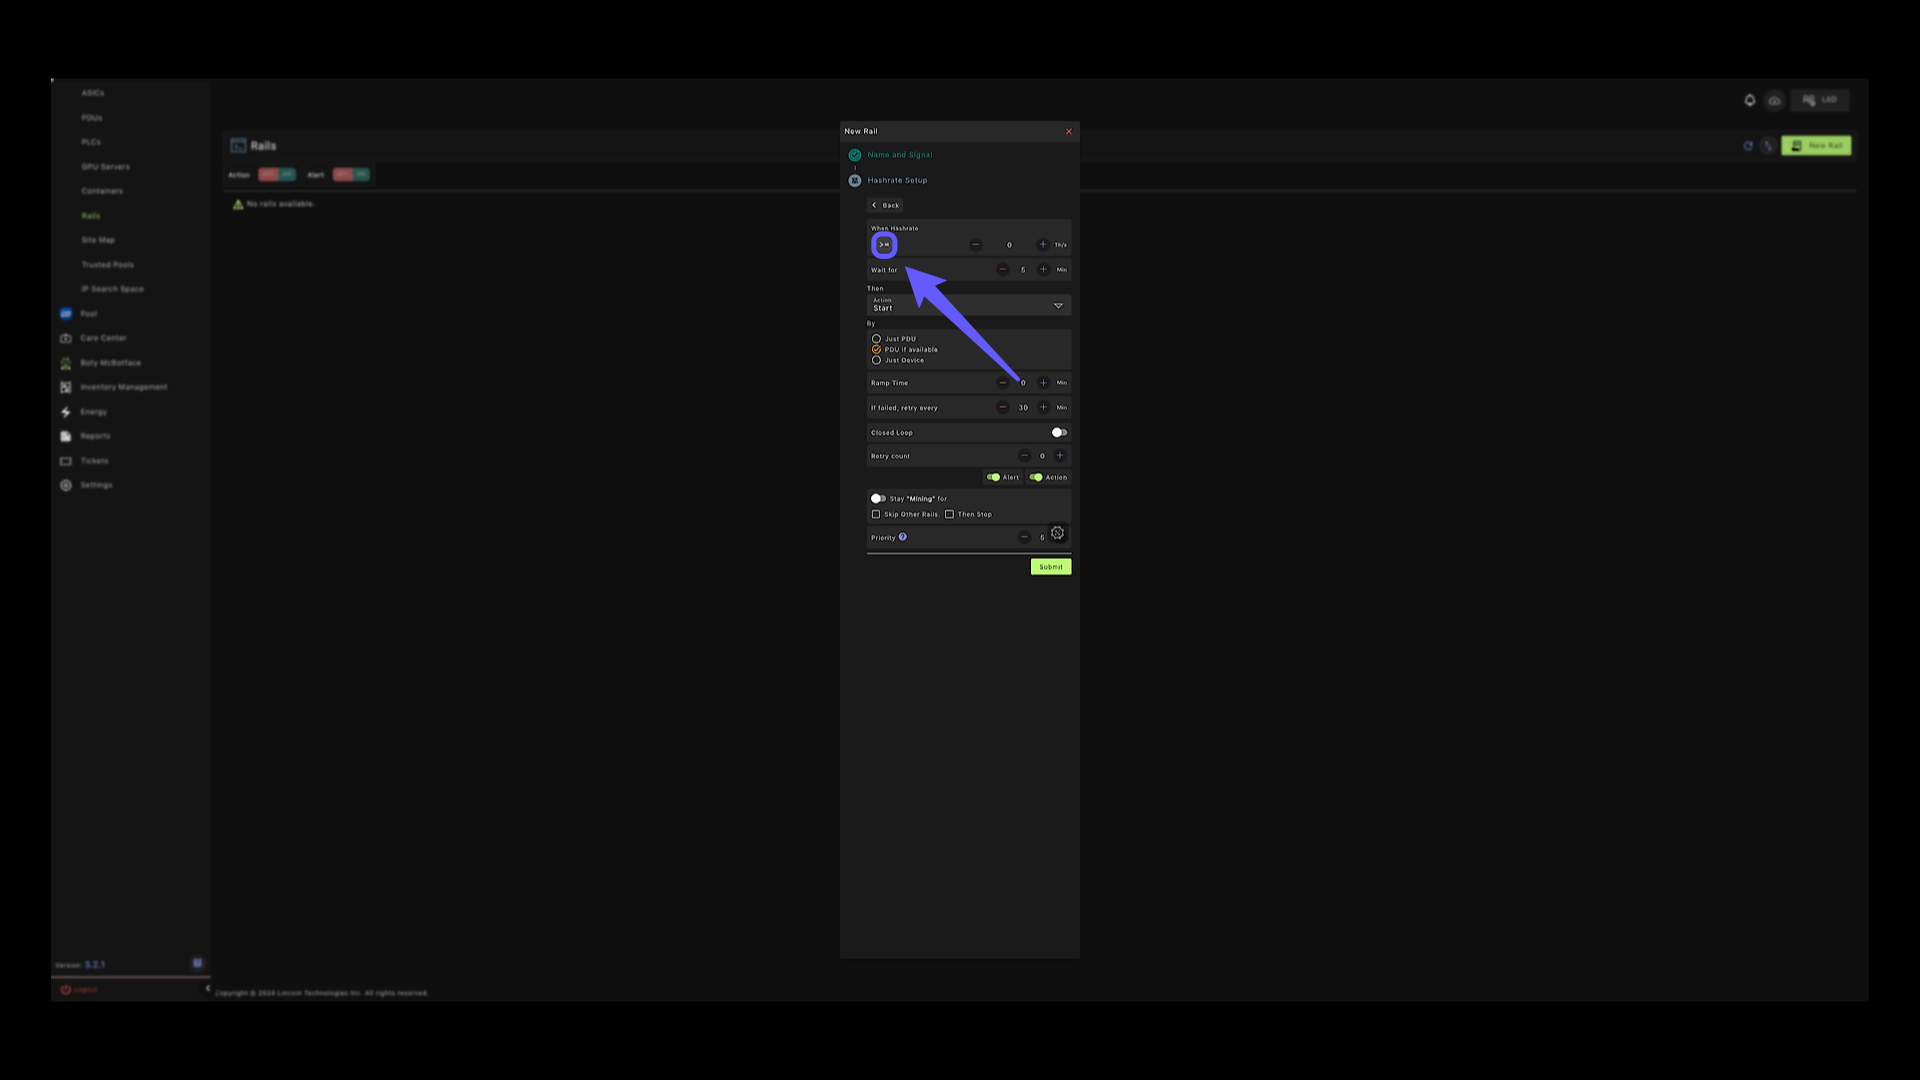
7. Time Option #
Now, sometimes it takes time for some devices to ramp up, so we want to wait for 90 minutes before sending a command in case a device may be ramping up.

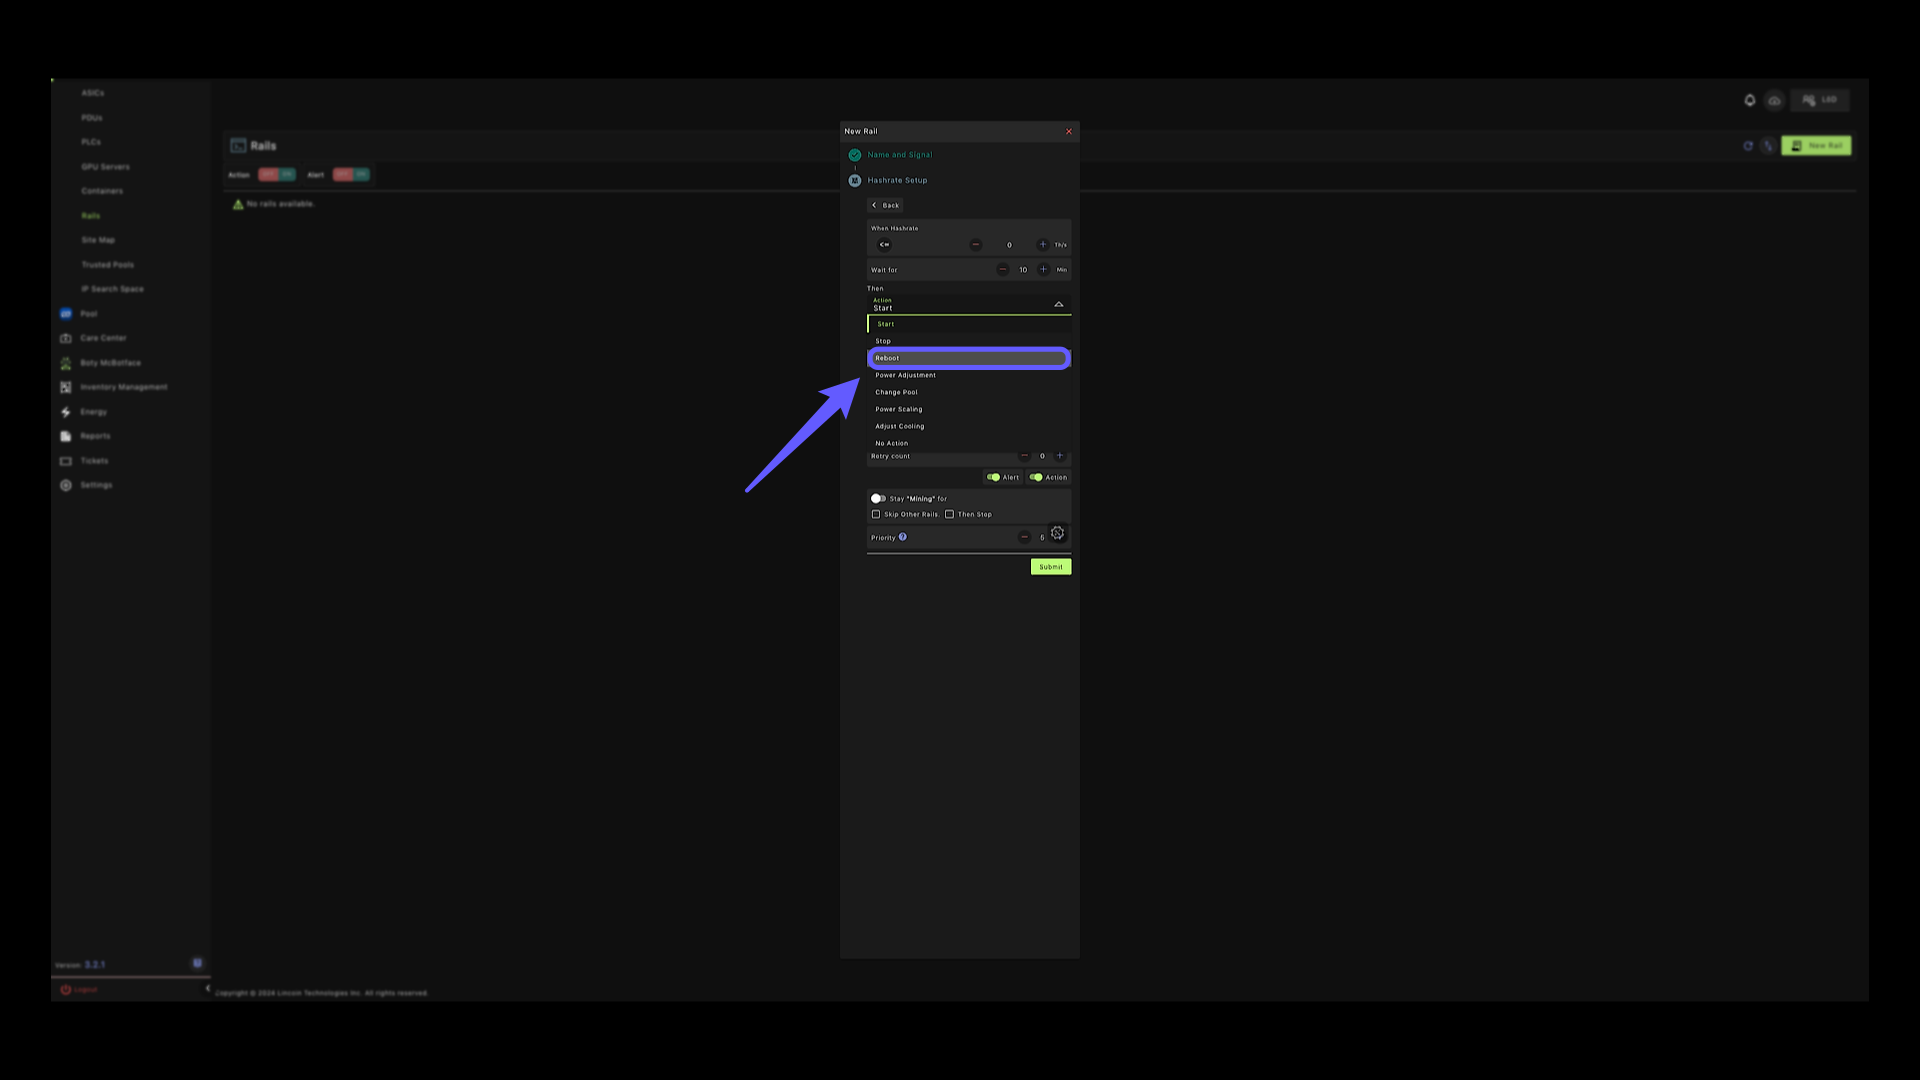
8. Reboot Option #
Next, let’s change the action item to reboot.
9. Commands #
Commands can be sent via PDU only, this power cycles the PDU.
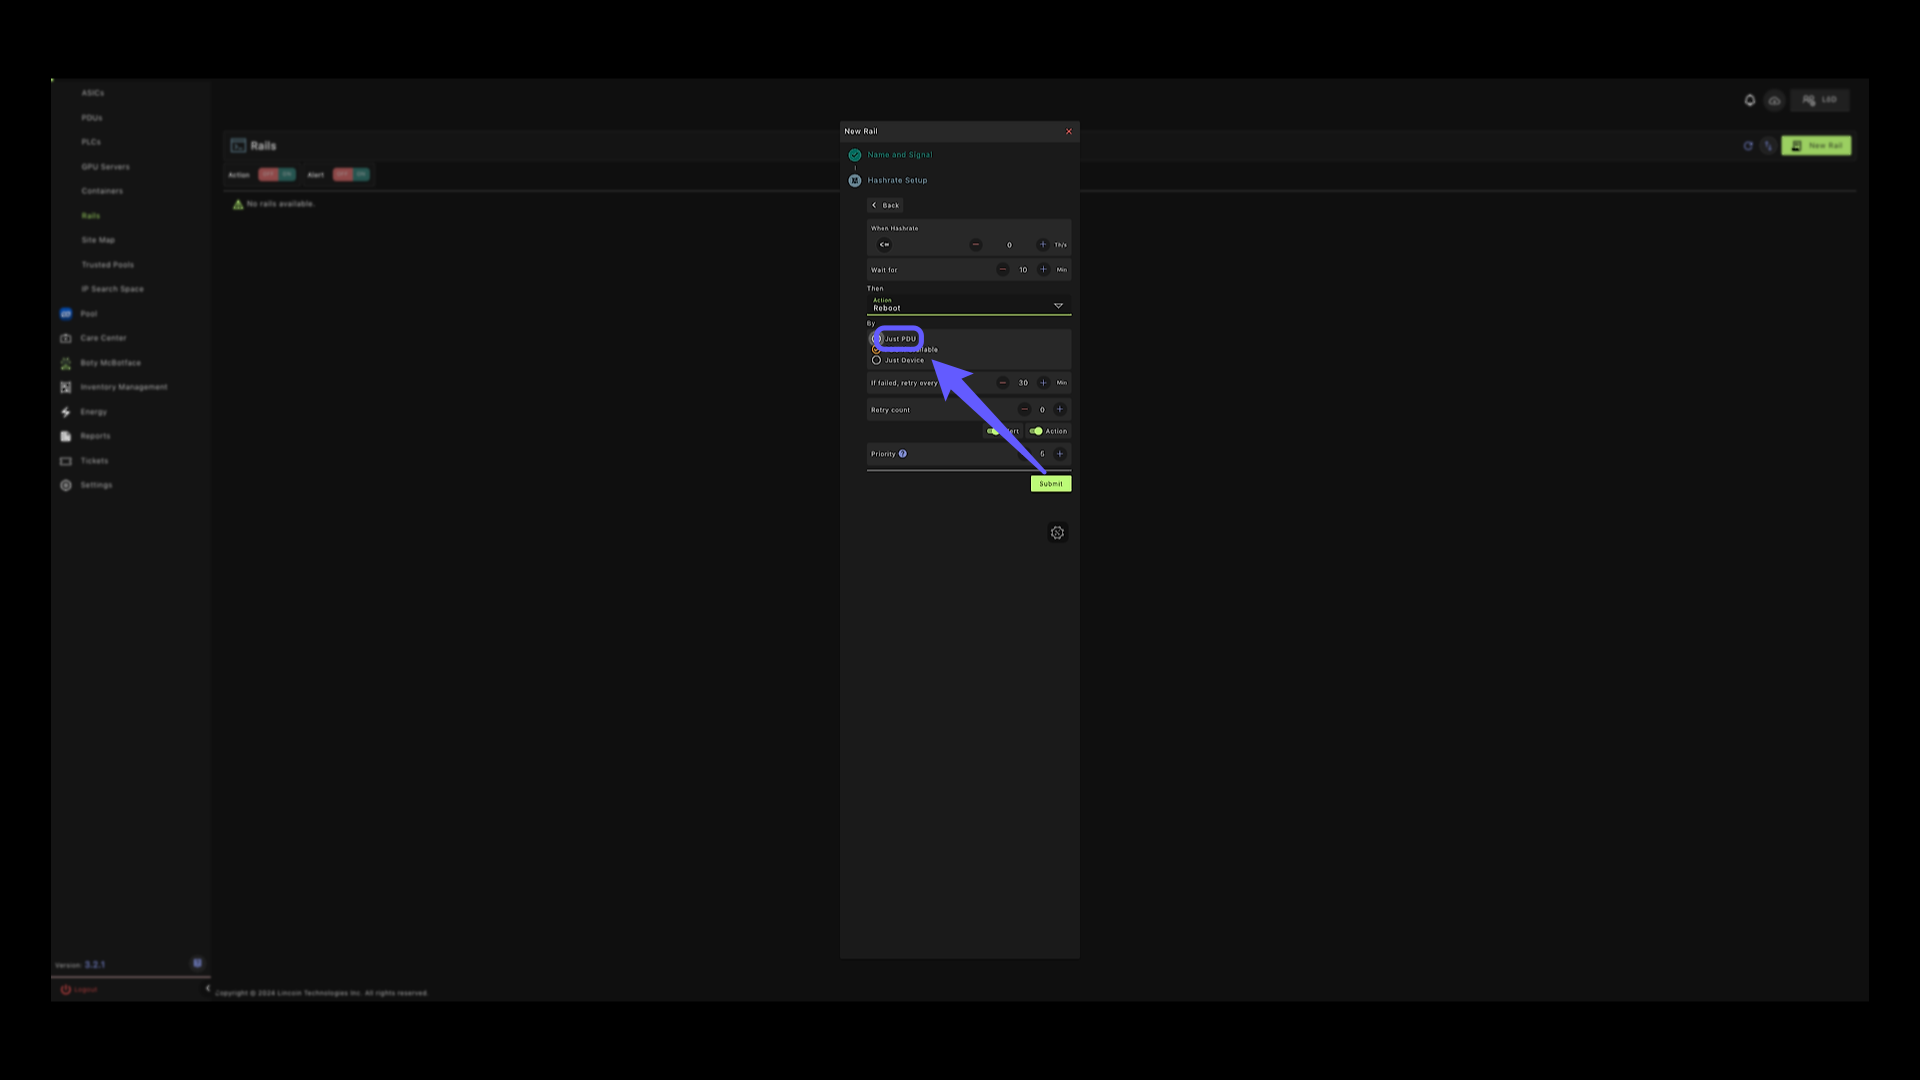
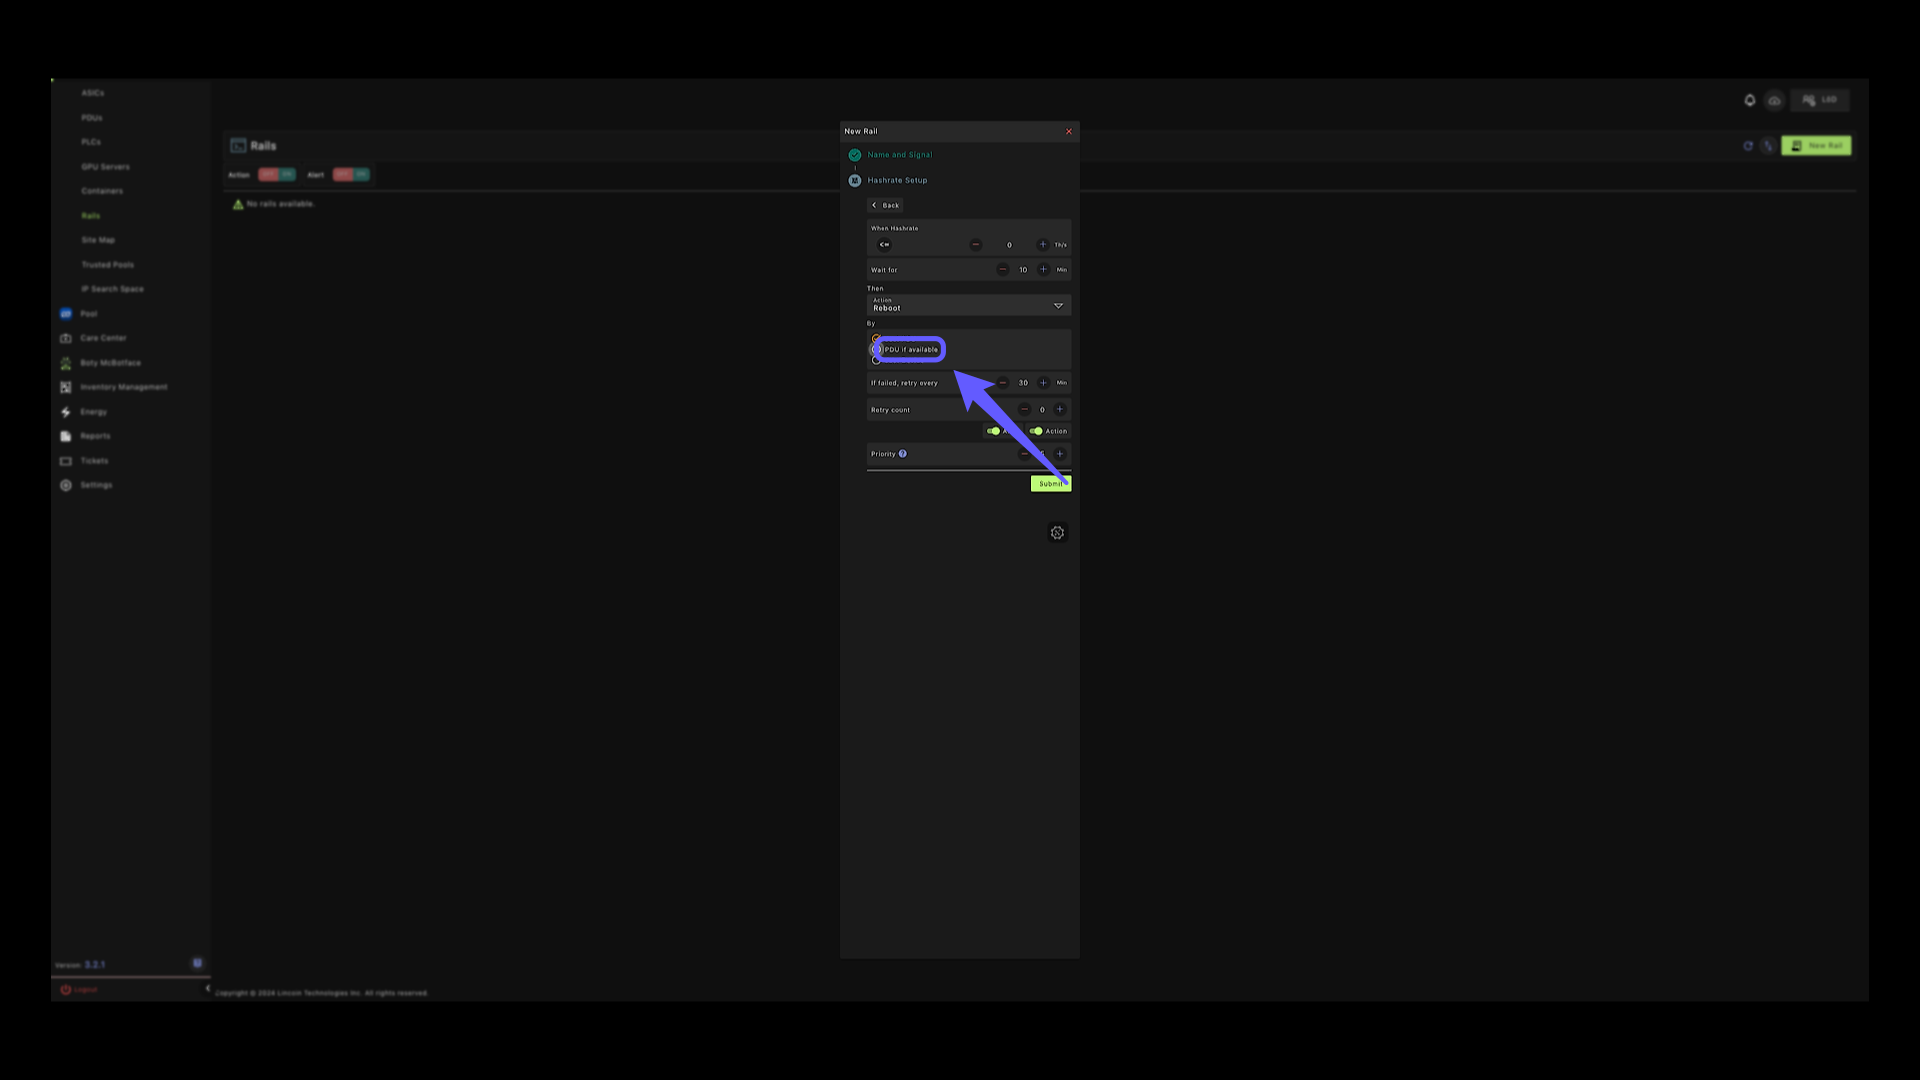
10. Commands #
This sends the command to PDU if available to power cycle, if failed, it will send the command directly to the device.
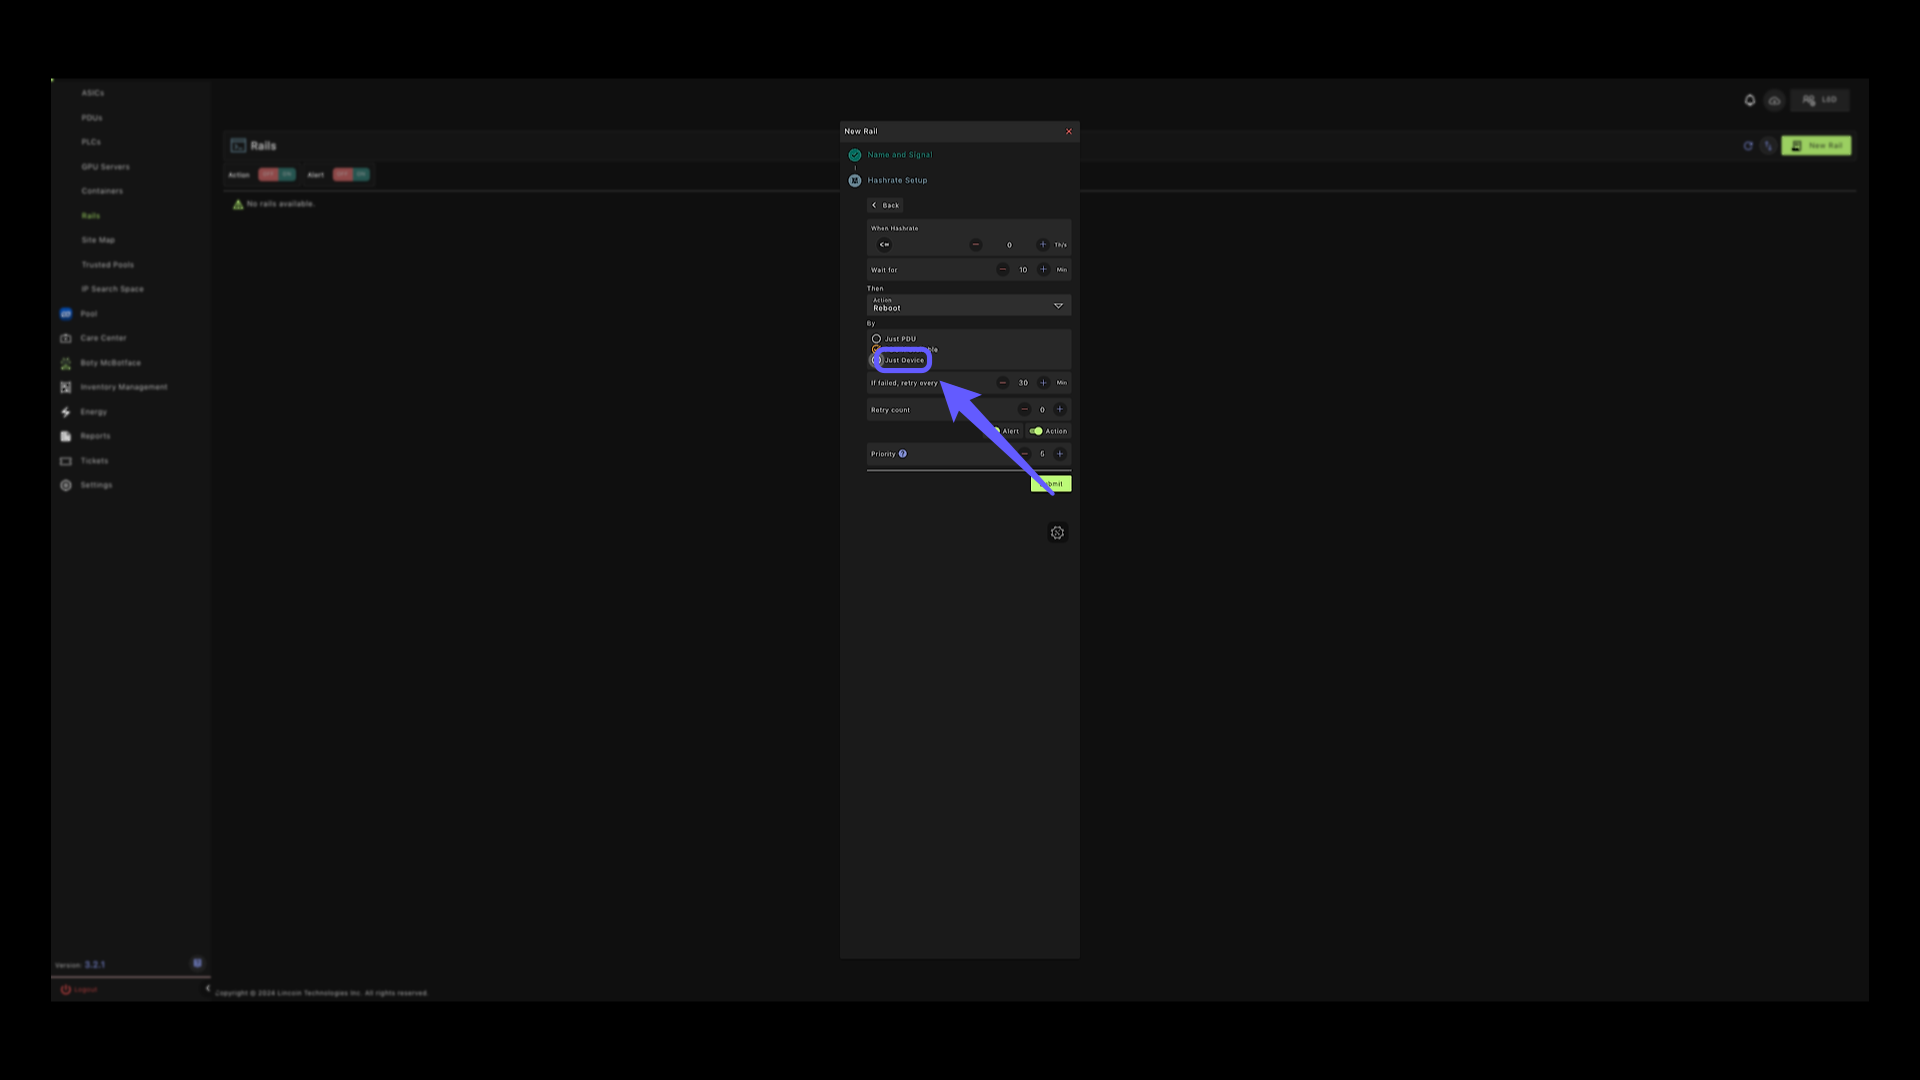
11. Command #
And the last option is to send the command directly to device.
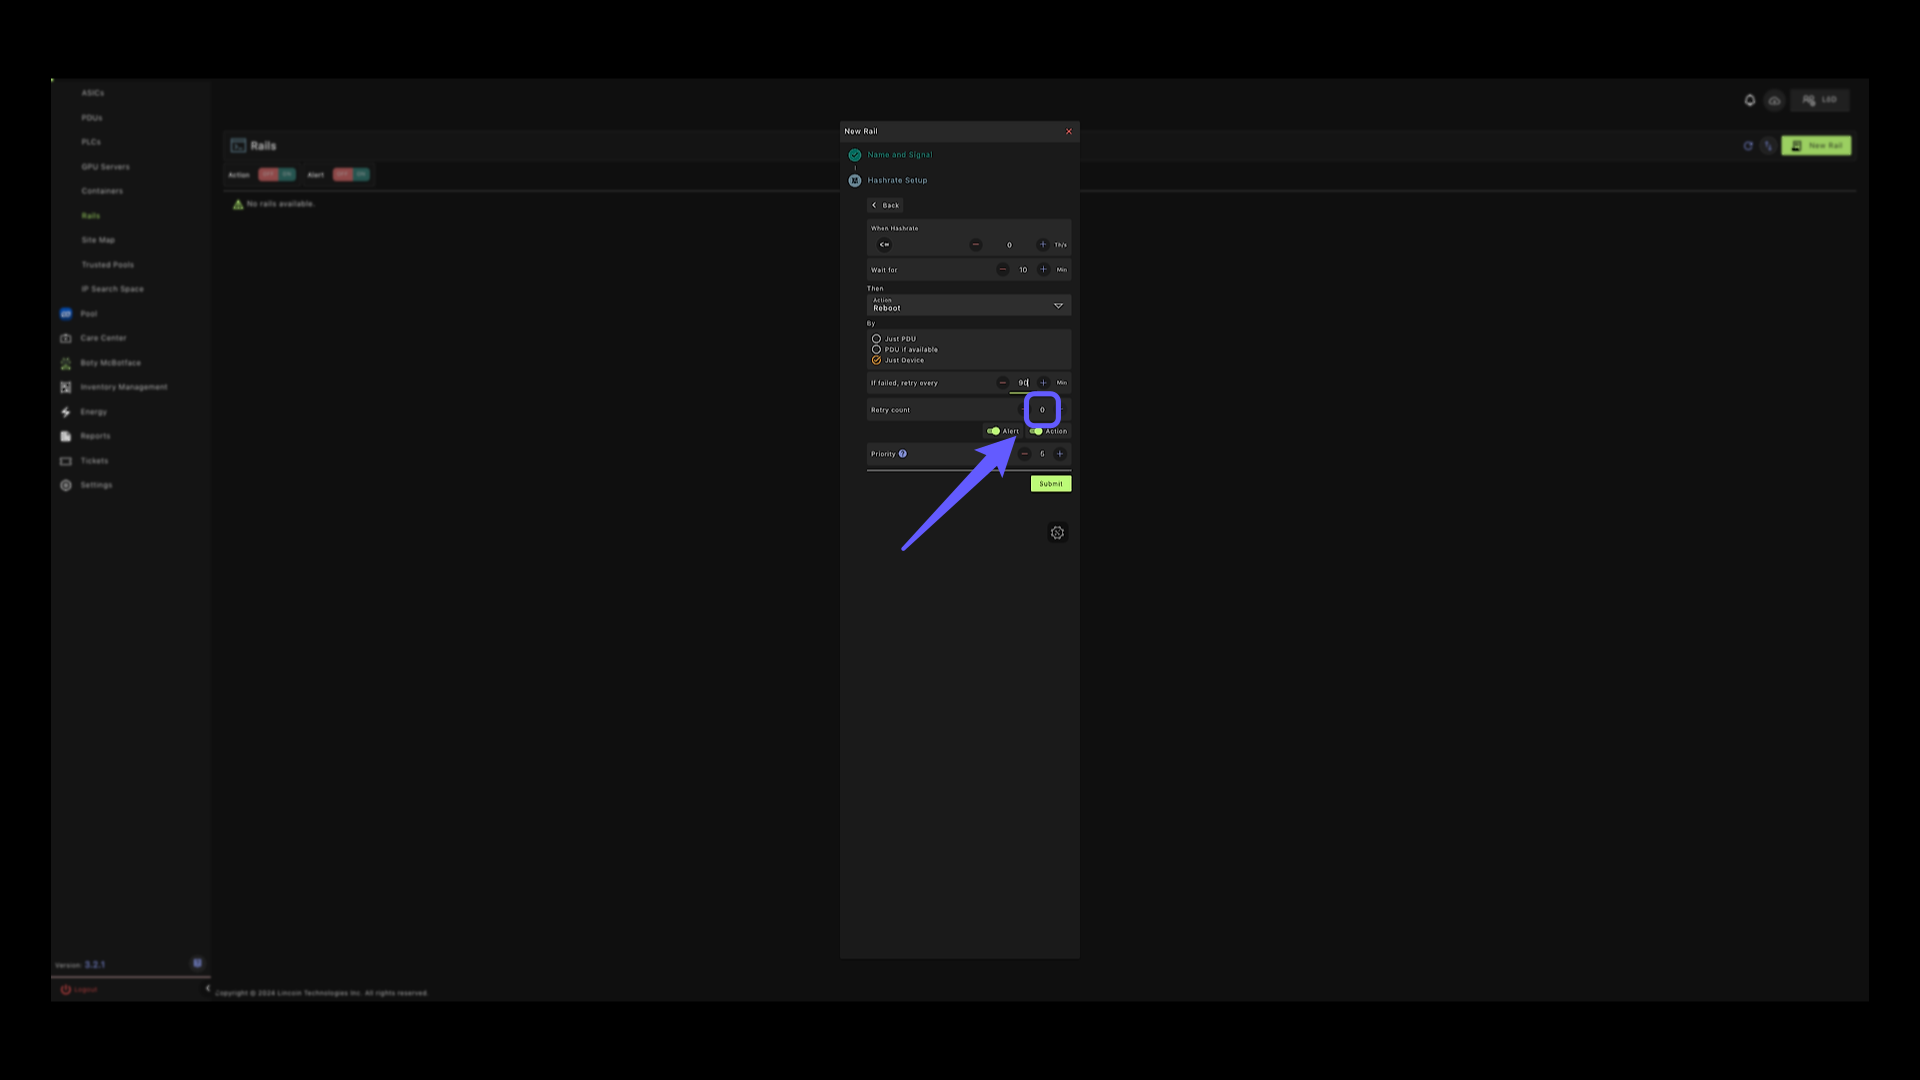
12. Retry Count #
Let’s enter the number of times to retry if failed.
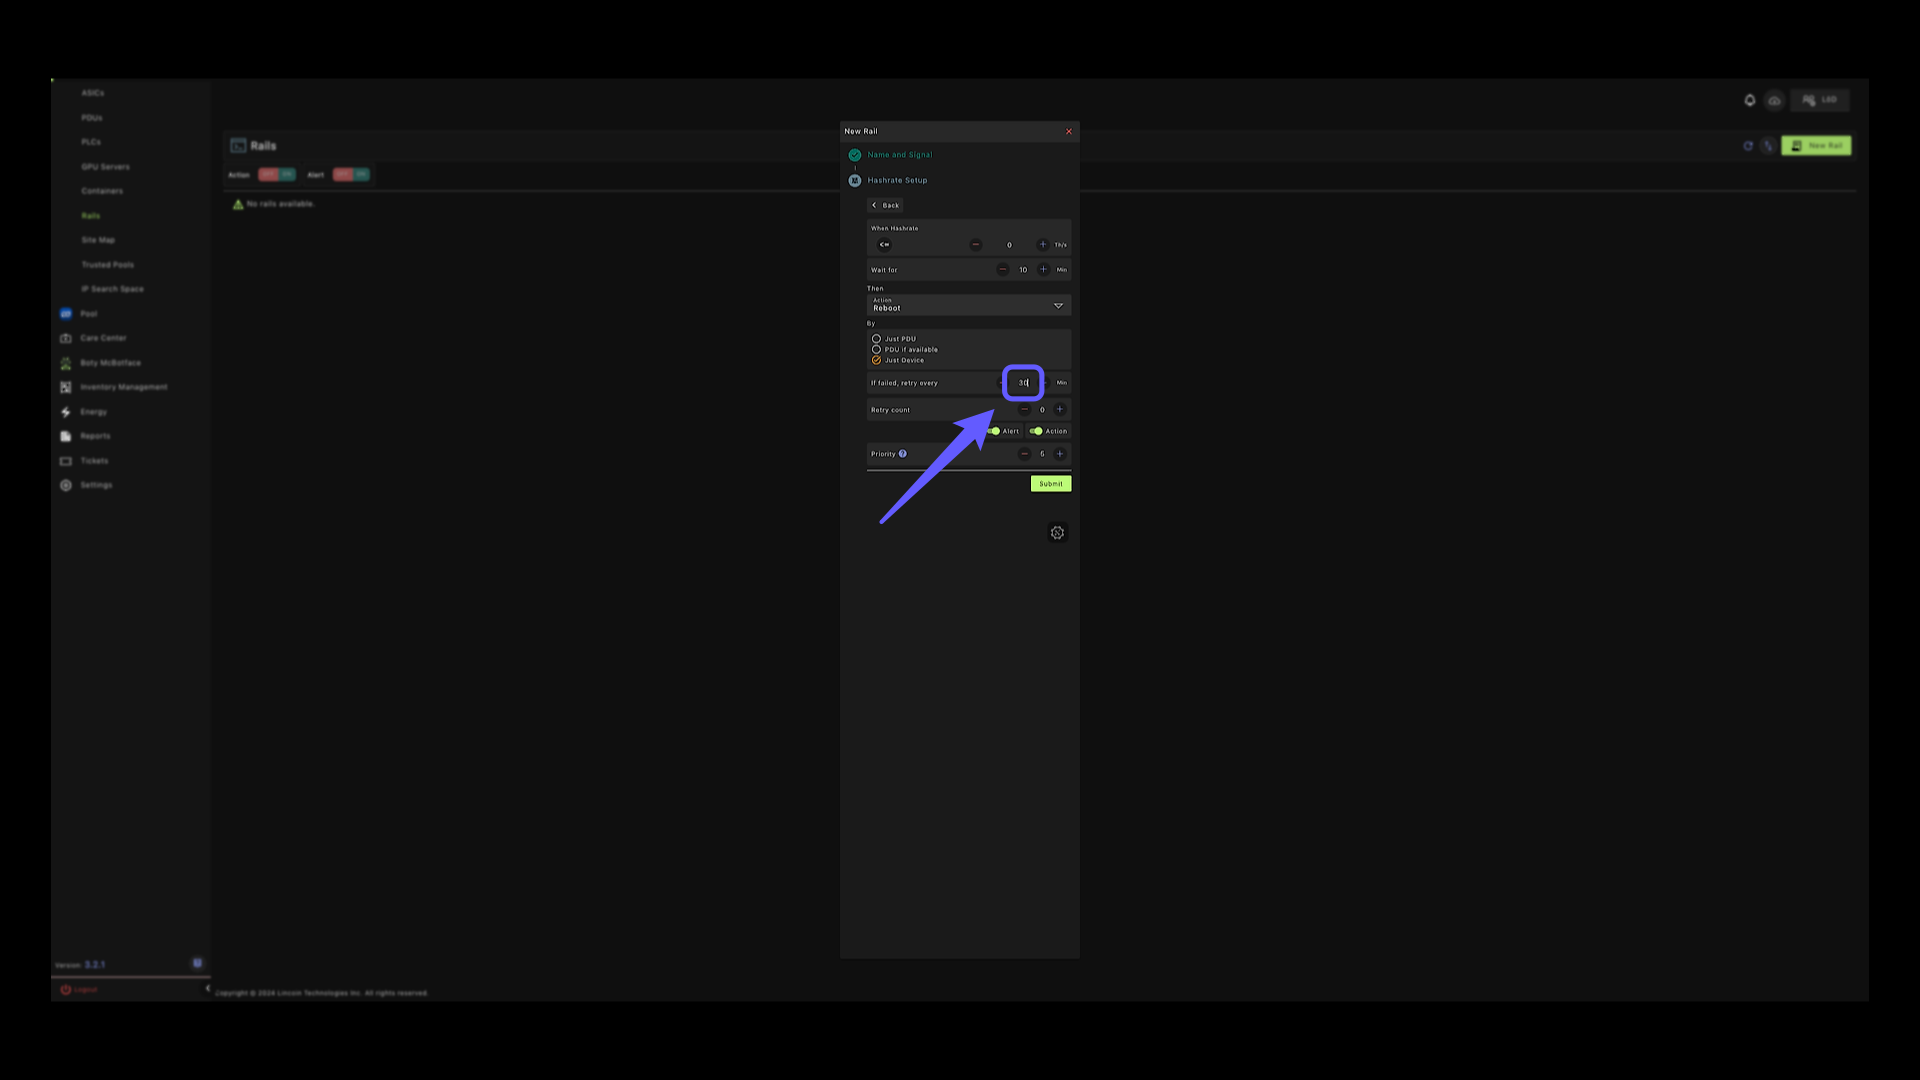
13. Retry Count #
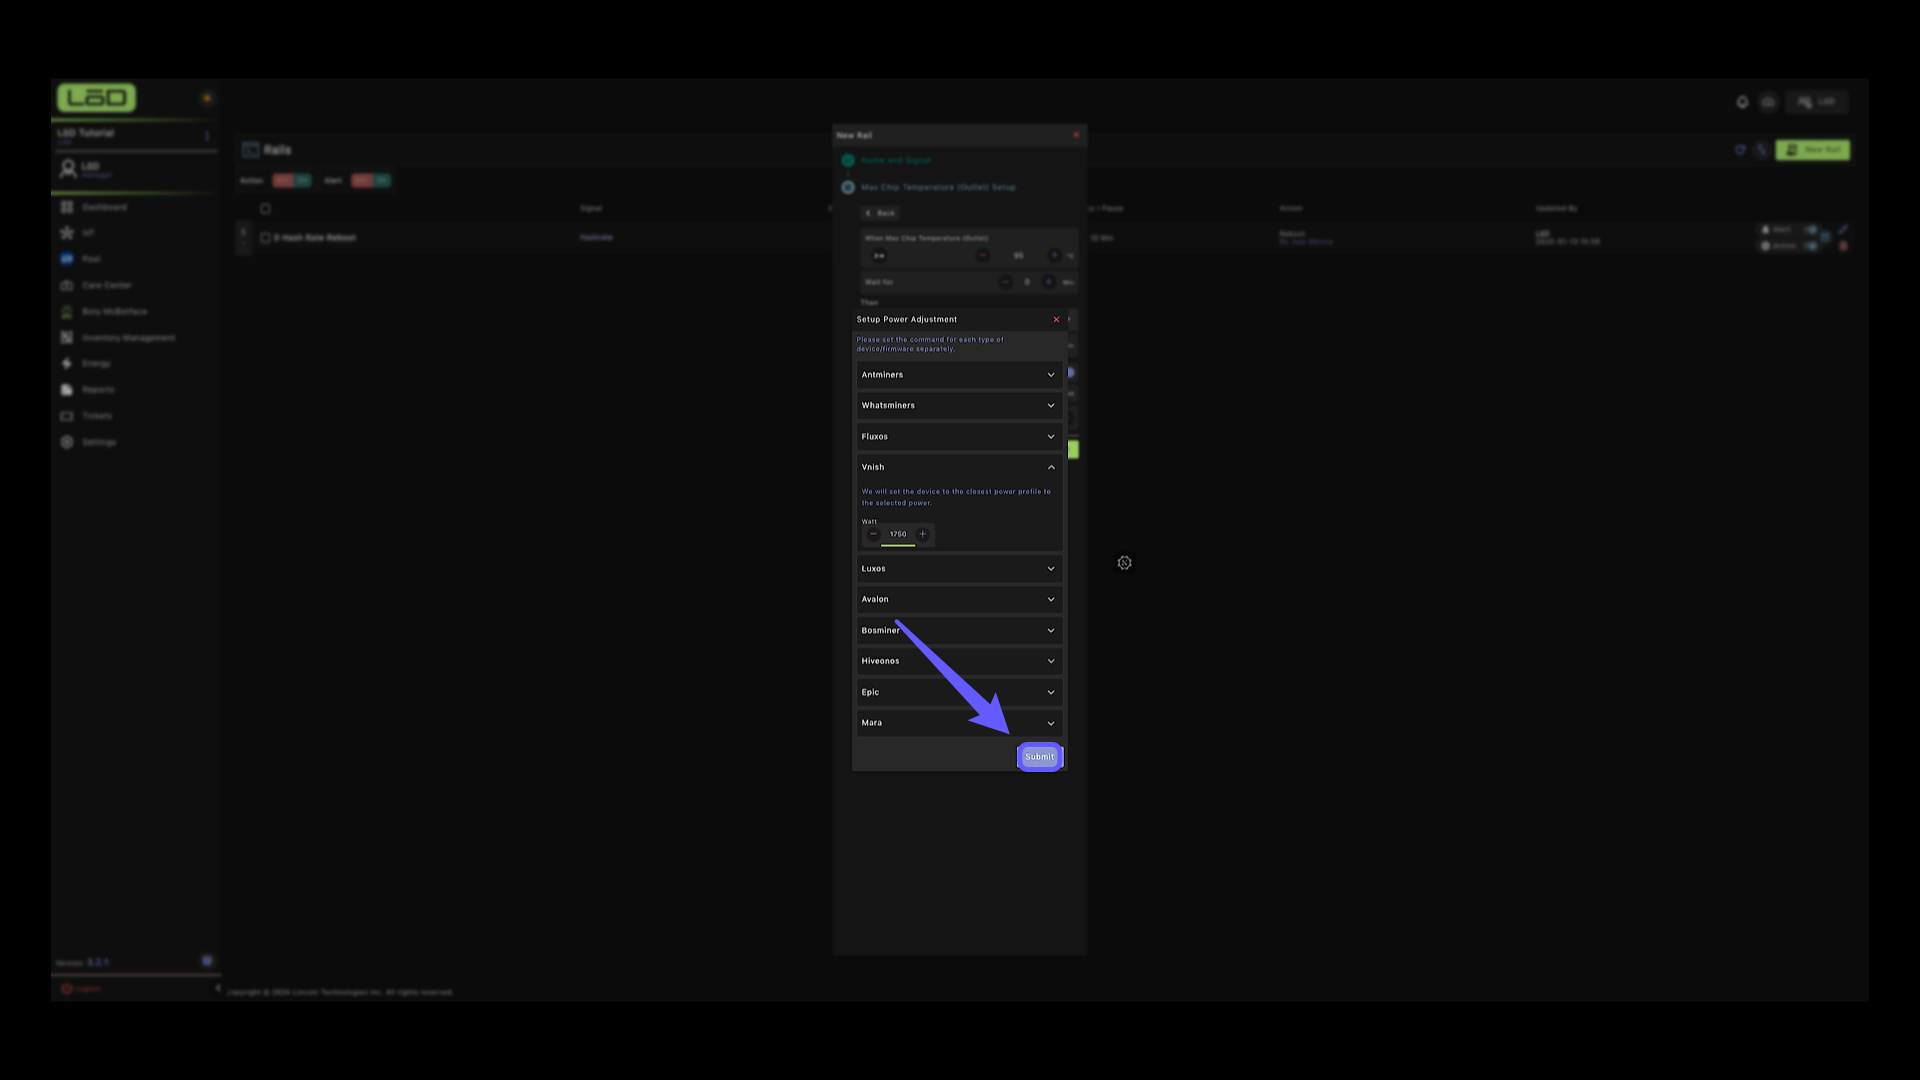
Next, we’ll enter the number of retries.
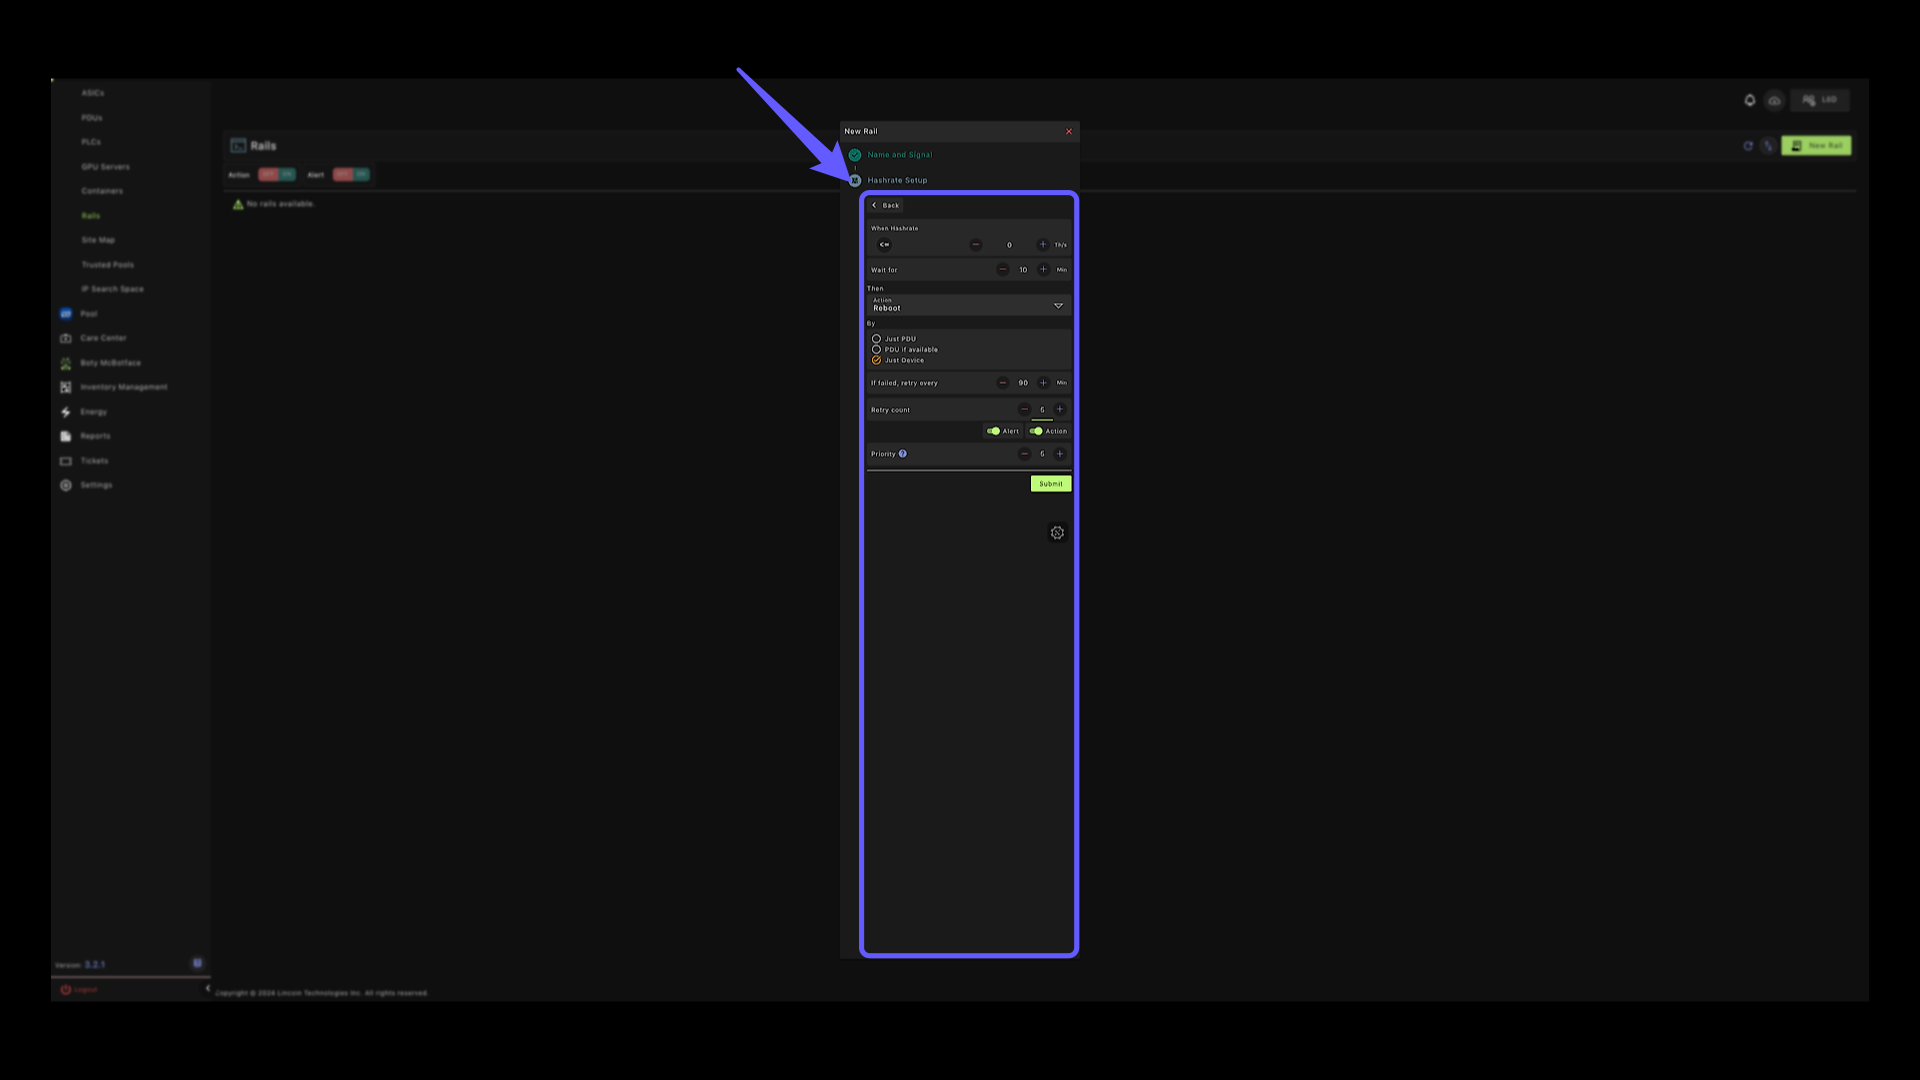
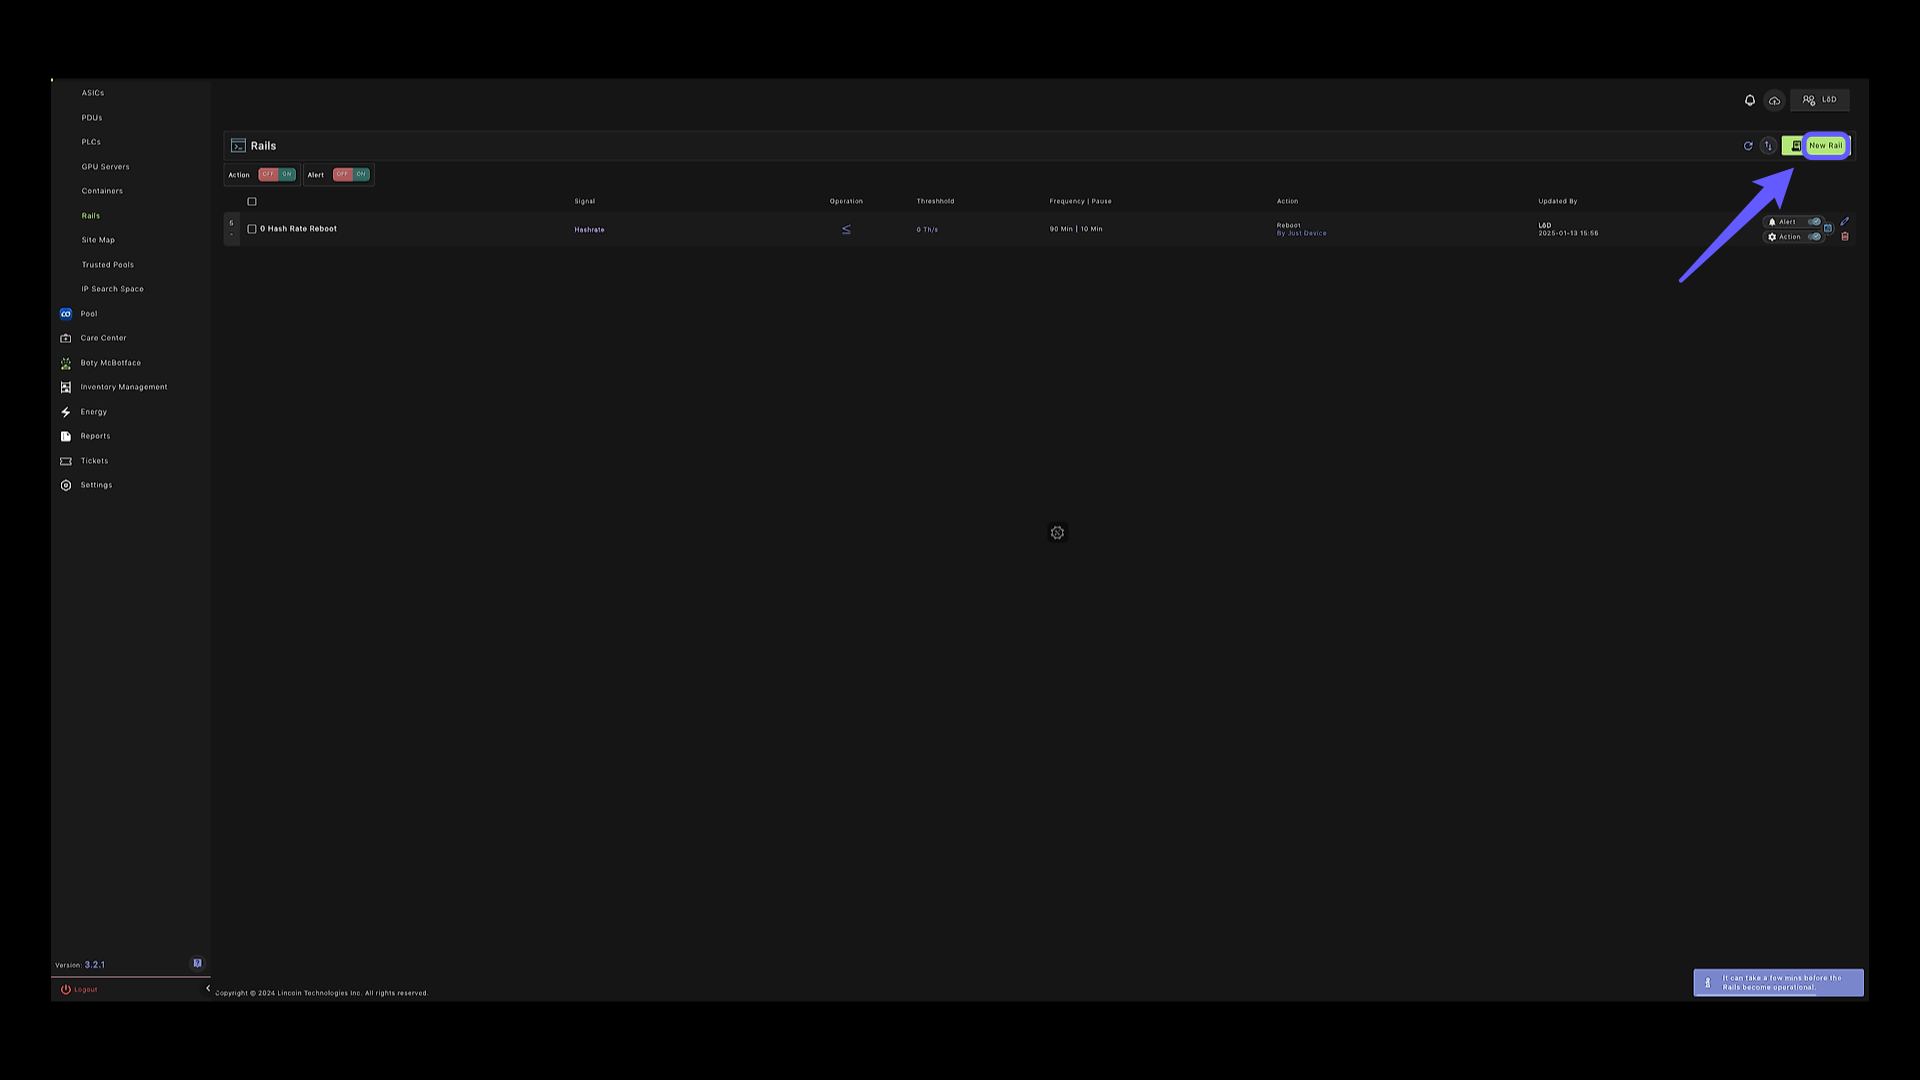
14. 0 Hashrate Reboot #
Now, all the conditions are set so that when a device is not hashing it automatically reboots.
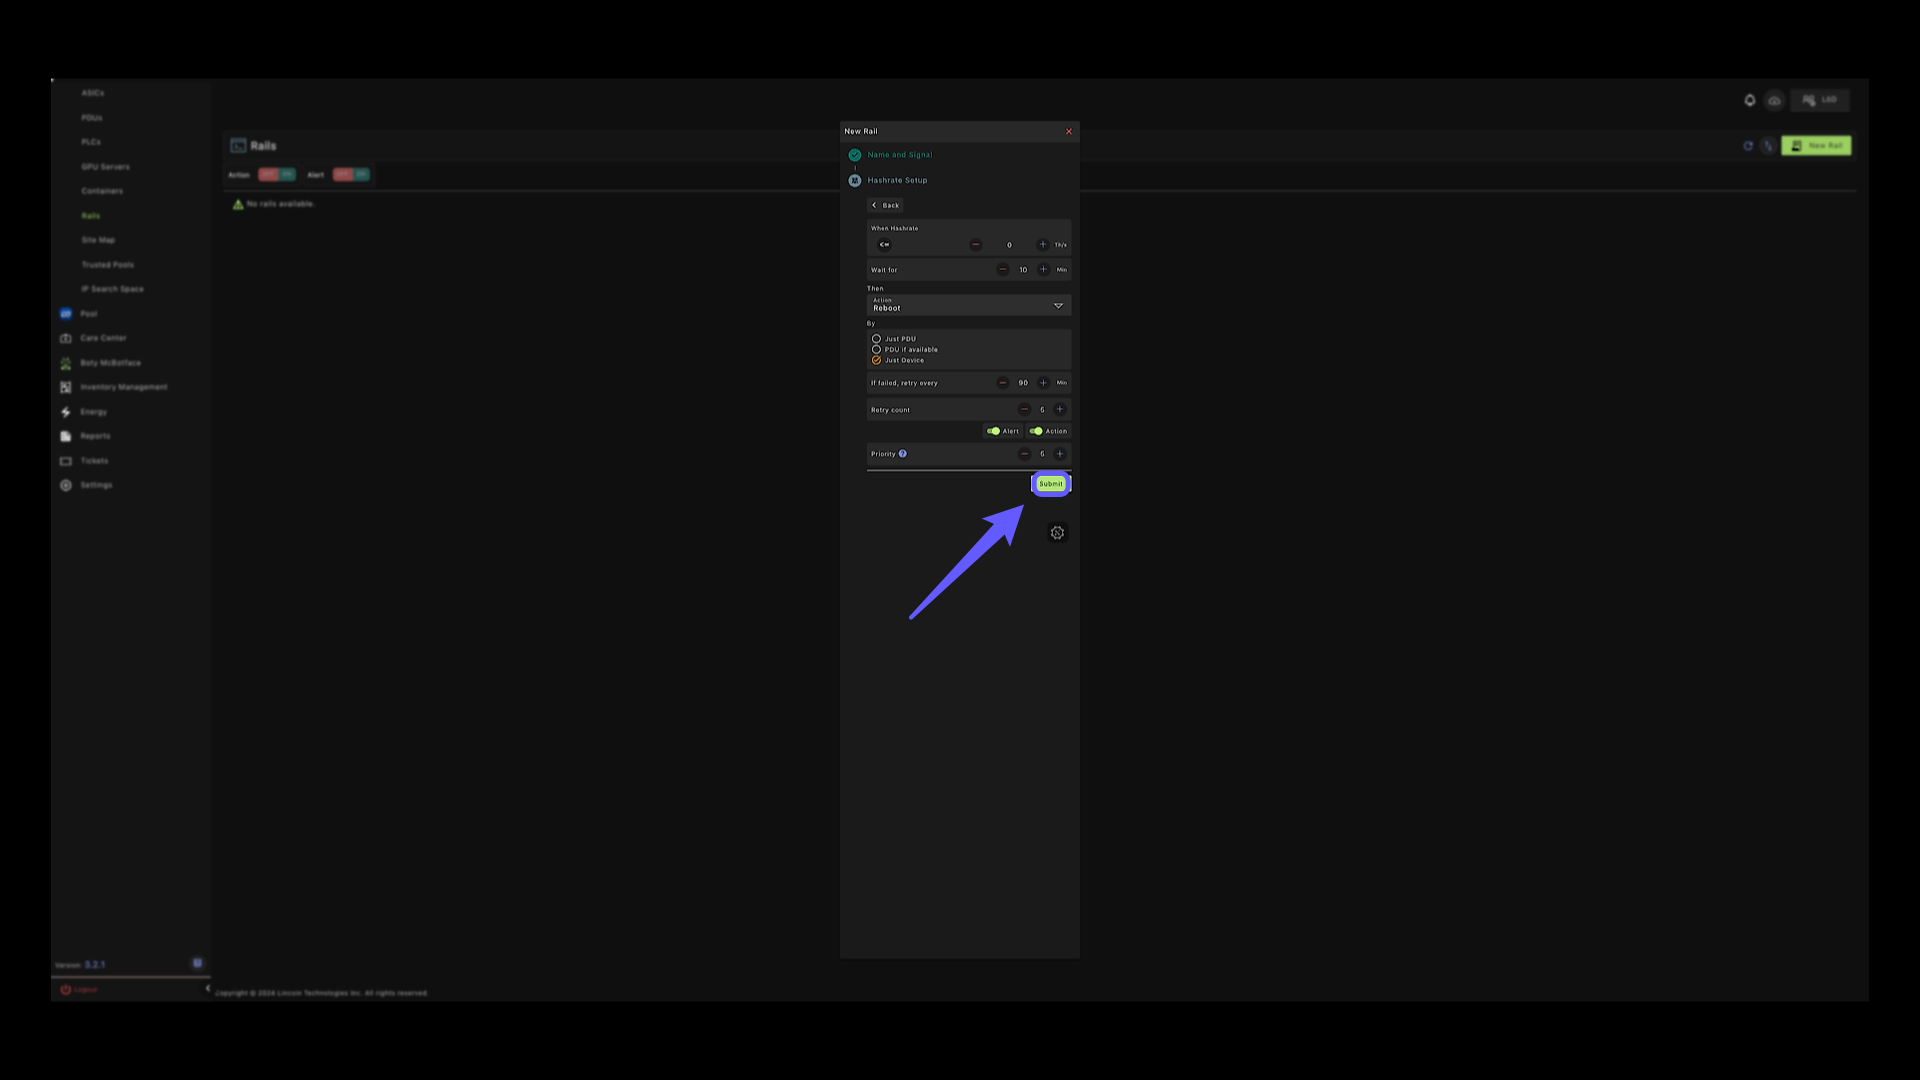
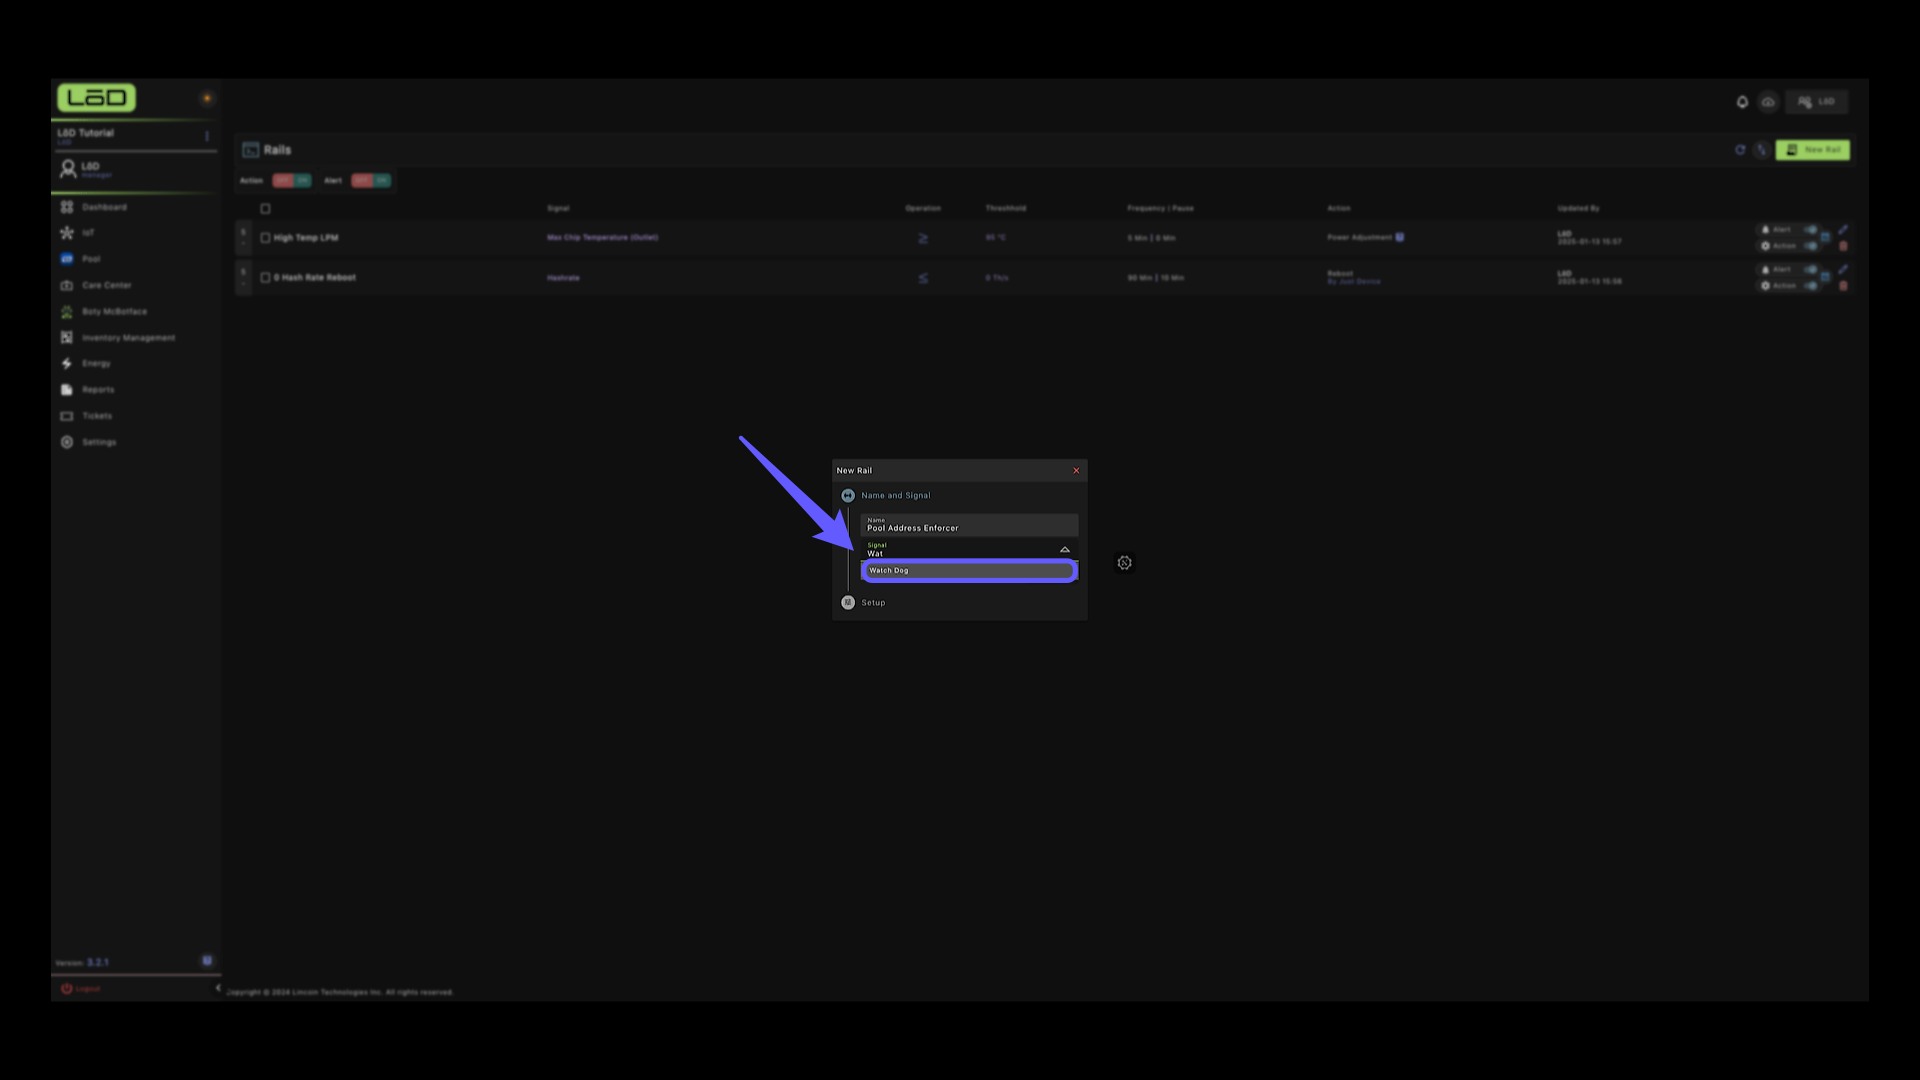
15. Submit Button #
Click the button to submit the RAIL.
16. High Tempeature Rails #
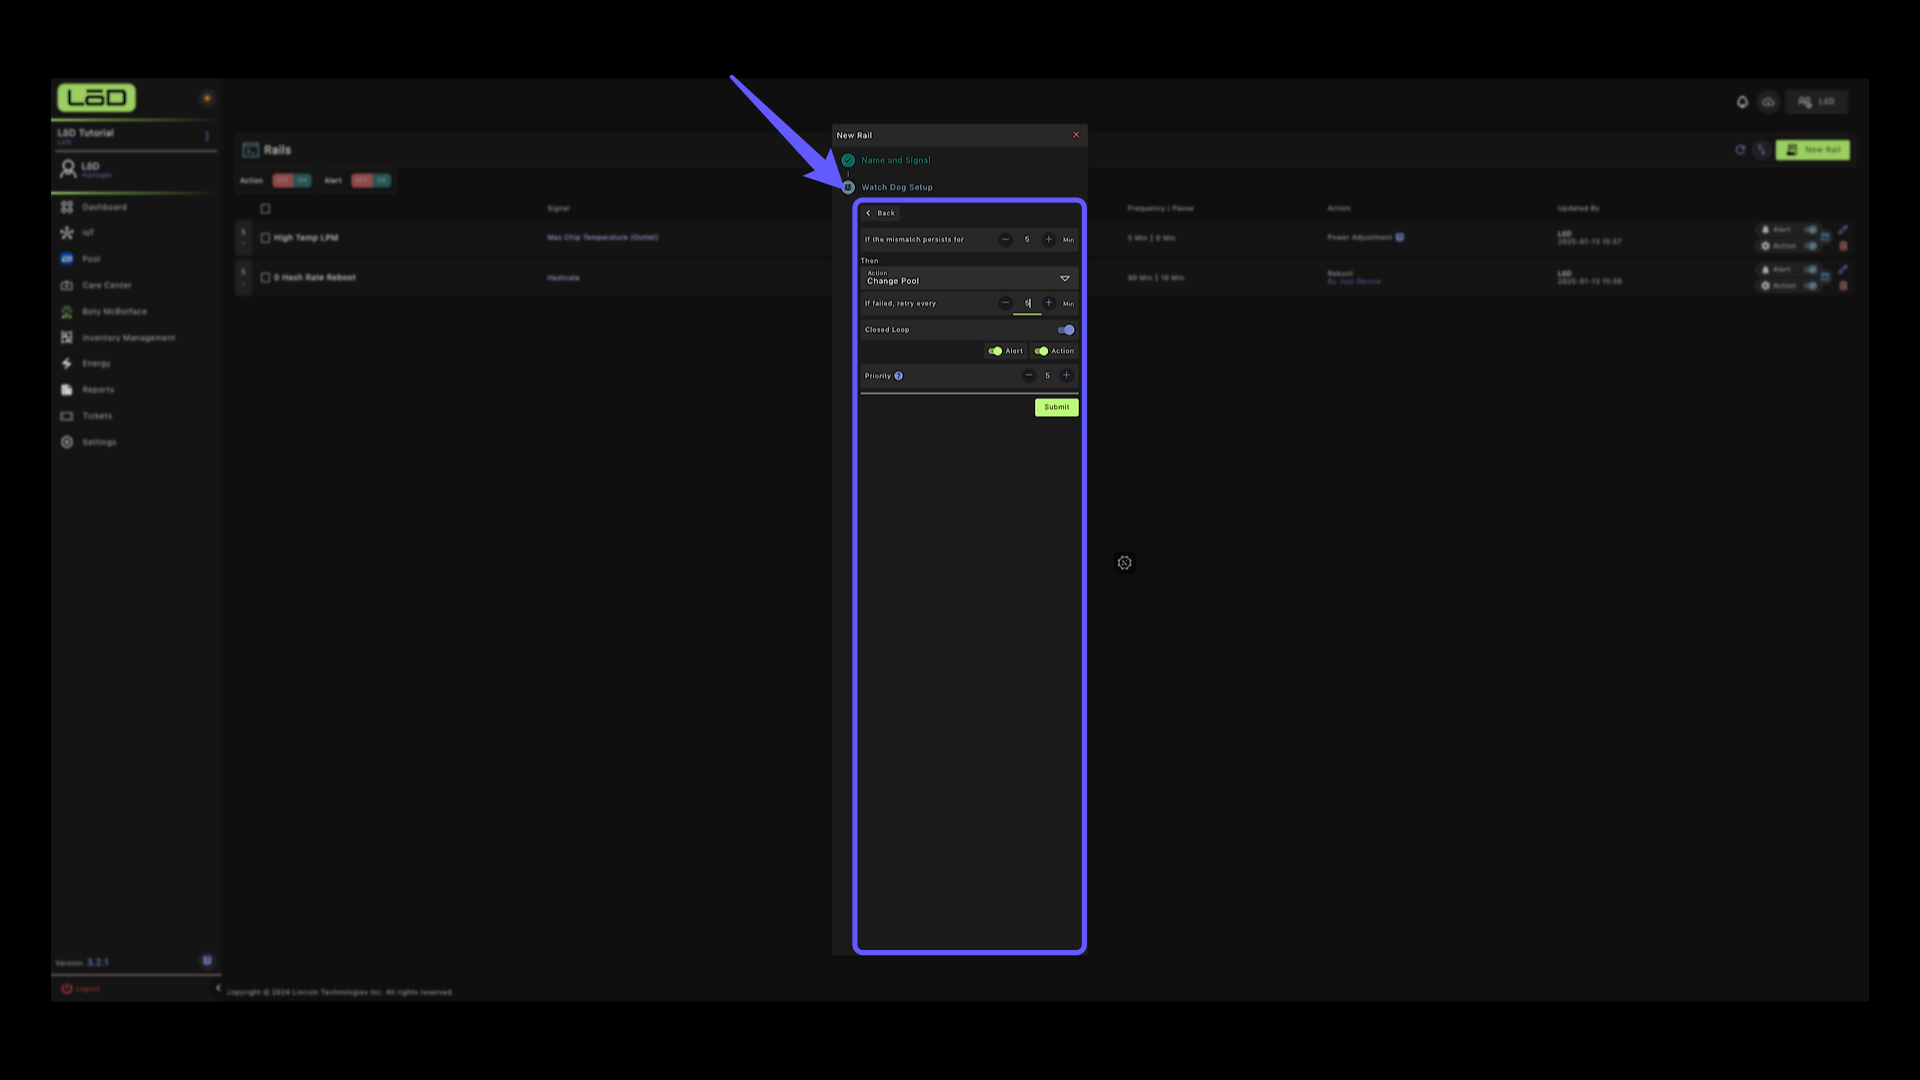
Click the ‘New Rail’ button to start setting up a High Temperature RAIL. If you do not need to set any other rails, jump to section 35 to learn how to assign RAILS to devices.
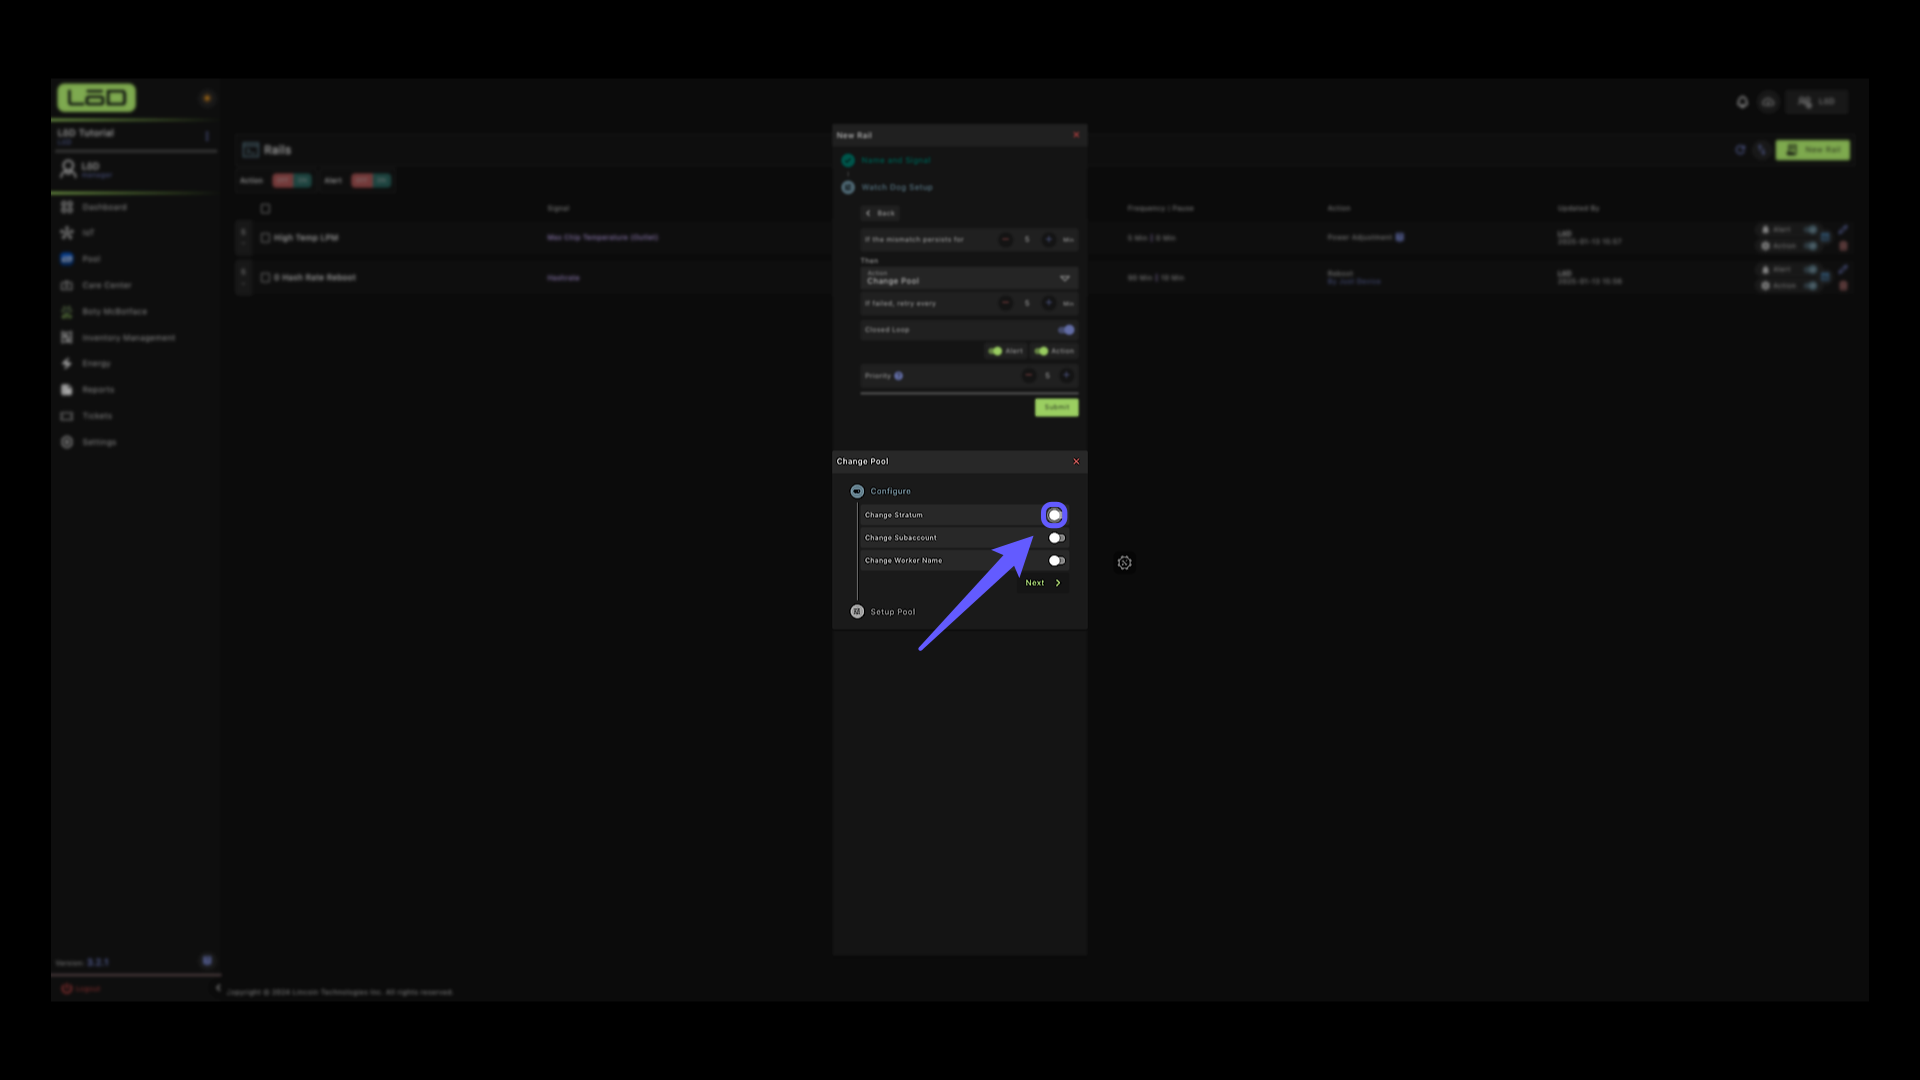
17. High Temperature #
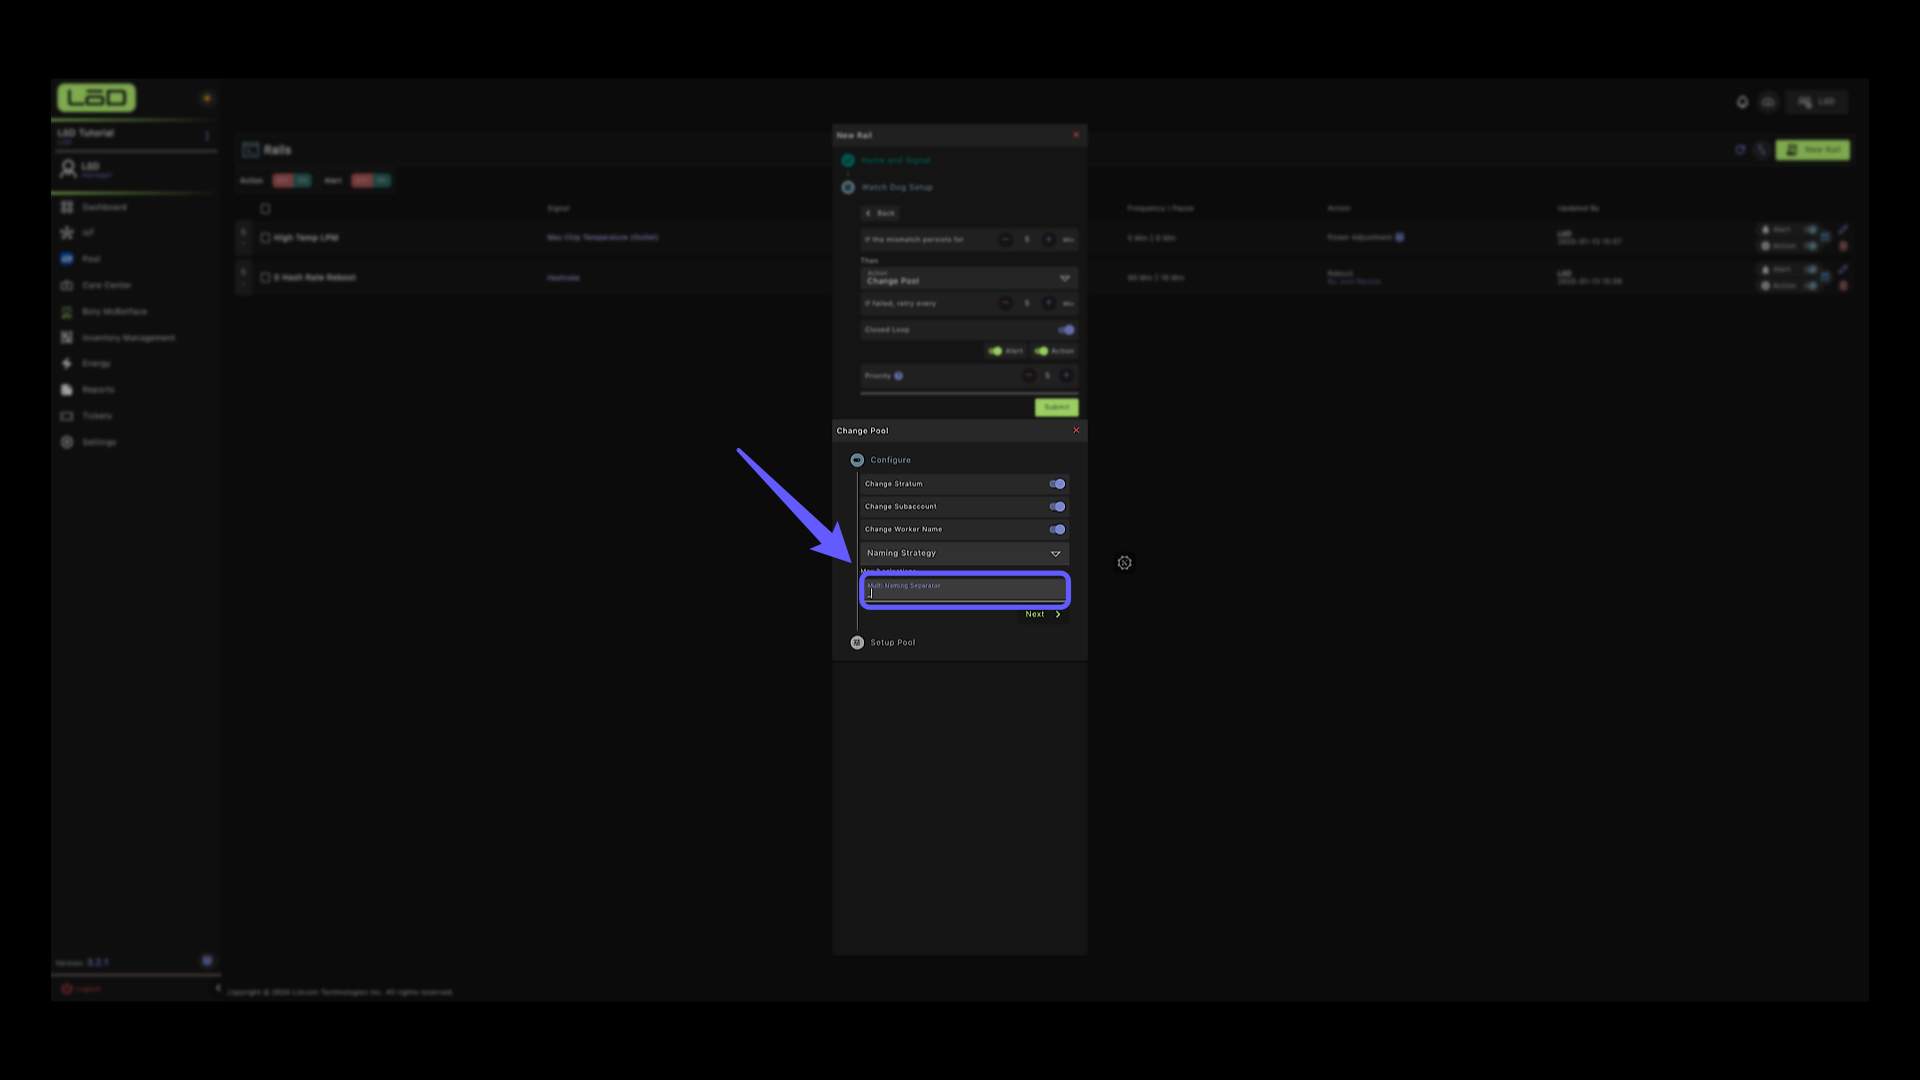
Select the temperature option to configure the parameters.

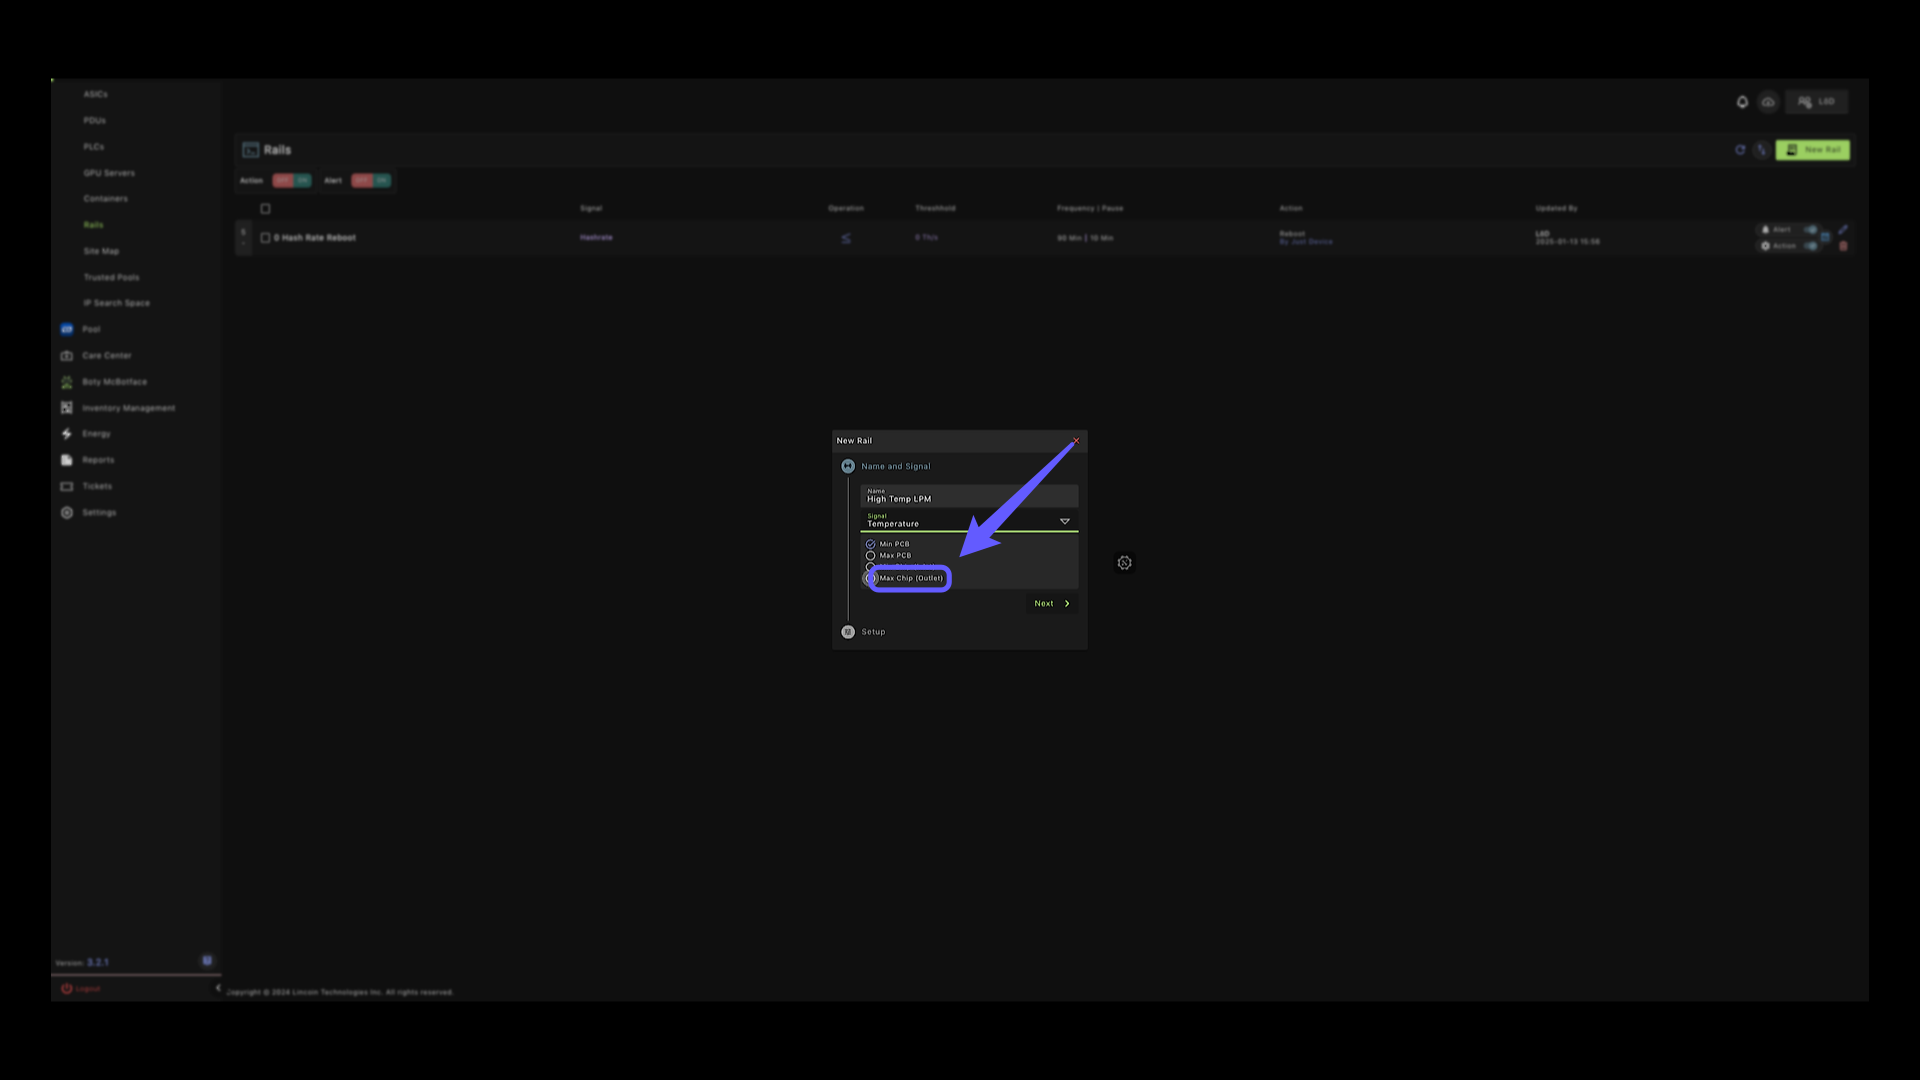
18. Temperature Selection #
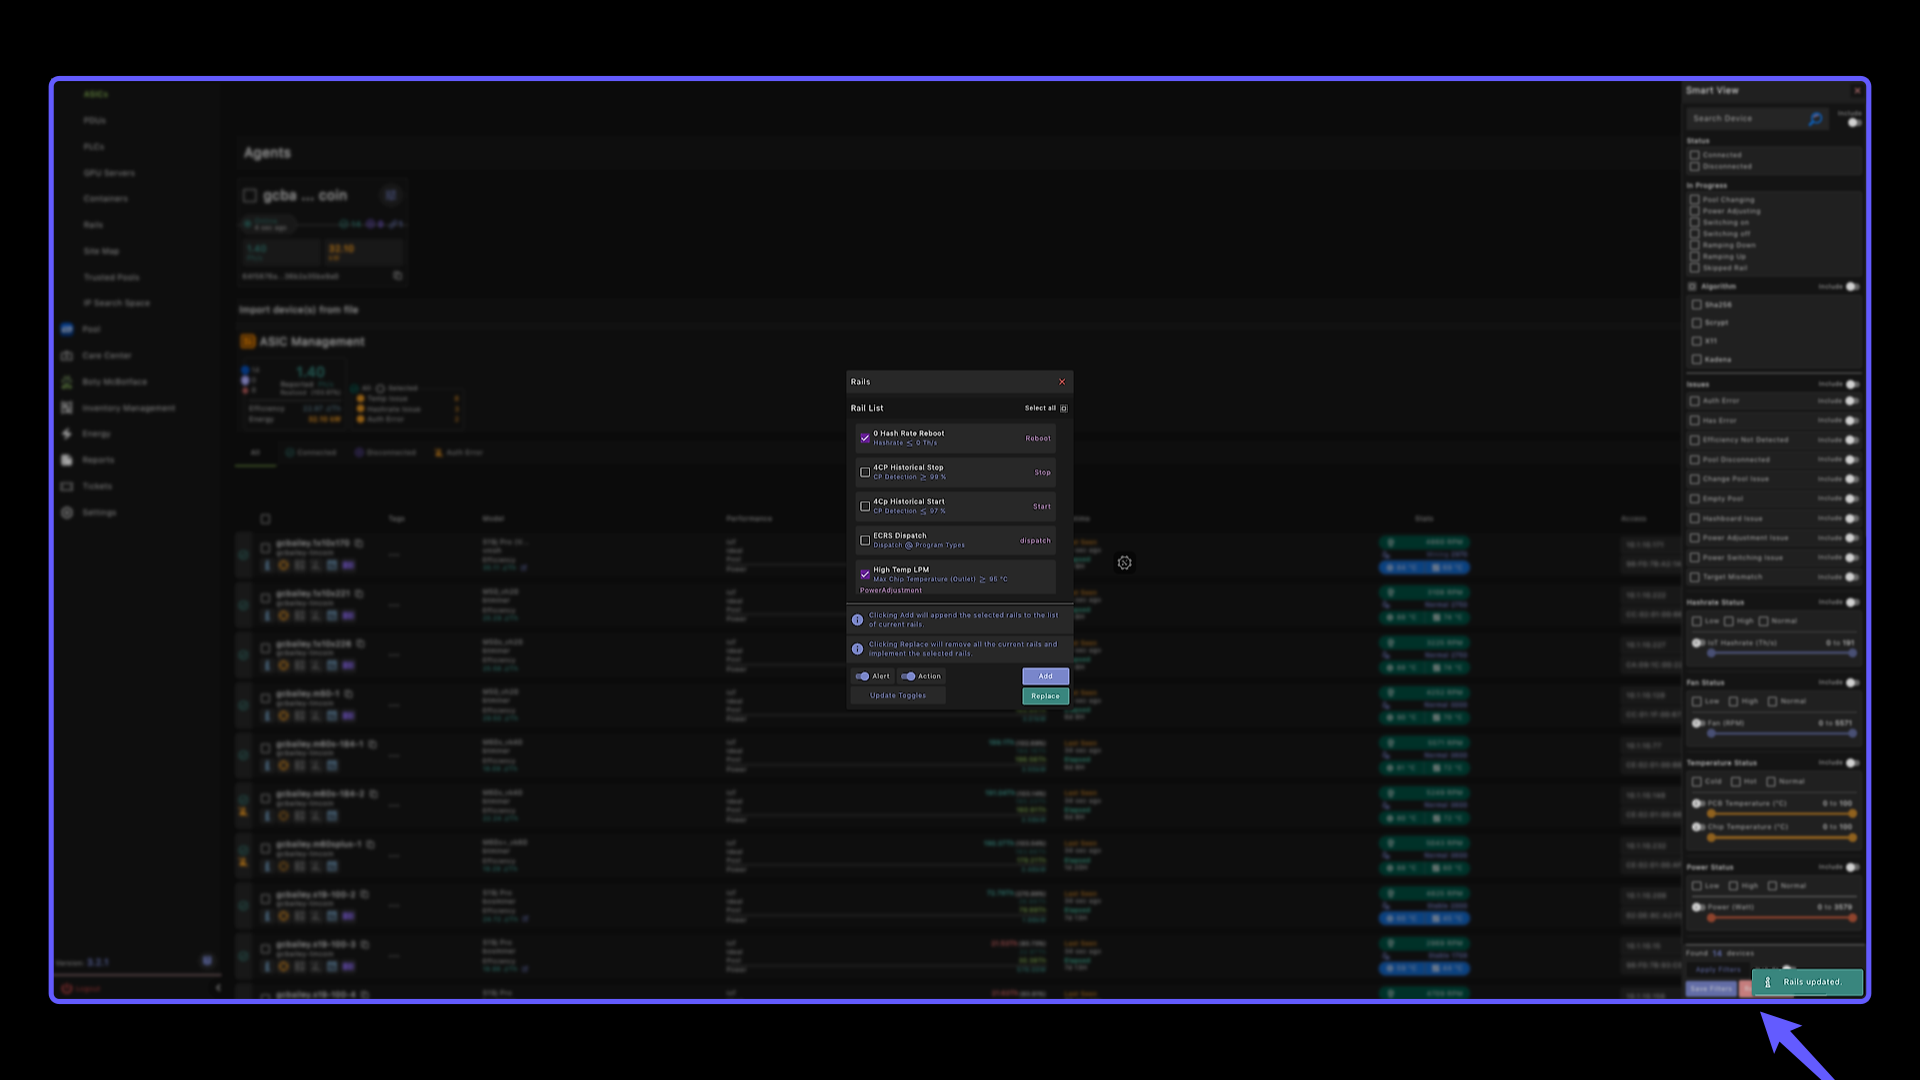
You can set your RAILS based on Max or Min PCB or Chip temperature.
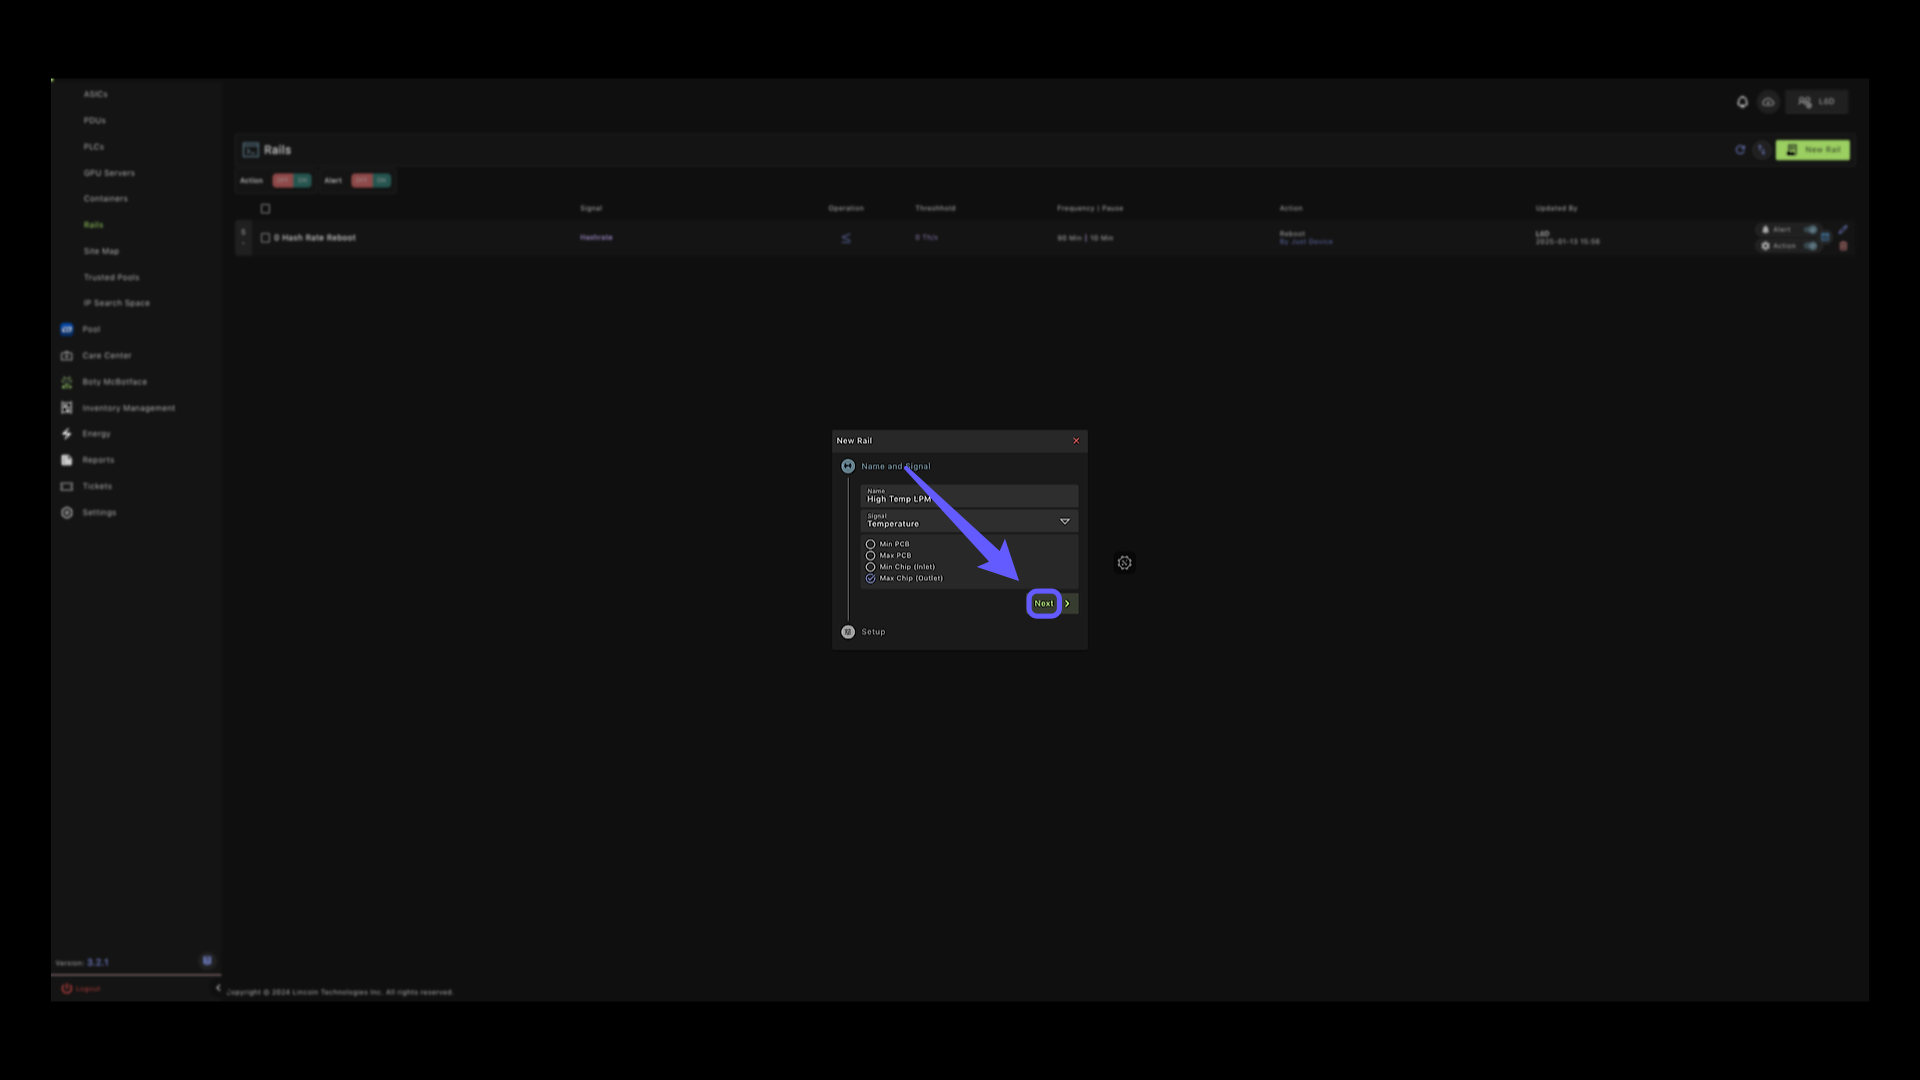
19. Navigation Button #
Click to proceed to the next step in the process.
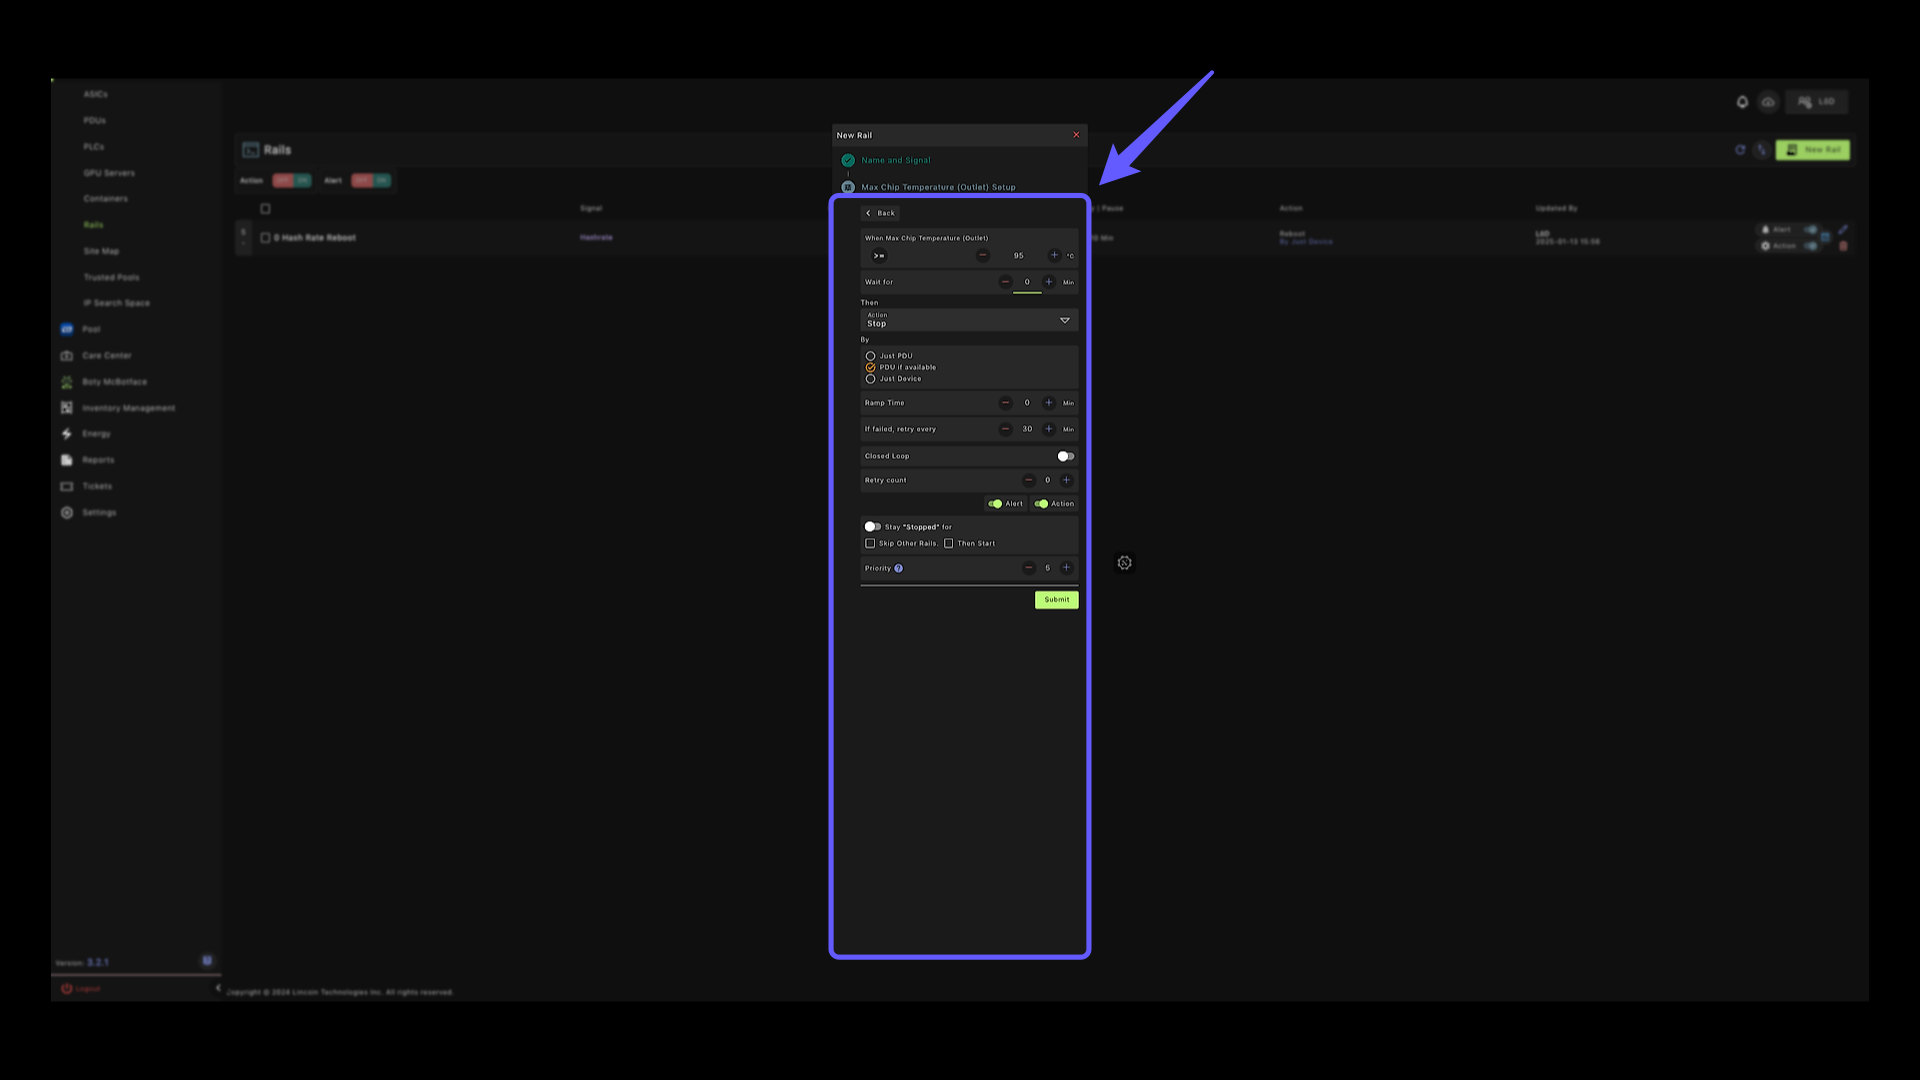
20. Max Chip Temperature Setting #
Enter the desired maximum chip temperature value in this field.

21. Wait Time #
Adjust the wait time parameter by entering the wait time in minutes; in this case, we are entering zero so that the command is sent immediately when the chip temp is reached.

22. Max Chip Temperature Setup #
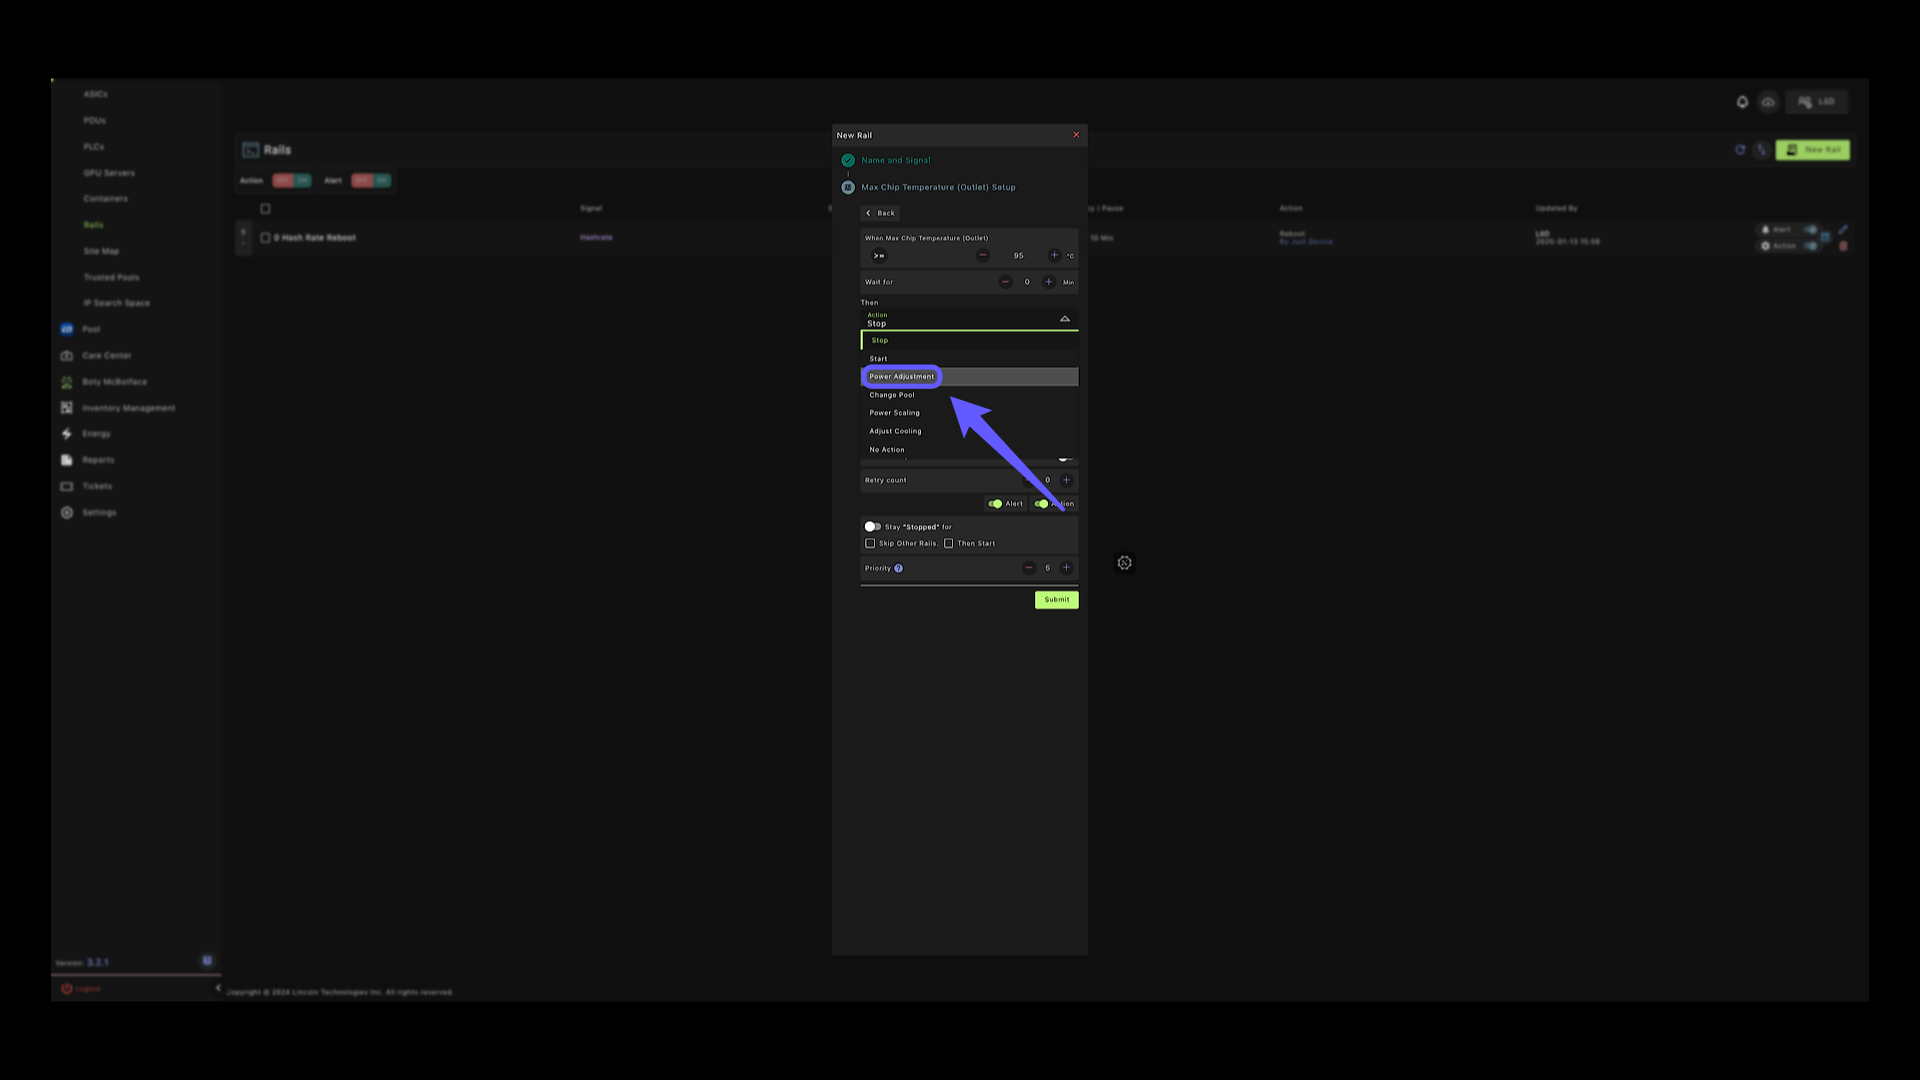
This is similar to the last rail, in this case you need to adjust the Action to “Power Adjustment”
23. Power Adjustment Option #
Select the Power Adjustment option.
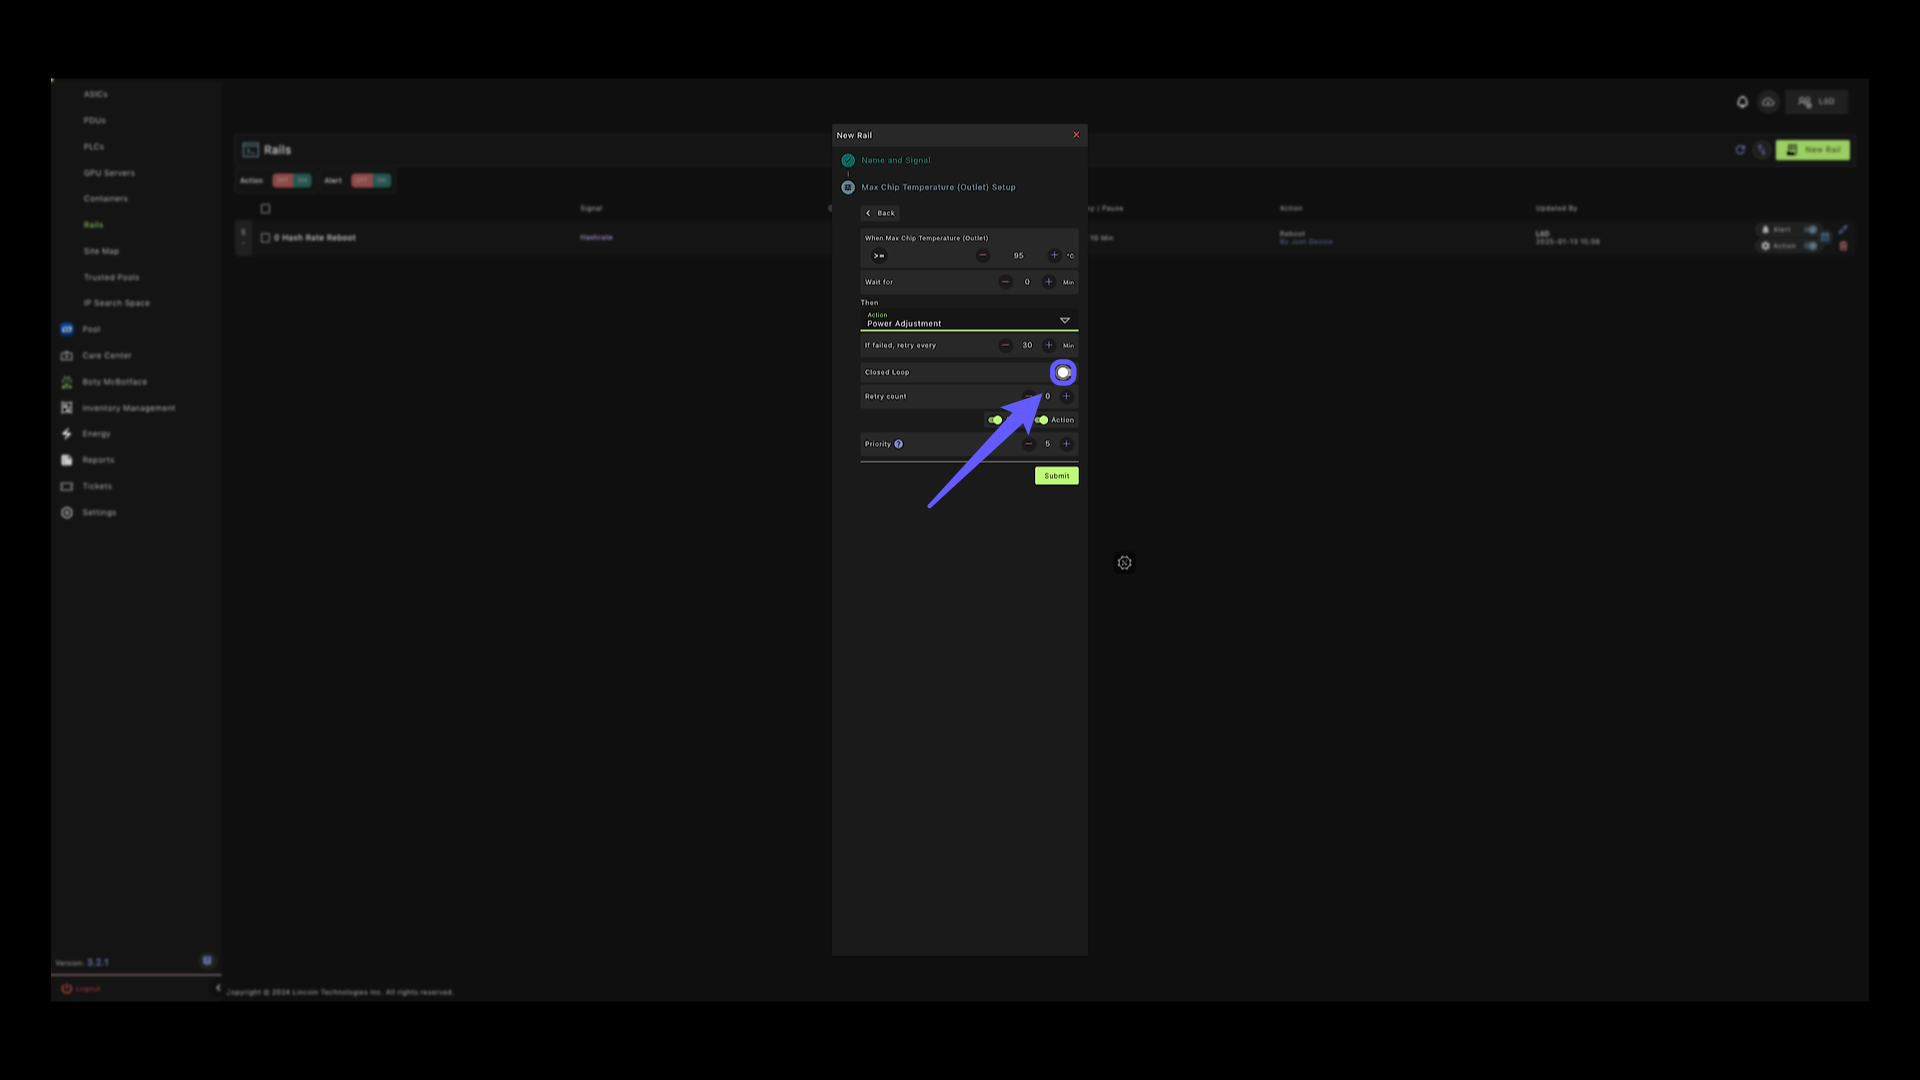
24. Closed Loop #
Activate the closed loop function; this constantly checks the state of the devices and any time a device does not follow the set command, it will continue to reinforce this command.
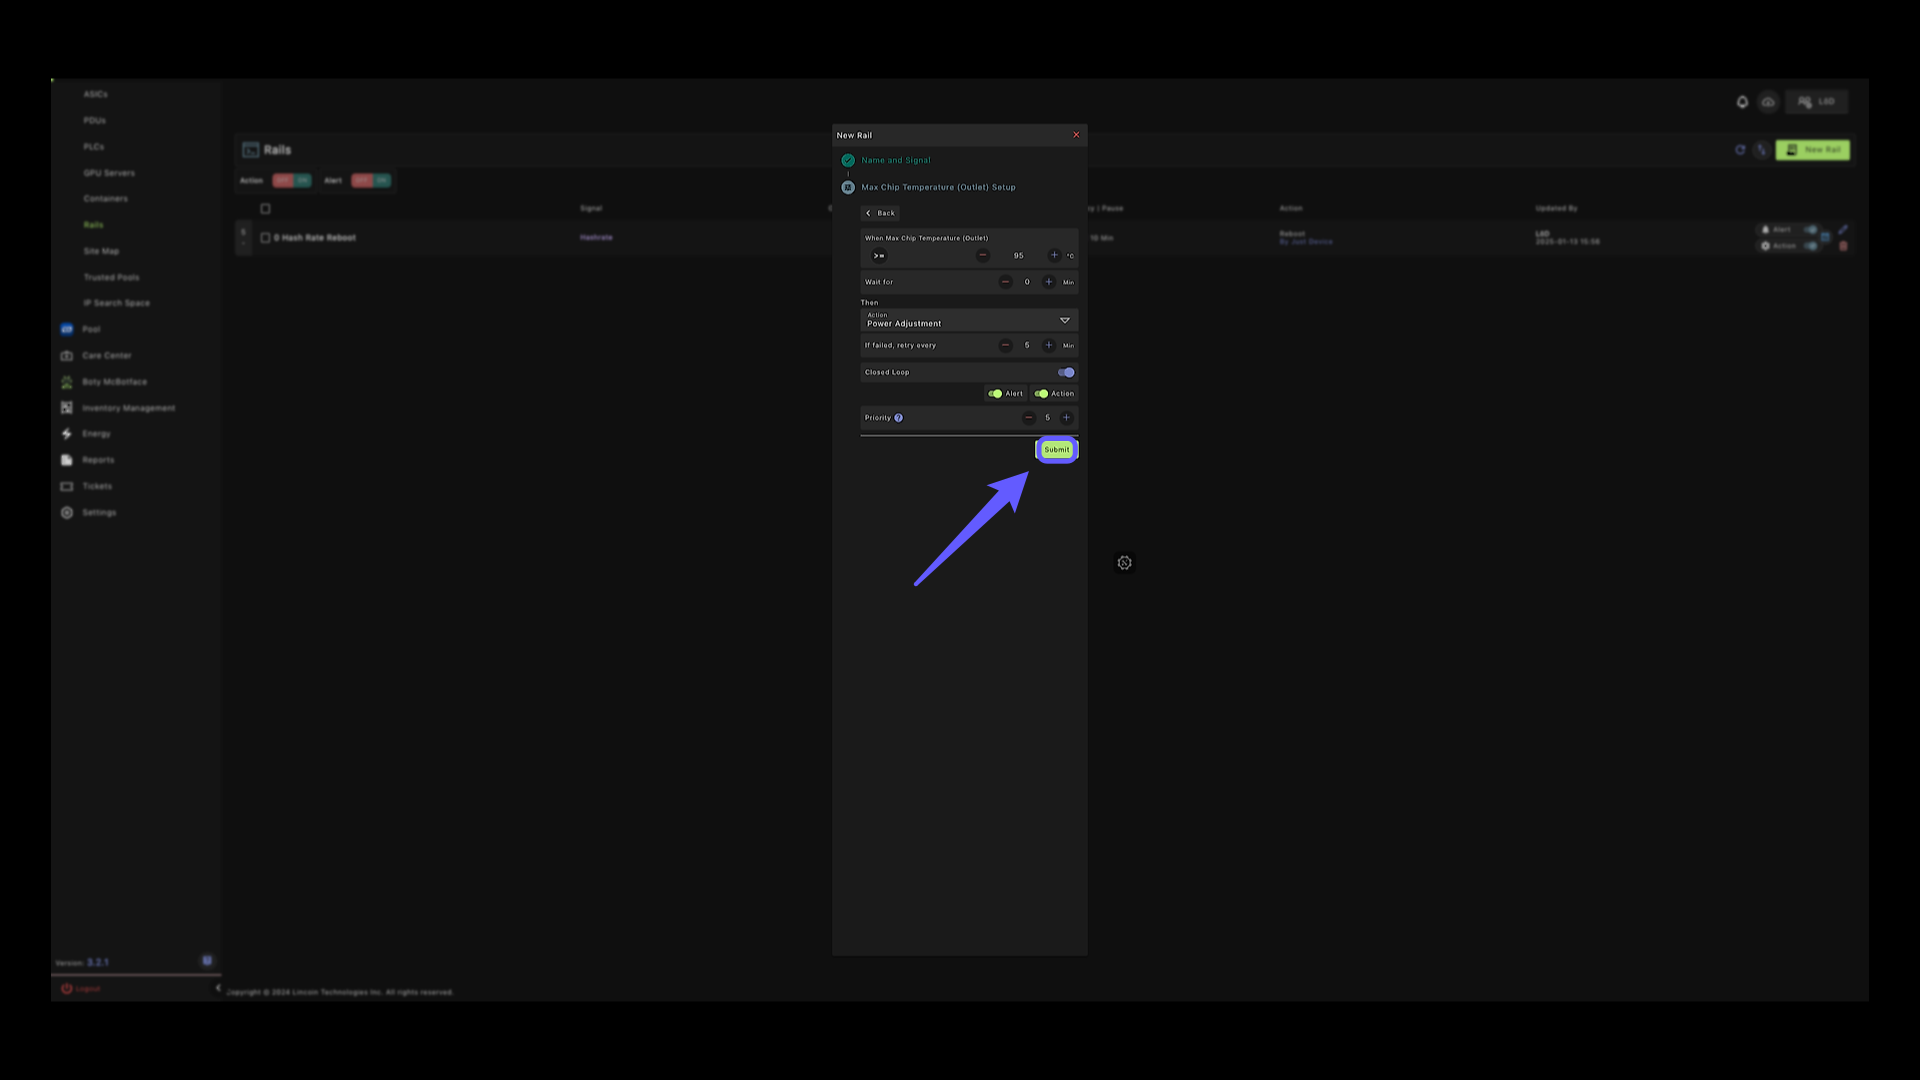
25. Submit #
Click to finalize the configuration and submit your settings.
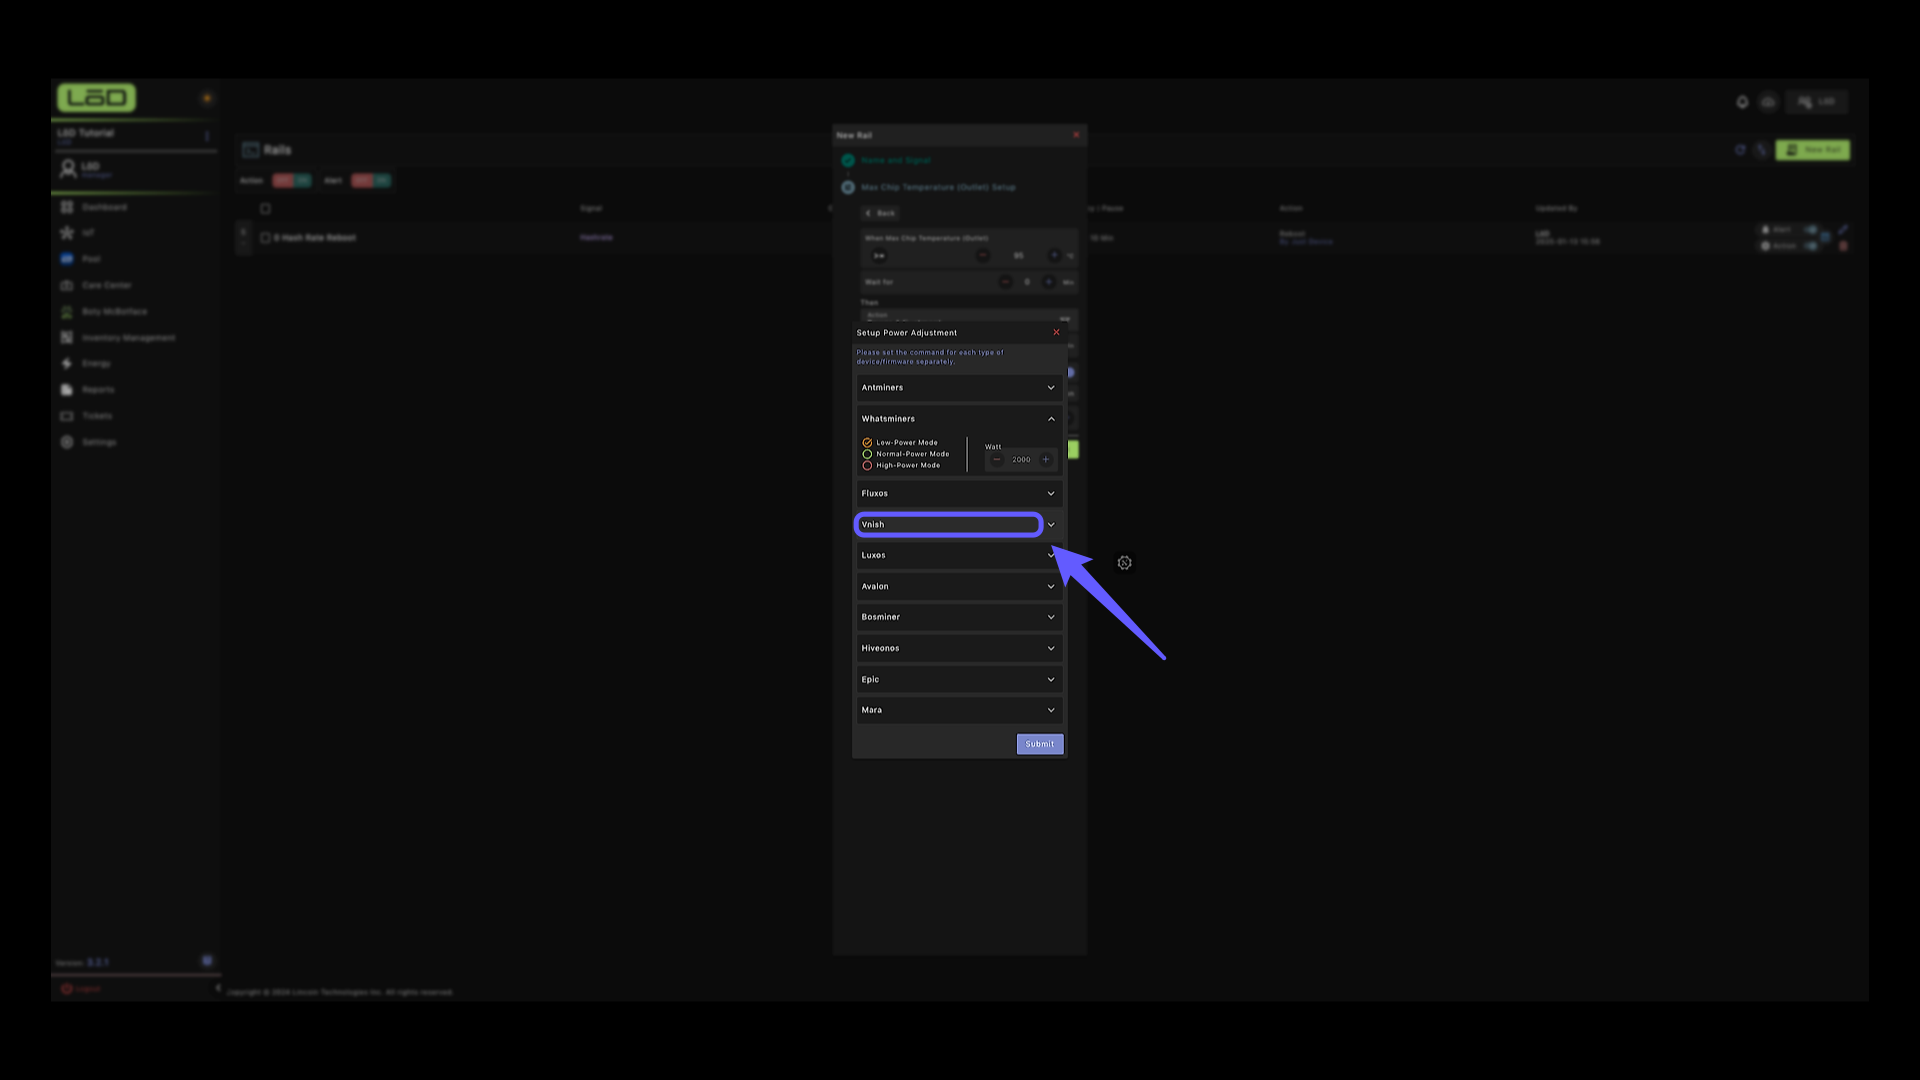
26. Power Adjustment Menu #
In this section, you’ll need to select your firmware and adjust the power mode. All stock firmwares are supported on the platform.
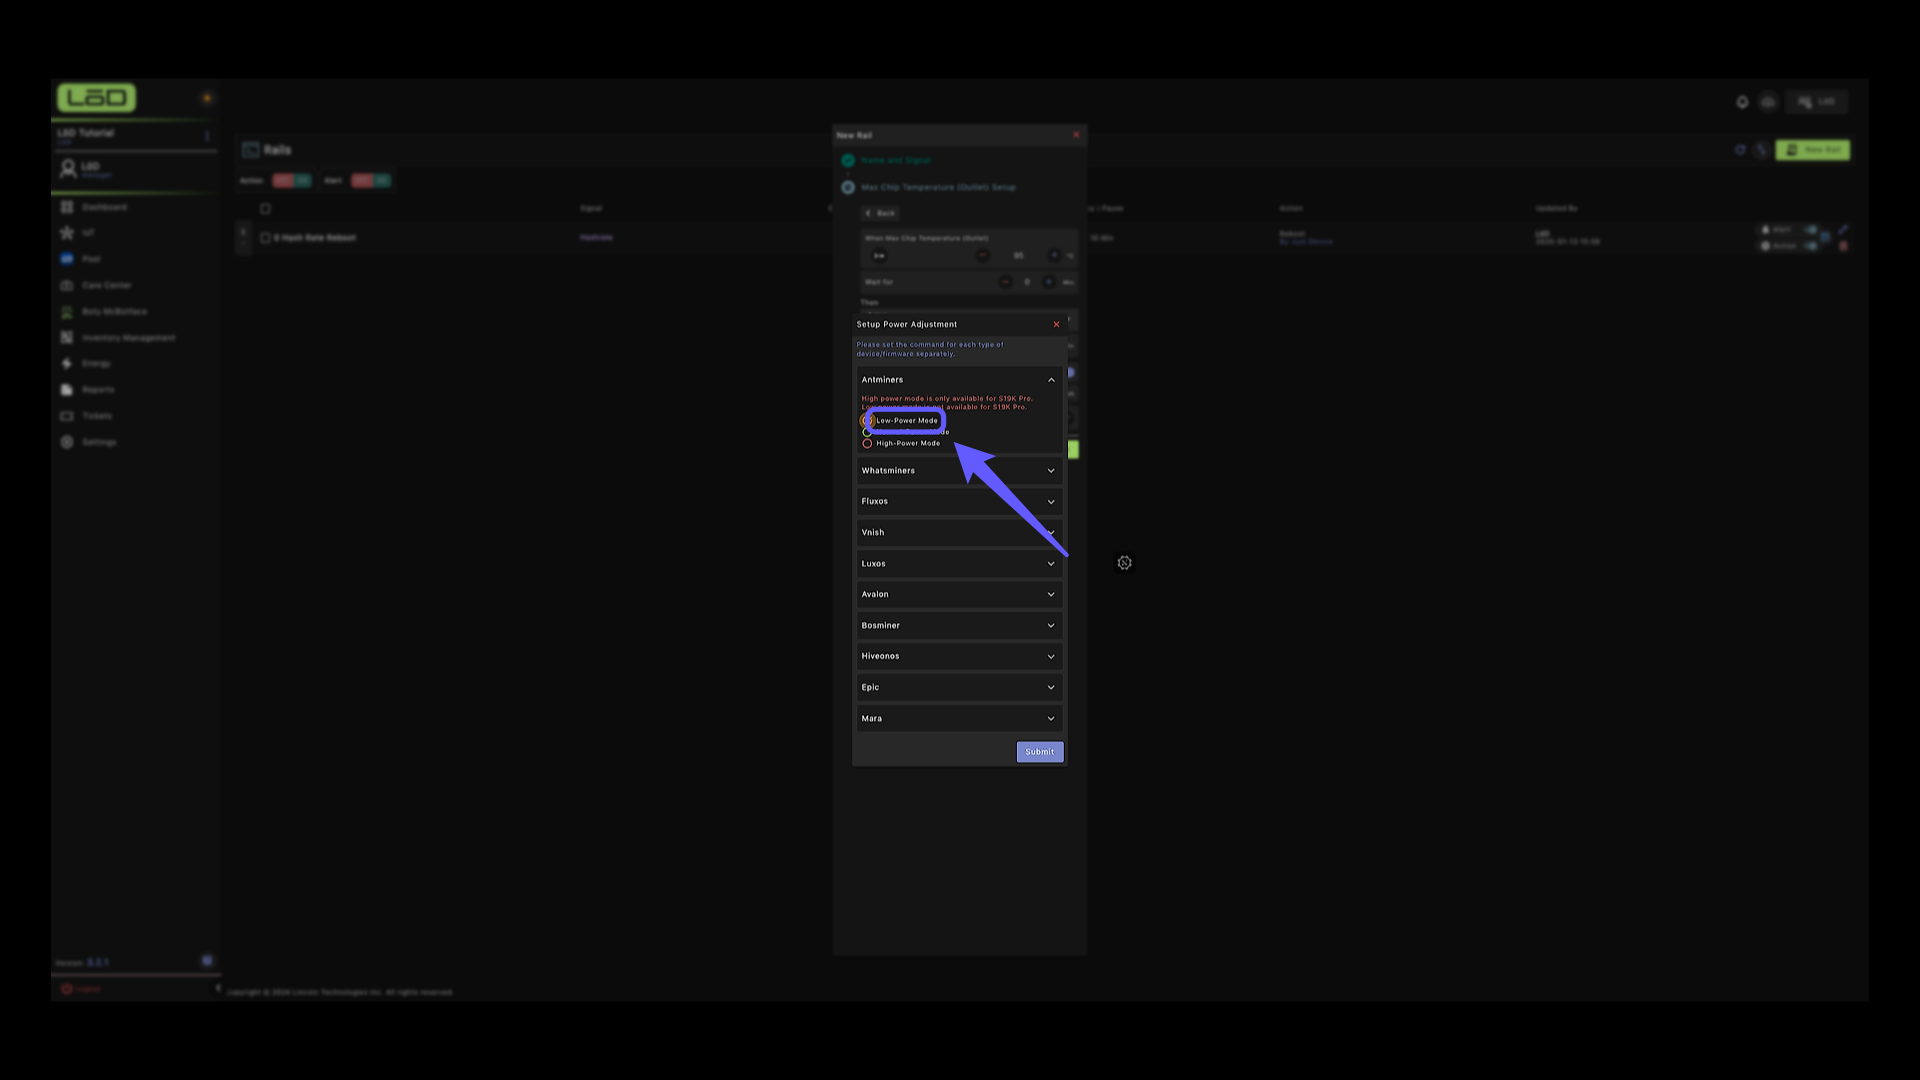
27. Power Mode Selection #
Certain firmwares such as Vnish, LuxOS, EPIC and Mara support manual wattage entry as well, where you can enter the desired wattage.
28. Submit #
Click to finalize your selections.
29. Watch Dog Rail #
The last rail that we’ll be creating this the watch dog rail.
30. Watchdog Signal #
Choose the ‘Watch Dog’ option.
31. Watch Dog #
The watchdog feature monitors your site every second and ensures the settings you set are enforced. In this case, it will continue to monitor your pool addresses, and at any time a pool address is changed to an unauthorized pool, the set pool address will be enforced.
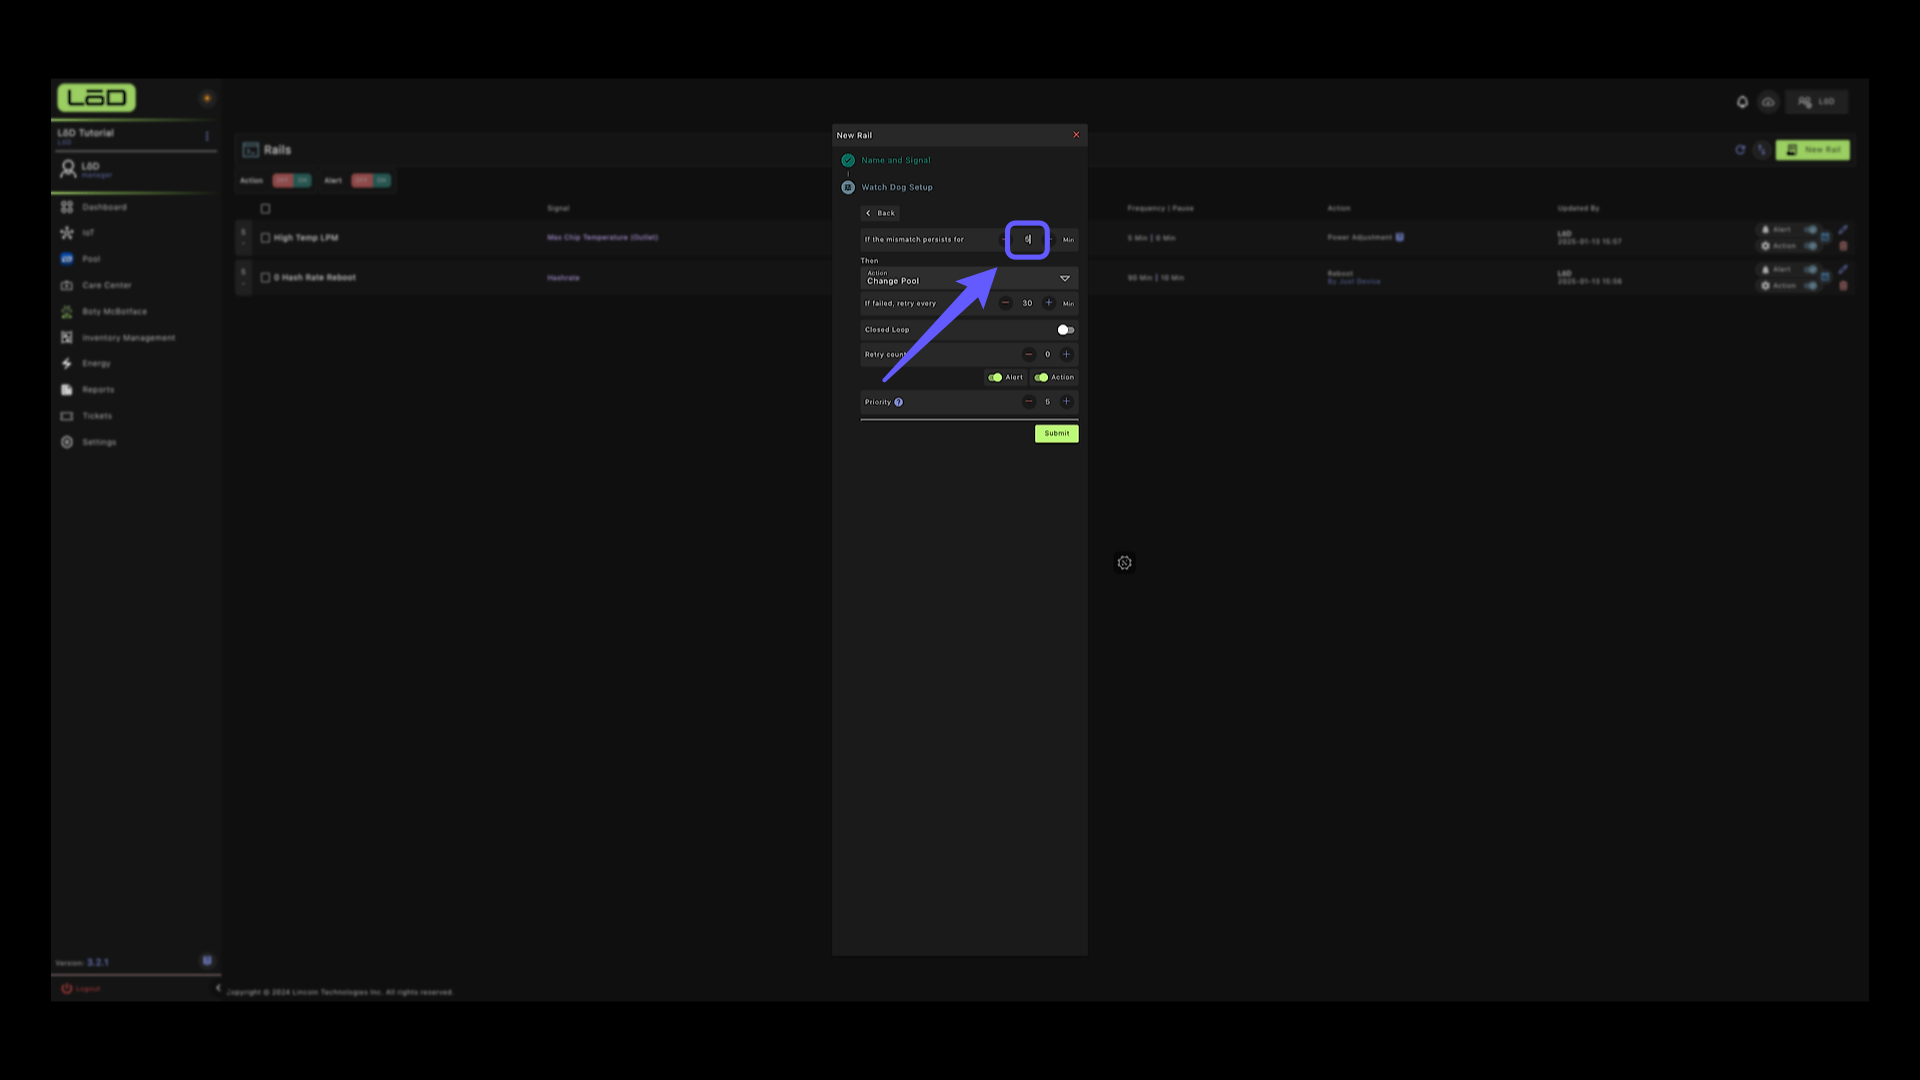
32. Watch Dog Setup Configuration #
Adjust settings to manage mismatch persistence, change pool actions, and prioritize alerts. Submit changes to apply.
33. Setup your Pool Address #
Confirm your pool address by toggling the Stratum, Subaccount and Worker Name on.
34. Naming Strategy Selector #
Choose the appropriate naming strategy from the dropdown menu. In this case we are choosing Miner Model followed by Full IP address with the separator as “x”. Next, you will need to enter your pool address and select your sub-account name to proceed.
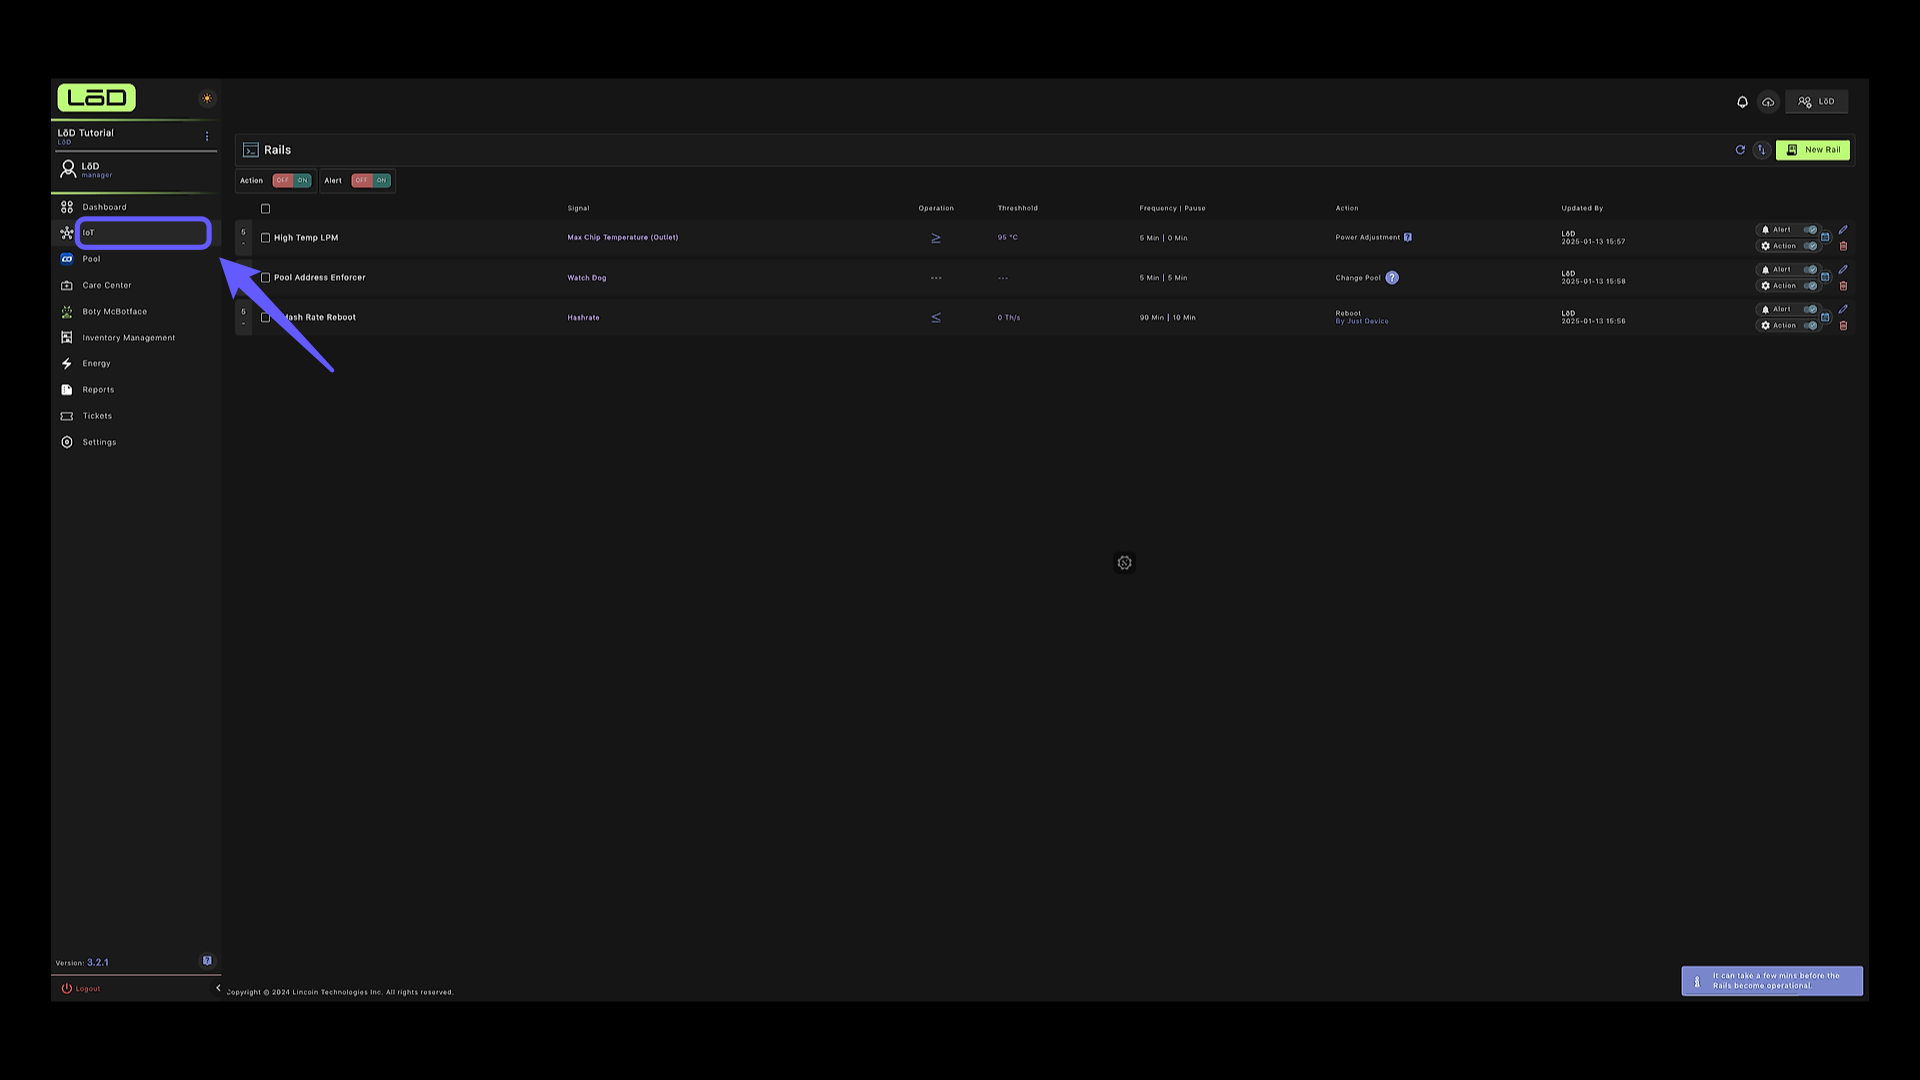
35. Assign Rail to Devices #
Now that you’ve created all your RAILS, we’ll need to activate them by assigning them to devices. Click on IoT to go back to the ASIC page.
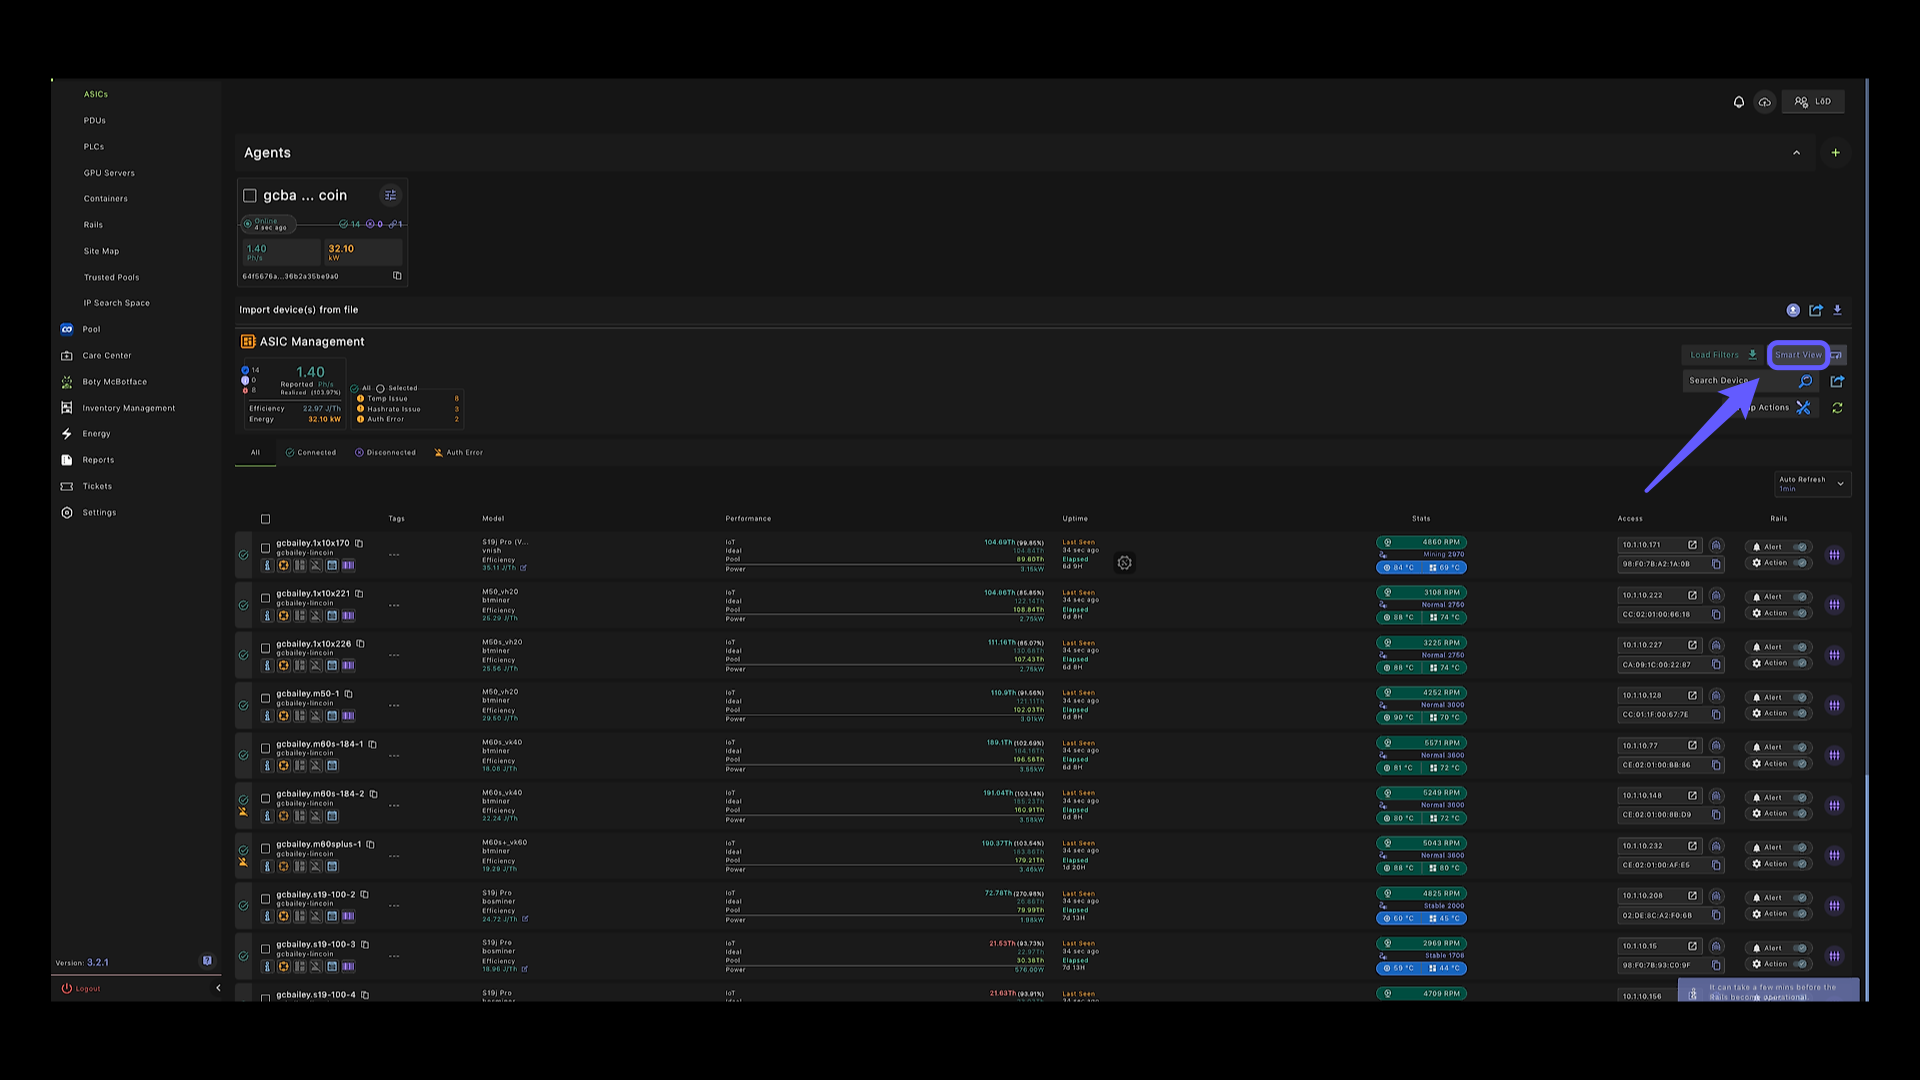
36. Smart View #
Access the Smart View feature to filter the devices to which you want the rails to be set. You can assign it to all devices or set rails based on site location, such as a container or rack.
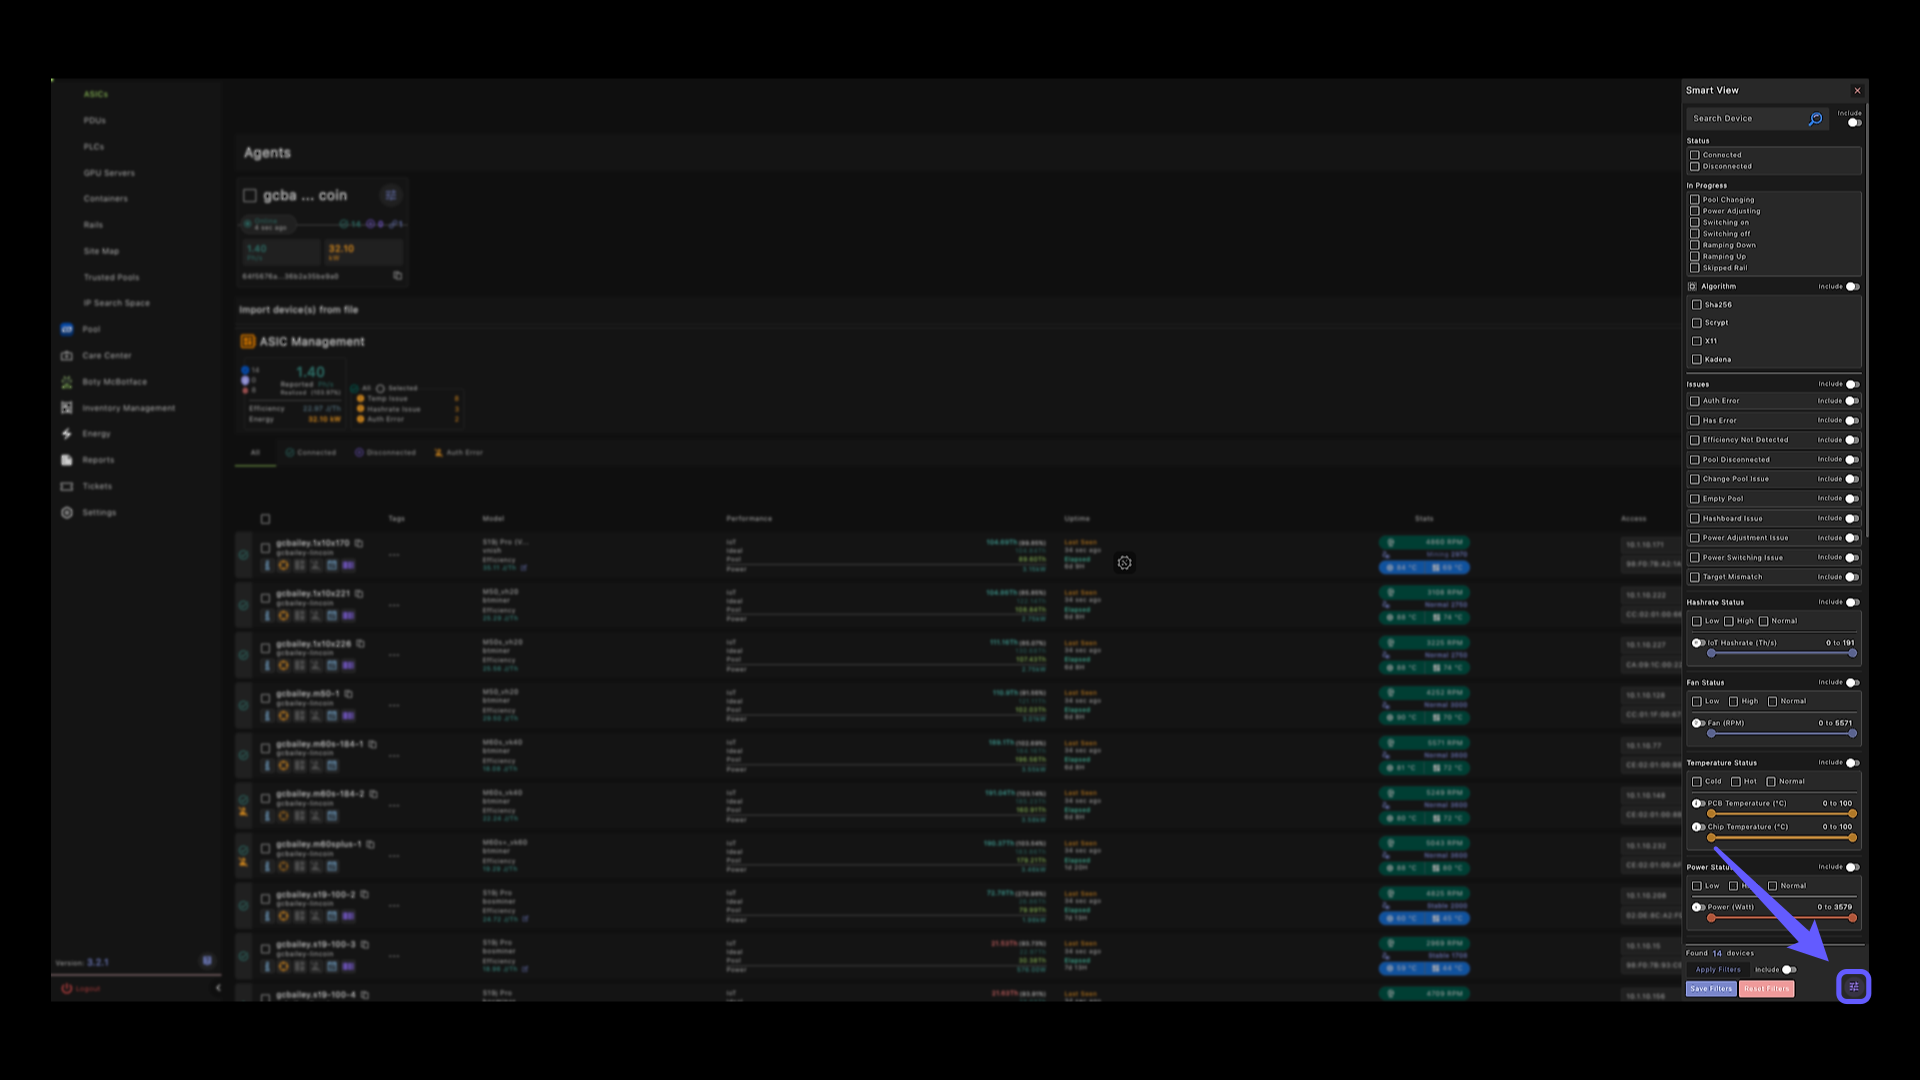
37. Control Settings Panel #
Click on the control setting icon to open up list of commands.
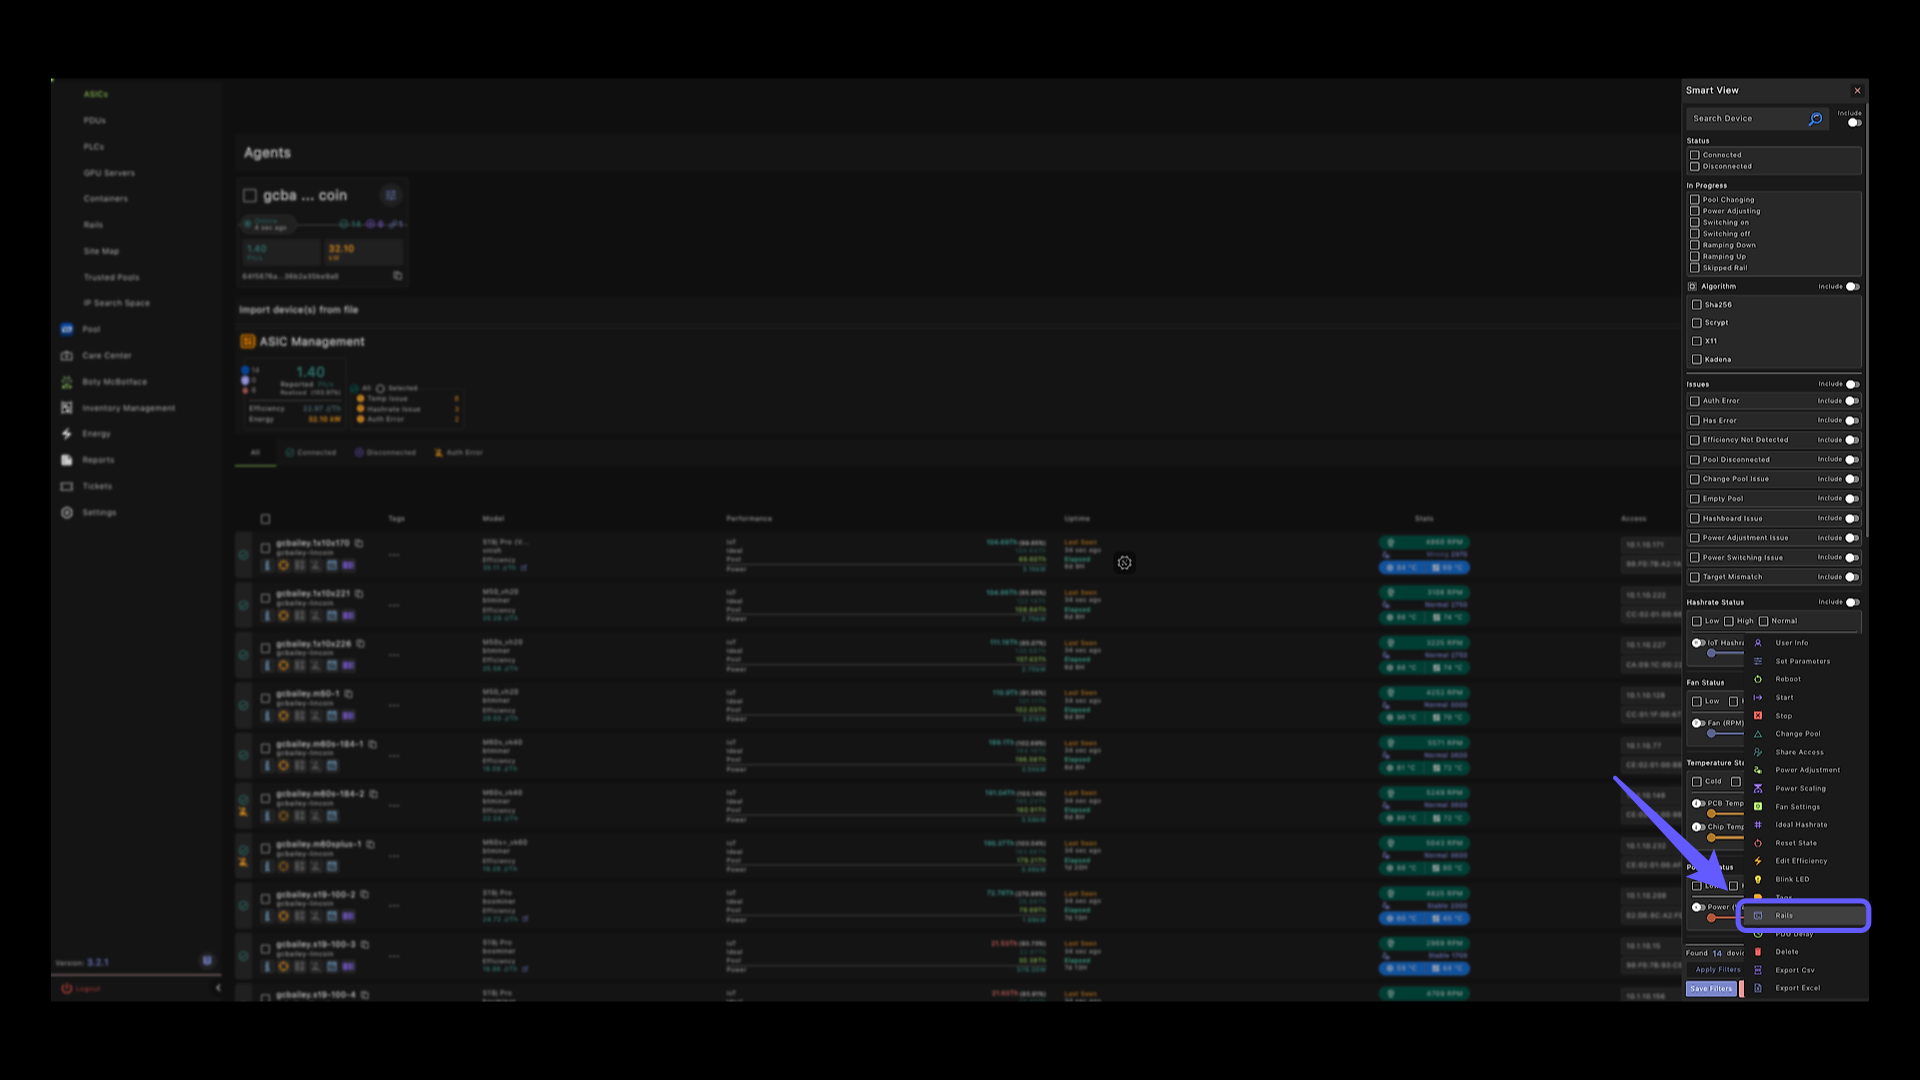
38. RAILS Option #
Select the ‘Rails’ command from the list.
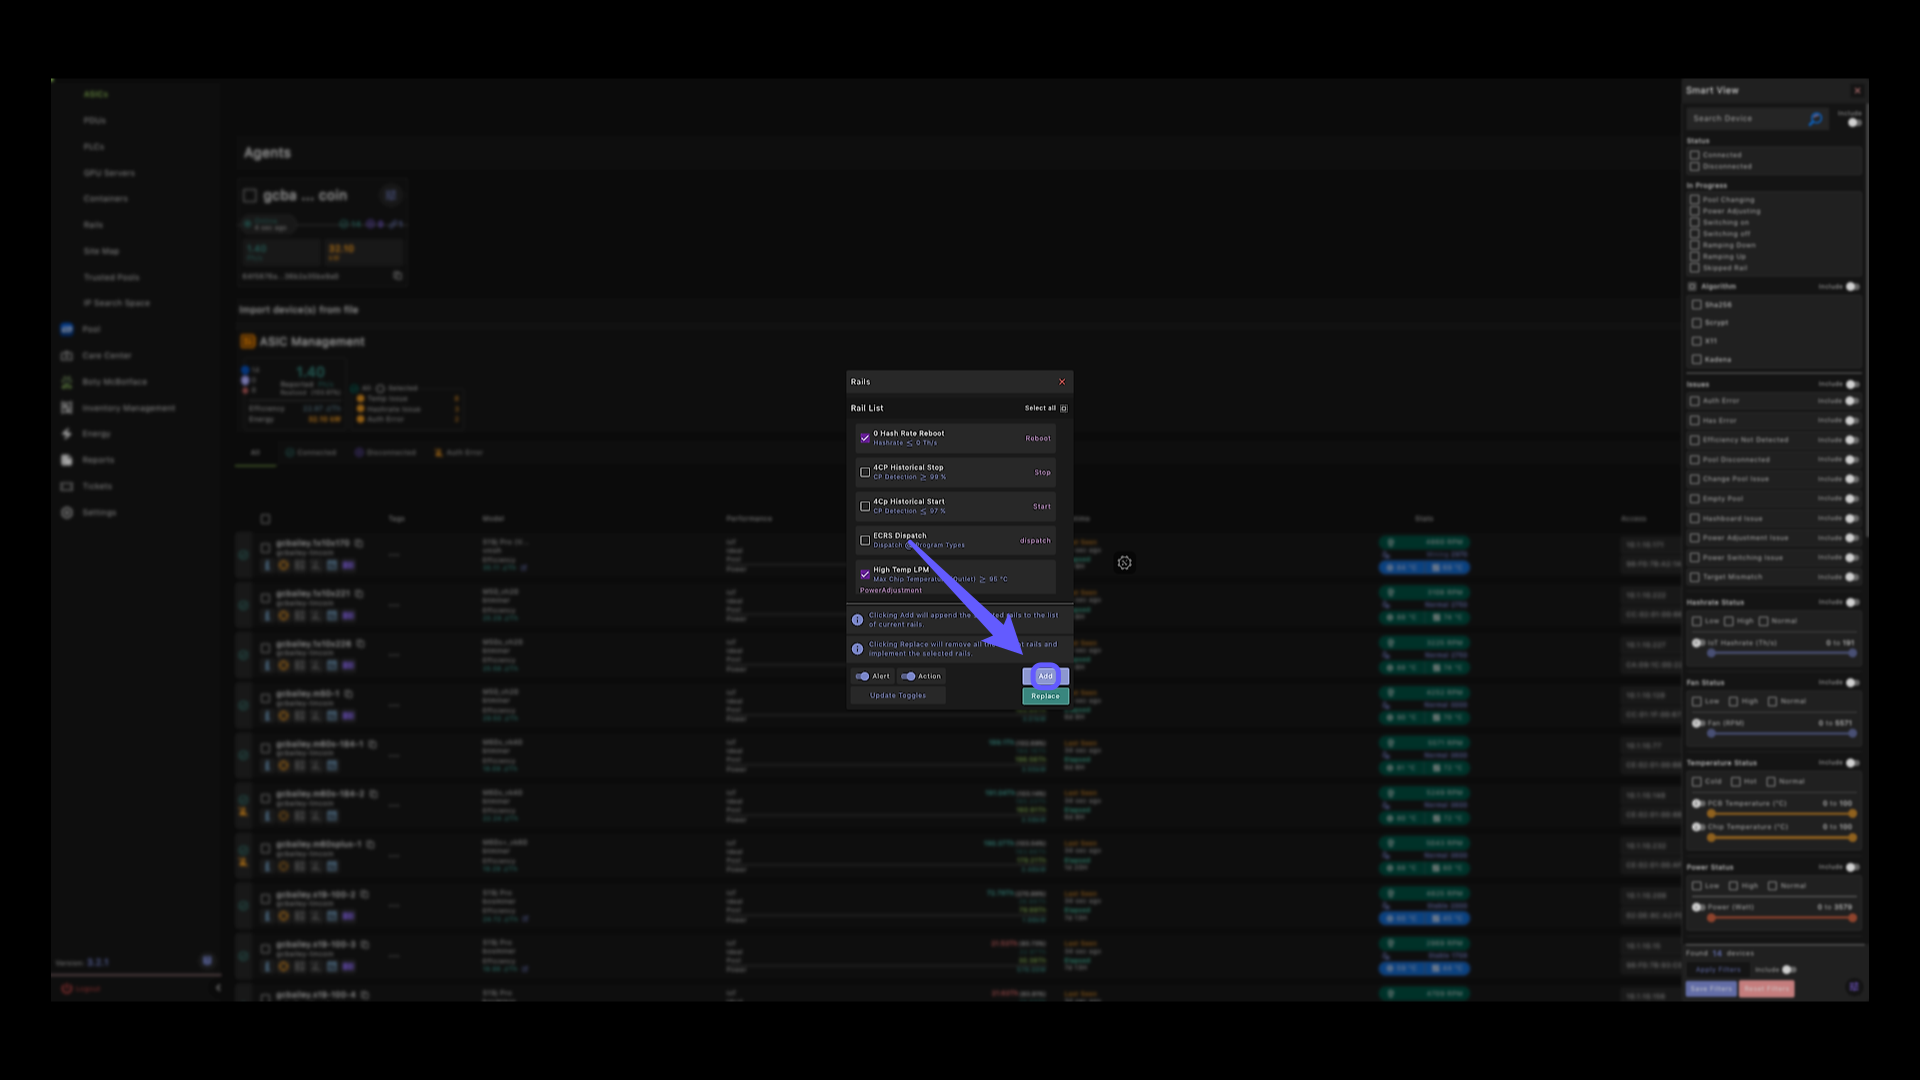
39. Select Rails #
Check the box to select the desired RAILS.
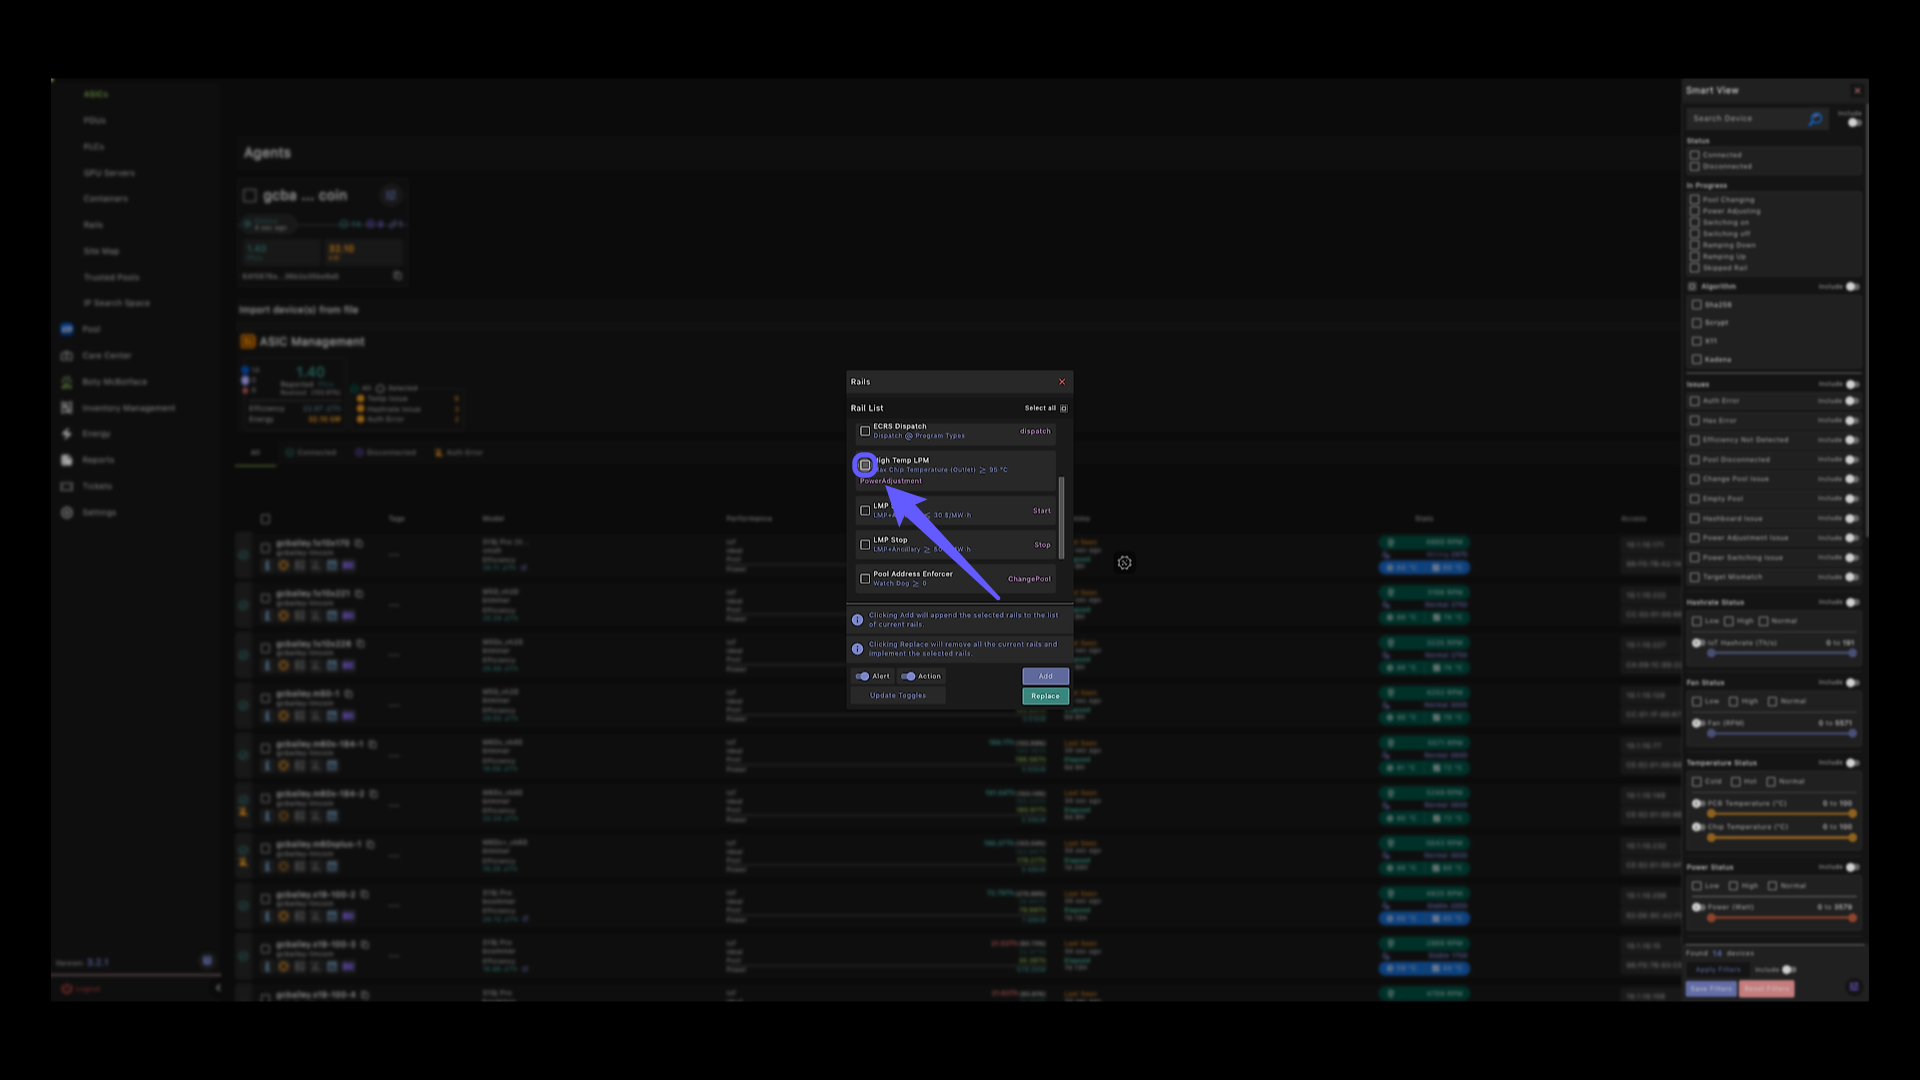
40. Add RAILS #
Lastly, assign your RAILS by click on add.
41. That’s it! #
Congrats! You created three operational RAILS and successfully added them to your devices.